What's inside
As an Amazon Associate I earn from qualifying purchases. This post may contain affiliate links at no extra cost to you.
A mortise gauge has two marking pins: one fixes the mortise width, while the other marks the tenon cheek at the same distance from the reference face. Set correctly, it gives you a repeatable layout without measuring each edge separately. Set poorly, and every tenon can be shifted, oversized, or accidentally centered from the wrong face.
Choose the reference face first
Before touching the gauge, identify the face and edge from which all layout will be measured. Mark them with a cabinetmaker’s triangle or a simple pencil “V.” The reference face should usually be the face that will align with the visible or controlled side of the finished joint. The reference edge is the edge against which the gauge fence will ride.
This matters because a mortise is not automatically centered in the board. A 10 mm mortise in a 20 mm-wide rail could be centered, but it might also be intentionally offset to leave more material on one side. The gauge reproduces an offset; it does not decide whether the offset is correct.
For a traditional centered tenon, set the mortise and tenon from the same reference face. Do not gauge one part from the top face and the other from the bottom face unless the design specifically calls for it.
Select the gauge and marking pin
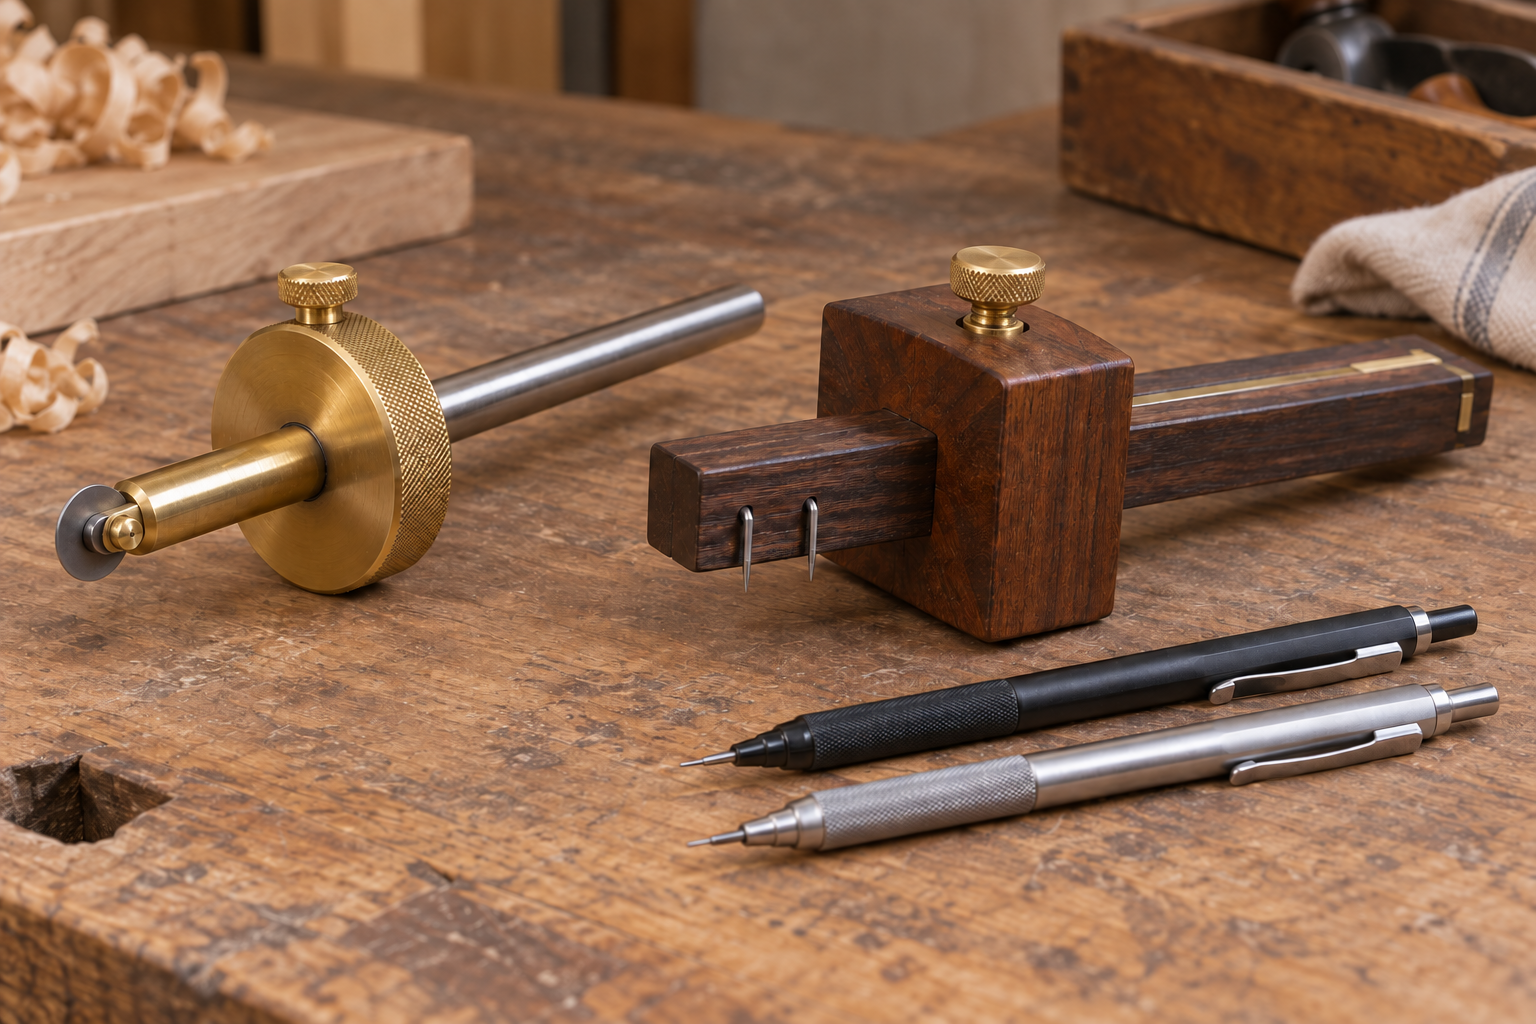
A standard mortise gauge has a fence, a beam, and two pins. One pin is fixed or positioned to establish one side of the mortise. The second pin is adjustable and establishes the other side. A combination gauge with a single pin can mark cheeks, but it requires a separate setting or measurement for the second line and is less convenient for repeated mortise work.
| Gauge type | Best use | Advantages | Limitations |
|---|---|---|---|
| Single-pin marking gauge | Individual shoulders, rabbets, and tenon cheeks | Usually cheaper and simpler to set | Does not mark both sides of a mortise in one pass |
| Double-pin mortise gauge | Repeated mortises and matching tenons | Marks both edges at once and preserves the spacing | More expensive; pins can be misaligned or damaged |
| Wheel-style mortise gauge | Clean layout on most furniture stock | Compact, adjustable, and less likely to tear fibers | Can be less aggressive on rough or end-grain surfaces |
For occasional repairs, a basic double-pin mortise gauge is usually enough. Spend more for a gauge with a solid fence and a screw that locks without shifting the beam. Fine threads and a brass or steel wear surface are useful, but they do not compensate for a loose fence.
Set the mortise width
Choose the mortise width based on the chisel or router setup, not just on the tenon you happen to have. A common hand-cut joint uses a tenon roughly one-third of the stock thickness, but the exact proportion depends on the load, available material, and design. On a 30 mm-thick rail, a 10 mm tenon is a reasonable starting point; on a narrow 18 mm rail, a 6 mm tenon may be more appropriate.
Place the mortise chisel between the two pins. The pins should align with the chisel’s cutting edges, not with its overall body. If the chisel is 10 mm wide, the distance between the inside edges of the two pins should correspond to that 10 mm width. Some gauges use pins that are offset from the beam or have different shoulder shapes, so check the actual marks on scrap rather than assuming the hardware is symmetrical.
Lock the movable pin firmly, then test the setting by dragging the gauge across a piece of the same wood. The two lines should be clean, parallel, and separated by the intended mortise width. If the pins scratch rather than cut, sharpen or replace them. A dull pin can follow the grain and create a false line.
Set the offset from the reference face
Put the gauge fence against the reference face and set the first pin to the desired mortise offset. For a centered mortise, divide the stock thickness minus the mortise width by two. For example, with 25 mm stock and a 9 mm mortise:
(25 − 9) ÷ 2 = 8 mm
Set the distance from the reference face to the nearer mortise edge at 8 mm. The second edge will then fall at 17 mm from that face. Use a ruler or setup block to establish this distance, but verify the result with a test mark. A setup block cut to the correct thickness is faster and more repeatable than repeatedly reading a small ruler.
Some woodworkers set one pin directly against the edge of the mortise chisel and adjust the fence until the other pin matches. That works well when the gauge and chisel are used together, but remember which pin is the reference pin. Marking the gauge beam with a small pencil note can prevent accidentally reversing the setting.
Mark the mortise and tenon
Keep the same gauge orientation throughout the job. Place the fence against the marked reference face and push it in the same direction for every piece. Make two or three firm passes instead of one heavy pass. The first pass establishes the track; later passes deepen it without forcing the pin across the grain.
Mark the mortise on both ends of the workpiece if the layout is long or visibility is poor. Stop the mortise lines at the shoulder layout line. The gauge should define the mortise’s sides, while a square and marking knife define its ends.
For the tenon, use the same two-pin setting and the same reference face. Run the gauge along the tenon cheeks, not along the waste side of the shoulder. Then mark the shoulder with a square. The tenon should be slightly narrower than the mortise only if the joint requires clearance; a practical hand-fit target is often about 0.1 to 0.2 mm of clearance per side, depending on wood movement and the quality of the fit.
Check the layout before cutting
Measure the distance between the mortise marks at several points. They should remain consistent along the rail. Check that the tenon lines are in the same orientation and that the shoulder is square to the reference edge. If the tenon appears offset when the parts are held together, stop and compare the reference-face marks before cutting.
For repeated production work, a precision woodworking marking knife makes the gauge lines easier to see, particularly on hard maple or dark walnut. On soft pine, the cheaper pin supplied with a basic gauge is generally fine. The important variables are a sharp point, a rigid fence, and using the same reference face every time.
If the layout must be transferred across many parts, consider a woodworking setup block set. It is not essential for one joint, but it reduces cumulative ruler errors when dozens of mortises share the same offset.