What's inside
As an Amazon Associate I earn from qualifying purchases. This post may contain affiliate links at no extra cost to you.
Why Flush Cuts Are Tricky With a Reciprocating Saw
A flush cut means cutting something off level with the surface behind it — a nail sticking out of a joist, a pipe against a wall, a dowel or tree branch at the trunk. A reciprocating saw is built for demolition speed, not finesse. The shoe is thick, the blade sticks out from the center of the tool, and the stroke is 3/4 to 1-1/8 inches long. That geometry works against you when you need to ride flat against a surface.
You can still get a clean flush cut with a recip saw, but you need the right blade and you have to change how you hold the tool. Done wrong, you gouge the surface behind the cut, bend the blade, or snap it at the shank. Done right, it’s faster than a handsaw or oscillating tool and you don’t need to buy a specialty saw.
What You Need For a Flush Cut
Standard reciprocating blades won’t work flush. The teeth start 1/2 to 3/4 inch away from the shoe, and the blade body is too stiff to bend flat without cracking the tang. For flush work you want a blade made for it.
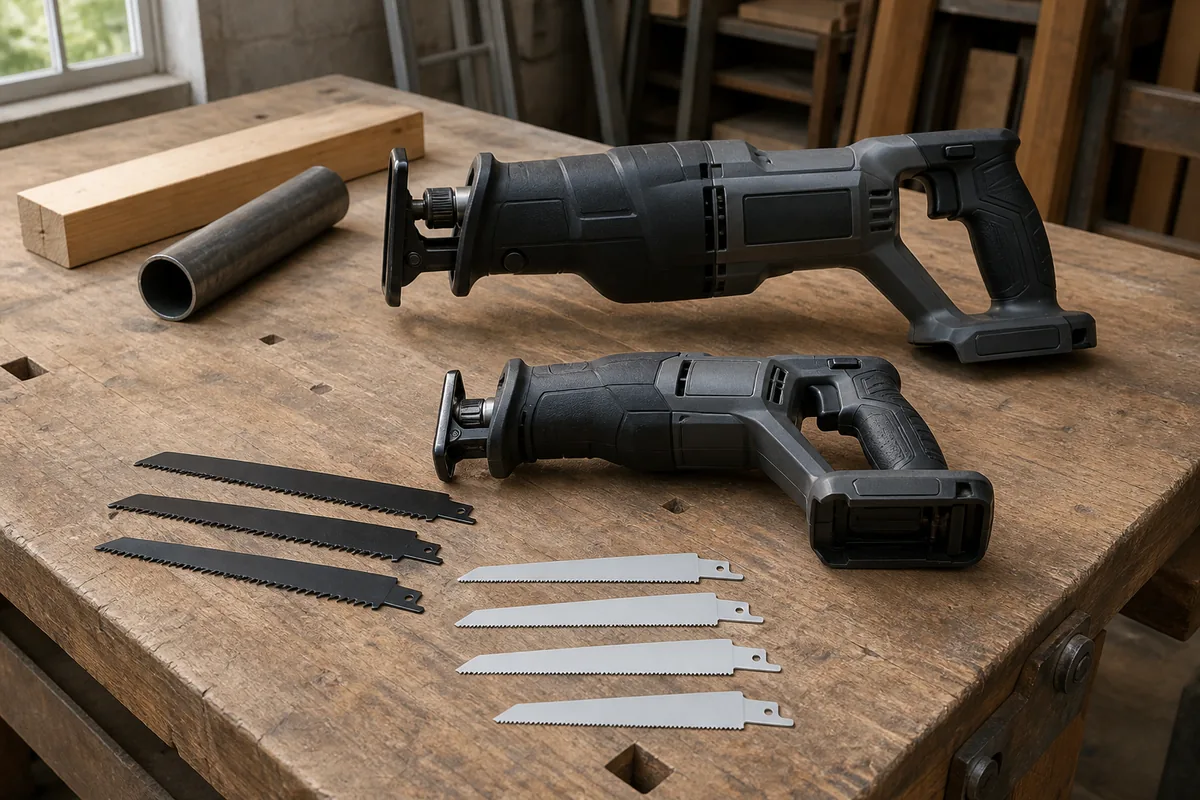
Look for flush cut reciprocating saw blades — they have three differences: the teeth run all the way to the tip and very close to the shank, the blade is thinner and more flexible so it can flex against the surface, and many are double-ground with no set on one side so they don’t scratch the wall or floor as badly. Length matters too. A 6-inch blade gives you more control for nails and dowels. A 9-inch flexible blade is better for pipes or studs where you need reach.
You also want a saw with a pivoting shoe and variable speed. A large, flat shoe helps you register against the surface. Variable speed lets you start slow — full trigger on a flush cut will jump and dig in. If your saw has an orbital mode, turn it off. Orbital action lifts the blade on the return stroke and makes it impossible to stay flat.
Choosing the Right Blade: Teeth, Material, and Flex
Not all flush-cut blades are the same. Tooth count and blade material decide whether you get a clean cut or a chewed-up mess.
| Blade Type | TPI / Tooth Design | Best For | Trade-Offs |
|---|---|---|---|
| Flexible Bi-Metal Flush Cut | 14-18 TPI, wavy set | Nails, screws, softwood dowels, PVC | Cheap, bends easily to stay flush. Dulls fast on hardened fasteners or cast iron. Will scratch surface if you press hard. |
| Carbide-Tooth Flush Cut | 8-10 TPI, carbide tips | Hardened nails, stainless screws, nail-embedded wood | Lasts 10-20x longer on metal. Stiffer and thicker, so harder to get truly flush. More expensive per blade. |
| Diamond Grit Flush Cut | No teeth, grit edge | Cast iron pipe, ceramic, fiberglass, cast nails in masonry | Cuts materials teeth can’t. Very slow on wood, leaves rough edge, generates heat. |
| High-Carbon Flexible Wood Blade | 6-10 TPI, ground teeth | Tree branches, wooden pegs, trim | Cleanest cut in wood. Useless on any metal — teeth strip instantly if you hit a nail. |
For most homeowners, a 14 TPI bi-metal flexible blade is the right starting point. It handles the common case — a nail or screw you need to cut off at the joist or subfloor — and it’s cheap enough to treat as disposable. If you are cutting a lot of old, hardened cut nails or deck screws, step up to carbide. Don’t buy diamond grit unless you are specifically cutting cast iron or tile against a surface.
Concrete numbers: a standard bi-metal flush blade will cut 30 to 50 16d nails before the teeth are gone. A carbide version will do 200+ in the same material. On wood alone, either will last hundreds of cuts. The failure mode is almost always heat — if the blade discolors to blue or straw, you pushed too hard or ran too fast.
Technique Step-by-Step
1. Clear the area and protect the surface. If you’re cutting against hardwood flooring or drywall you care about, stick a piece of thin sheet metal, a putty knife, or even cardboard against the surface as a shield. Even a flush-cut blade will leave scratches if you bear down.
2. Mount the blade with the teeth facing the surface when possible. On most saws you can flip the blade 180 degrees. Teeth-down against the surface lets the flat back of the blade ride flat and gives you better visibility.
3. Bend the blade slightly before you start. With the saw unplugged, press the flexible blade flat against the surface with your hand to see where it contacts. You want the blade to bow just enough that the teeth touch the workpiece at the cut line while the body of the blade rides flat. You are not trying to kink it — a gentle curve over 4 to 6 inches is enough.
4. Start slow and at an angle. Rest the shoe lightly against the workpiece, not jammed hard. Pull the trigger to about 30-40% speed and let the teeth score a groove. Once you have a kerf 1/16 inch deep, you can slowly rotate the saw body until the blade is parallel to the surface.
5. Use light pressure and let the blade do the work. The most common mistake is pushing hard to keep it flush. That flexes the blade too much and it buckles, or it digs the shoe into the surface. Think of guiding, not forcing. Short strokes help — don’t use the full 1-1/8 inch stroke at full speed. Feather the trigger.
6. Keep the blade cool. If you are cutting metal, a 3-second cut, 2-second pause rhythm prevents overheating. For long cuts, a drop of cutting oil on the teeth extends life noticeably. If the blade starts to smoke or the cut slows dramatically, stop and let it cool or swap blades.
For pipes or studs where you need to cut all the way through flush, work from two sides if you can. Cut halfway, rotate the pipe or move to the opposite side. Trying to power through a 2-inch pipe in one pass flush against a wall almost always leaves a nub or bends the blade into the drywall.
Common Mistakes and How to Avoid Them
Scratching or gouging the reference surface is the number one failure. It happens because the blade body rubs or the shoe digs in. Use a shield, keep teeth away from the finished surface, and don’t rock the saw.
Blade snap at the tang is second. Flexible blades fatigue at the shank if you bend them sharply at the collar. Keep the bend gradual and avoid side-loading the blade by twisting the saw mid-cut. If the blade has a visible crack near the tang, throw it away — it will launch.
Vibration and jumping usually means too much speed or too few teeth engaged. You need at least 3 teeth in contact with the material at all times. That’s why a 6 TPI blade chatters violently on a single nail — switch to 14+ TPI for thin material. A saw with anti-vibration helps, but technique matters more.
Leaving a nub is normal if you don’t flex enough. If you need truly flush — for flooring or countertop work — plan to finish with a file, chisel, or oscillating tool flush cut blade for the last 1/32 inch. The recip saw gets you 95% of the way quickly; hand tools do the final leveling without risk.
When a Recip Saw Is the Wrong Tool
A reciprocating saw is the fastest option for demolition flush cuts — nail heads in framing, anchor bolts in concrete, branches at the trunk, or a stud you need to remove against a plate. It is not the best tool for fine woodworking. If you are trimming dowels on a finished table, cutting door jambs for flooring, or cutting copper pipe where you need a square, burr-free end for soldering, use an oscillating multi-tool or a dedicated flush cut hand saw. Those tools cut slower but they ride perfectly flat and leave a surface you don’t have to sand much.
Be honest about cost too. If you only need one or two flush cuts a year, a $12 pack of flexible bi-metal blades for the recip saw you already own is the smart buy. If you do trim and flooring regularly, an oscillating tool pays for itself in saved surfaces and cleaner cuts. You don’t need an expensive carbide flush-cut recip blade for occasional softwood and nail cuts — save that money for blades you will actually dull.
Bottom line: set the saw to straight stroke, use a true flush-cut flexible blade, shield the surface, start slow, and guide lightly. You get a fast, nearly flush cut without buying another saw, and you avoid the gouges that make a quick job turn into patch and paint.