What's inside
As an Amazon Associate I earn from qualifying purchases. This post may contain affiliate links at no extra cost to you.
Cutting a full 4-by-8-foot plywood sheet alone is possible, but the setup matters more than the saw. A sheet supported only at its ends will sag, pinch the blade and produce a crooked cut. The reliable method is to support the entire panel, clamp a straight guide to it, and let the circular saw follow that guide instead of trying to steer freehand.
Our Top Picks


Tools and materials
You need a circular saw with a sharp blade, a straight cutting guide, clamps, a tape measure, a pencil, eye protection and hearing protection. A dust mask or respirator is sensible when cutting plywood indoors. Add a pair of sawhorses and enough scrap insulation board or rigid foam to support the sheet.
For most plywood, use a 40-tooth or 60-tooth carbide-tipped blade designed for fine cuts. A coarse framing blade cuts faster, but it is more likely to splinter the face veneer. If the saw has a thin-kerf option, it removes less material and puts slightly less load on the saw, though a standard full-kerf blade is usually more durable.
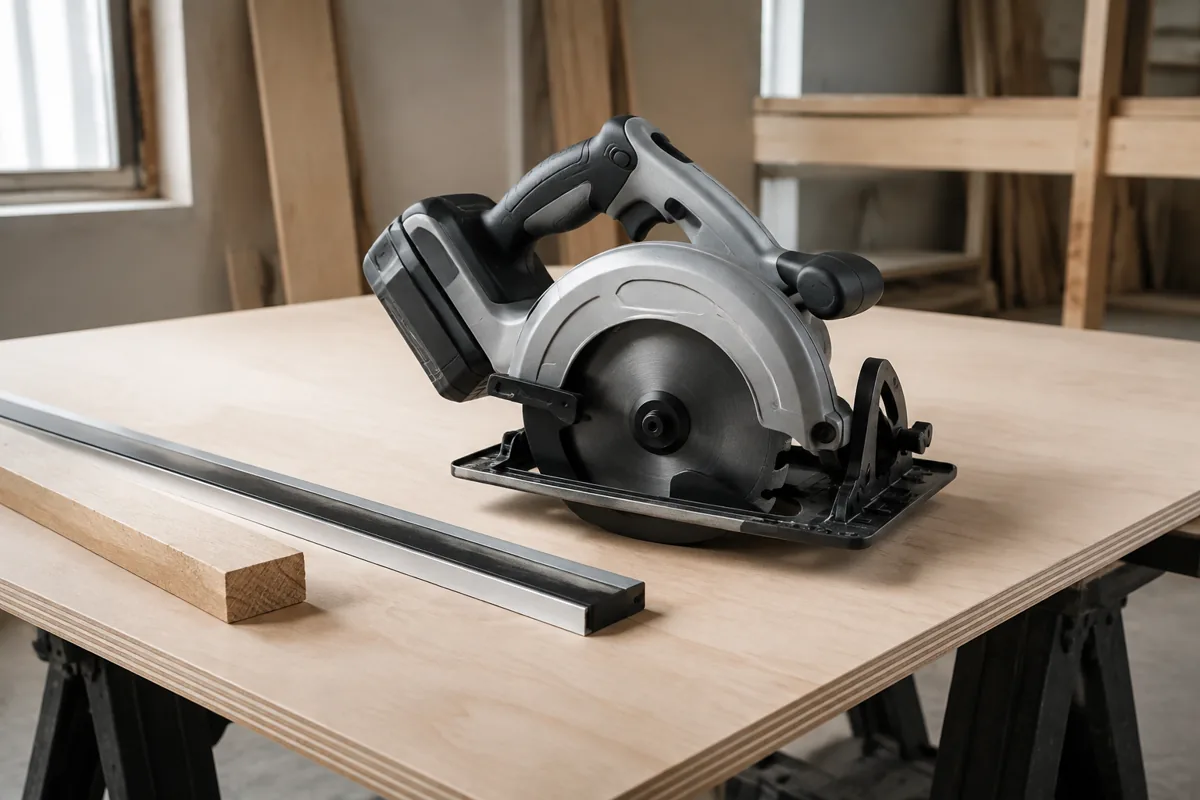
A purpose-made circular saw guide track is the easiest option if you make repeated cuts. For occasional work, a straight, factory edge on a plywood strip, a level or a long aluminum ruler can work just as well.
Choose the right guide
| Guide type | Best for | Advantages | Limitations |
|---|---|---|---|
| Purpose-made track | Frequent, accurate cuts | Fast setup, built-in anti-slip strips, repeatable results | Higher cost and limited cut length unless tracks join |
| Shop-made plywood guide | Occasional sheet cutting | Cheap, long, and easy to customize | Requires careful construction and clamping |
| Straightedge and clamps | One-off cuts | Uses tools you may already own | More measuring, and it can shift if poorly clamped |
A shop-made guide is often the best value. Cut a 6-to-12-inch-wide plywood strip with one genuinely straight edge. Glue and screw another narrower strip along its edge to act as a fence for the saw’s base. Run the saw along the fence, then trim the guide’s edge with the saw. That trimmed edge now shows exactly where the blade will cut.
If you prefer buying rather than building, compare the guide’s usable length, anti-slip surface and compatibility with your saw. Some tracks work only with specific saw bases or require an adapter. A long straightedge without a fence is universal, but you must account for the distance from the saw blade to the edge of the base every time.
Support the plywood completely
Lay the sheet on two or three sawhorses with the good face down if your blade cuts upward. Add rigid foam beneath the entire panel, or place closely spaced scrap boards under it. The support must extend beyond both sides of the cut. This prevents the offcut from dropping and twisting before the blade exits.
Rigid foam insulation is especially convenient because the blade can safely enter it without damaging the saw. Use foam at least 1 inch thick, and check that no nails, screws or hidden debris are underneath. If using scrap boards instead, space them roughly 12 to 18 inches apart and position them so the blade will not hit one.
Keep the sheet flat. A bowed panel can lift into the blade or move against the guide. Put weight on the waste side if necessary, but do not place anything where it will interfere with the saw, cord or your hands.
Measure and clamp the guide
Mark the cut at both ends of the plywood, then connect the marks with a pencil line. Measure from the line to the edge of the panel and transfer that dimension to the guide. Do not assume the saw blade sits directly beside the guide; the offset depends on the saw and the side of the base riding against the fence.
For a shop-made guide with a trimmed edge, align that edge directly with the cut line. This removes most of the offset guesswork. Check the alignment at both ends and in the middle. A guide that is off by even 1/16 inch can spoil a cabinet side or leave a joint visibly uneven.
Clamp the guide beyond the cut path, using clamps that sit low enough for the saw base to pass over them. Two clamps are normally enough for a short crosscut; use three or four for a long rip. Push the guide sideways after clamping. If it moves, improve the clamping before starting the saw.
Make the cut safely
Set the blade depth so its teeth extend about 1/8 to 1/4 inch below the plywood. Too much exposed blade increases tear-out and kickback risk. Confirm the blade is installed in the correct direction and that the lower guard retracts smoothly.
Place the front of the saw base against the guide before squeezing the trigger. Let the blade reach full speed, then advance steadily without forcing the saw. Keep the base flat and maintain firm pressure against the guide. Do not pull the saw backward while the blade is spinning.
Stand to the side of the saw rather than directly behind it. Keep both hands on the saw whenever possible, and keep the power cord behind the tool. If the cut starts closing and pinching the blade, stop, release the trigger and wait for the blade to stop. Never withdraw a running saw from a binding cut.
Near the end of a long cut, support the offcut so it cannot sag and tear the remaining veneer. If you are alone, arrange the foam or scrap supports so the waste remains level after separation. A helper is useful, but correct support makes the operation manageable without one.
Improve the finished edge
Cut with the show face down when using a conventional circular saw, because the blade’s upward-moving teeth enter the bottom and exit the top. The top face usually receives more splintering. Use painter’s tape over the cut line for additional help, but tape is not a substitute for a sharp blade and proper support.
For the cleanest edge, use a 60-tooth plywood saw blade and make a slow, continuous cut. A scoring knife can lightly break the veneer along the layout line first, although it will not prevent all tear-out. If the edge will be hidden by trim, a cheaper 24-tooth framing blade is often adequate and cuts faster.
When a different tool makes sense
A circular saw and guide are the most practical choice for full sheets, but they are not ideal for every job. A track saw offers cleaner, more controlled cuts and usually better dust collection, but costs considerably more. A table saw is excellent for narrow repeatable strips, yet feeding a full sheet alone is awkward and potentially unsafe without outfeed support.
If you regularly break down plywood, a track saw kit can justify its price through faster setup and cleaner results. For a few sheets each year, a sharp circular saw, foam insulation and a well-made guide are the cheaper solution with little practical compromise.