What's inside
As an Amazon Associate I earn from qualifying purchases. This post may contain affiliate links at no extra cost to you.
Our Top Picks
 DEWALT 20V Max Drywall Screwgun11.2 x 3.4 x 7.2 Inch11.2 x 3.4 x 7.2 inches2.6 PoundsCheck on Amazon
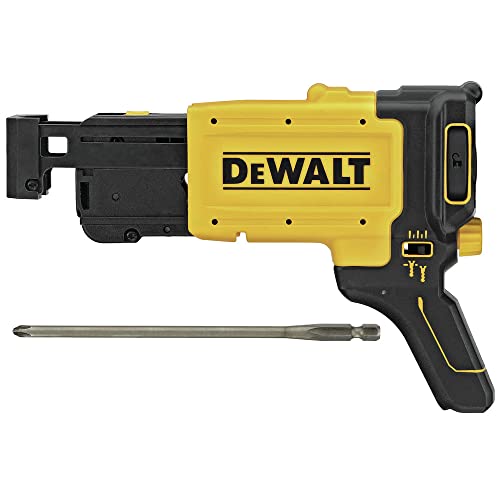 DEWALT Drywall Screw Gun Collated AttachmentOne Size6.38 x 2.63 x 9.25 inches1.4 PoundsCheck on Amazon
Why Clutch Setting Matters on Paper-Faced Board
A drywall screw gun clutch controls how far a screw travels before the drive disengages. On paper-faced gypsum board, the correct setting leaves the screw head slightly below the paper without tearing it. That small difference determines whether the panel stays firmly attached and whether the joint compound has a sound surface to cover.
Set the clutch too shallow and screw heads remain proud. They catch a taping knife, create visible bumps, and may prevent the board from sitting tightly against the framing. Set it too deep and the screw breaks the paper or crushes the gypsum core. A broken face loses much of its holding power, especially near panel edges.
For most standard 1/2-inch drywall, begin with the gun’s middle depth setting, not its maximum setting. Drive a test screw into a scrap of the same board and adjust in small steps. Screw-gun numbers are not standardized: a “5” on one tool may drive deeper than a “5” on another.
The Correct Screw Depth
The ideal screw head forms a shallow dimple. You should be able to run a fingertip across it and feel the recess, but the paper around the head should remain intact and tightly attached to the board. The screw should not be flush with, or above, the surface.
A practical target is roughly 1/16 inch below the face of the drywall. Do not chase an exact measurement on every fastener; the condition of the paper is more important than the number. The dimple should be wide and clean rather than a sharp crater.
| Result | What you see | What to do |
|---|---|---|
| Too shallow | Head is proud or barely recessed | Increase depth slightly and retest |
| Correct | Small dimple; paper remains unbroken | Keep the setting and maintain steady pressure |
| Too deep | Paper is torn, puckered, or cut through | Reduce depth; replace badly damaged screws |
| Spinning screw | Bit turns without advancing the fastener | Use a fresh bit and drive a new screw nearby |
How to Set the Clutch Step by Step
First, use the actual fastener and board combination. A coarse-thread screw in 1/2-inch gypsum over wood behaves differently from a fine-thread screw in board over metal studs. A longer screw can also encounter a harder section of framing or insulation resistance.
Place a scrap panel against a piece of the same framing material, if possible. Hold the gun square to the surface. Start the screw at a moderate speed and let the tool’s nose control the depth. Do not lean heavily on the gun; excessive pressure can compress the board before the clutch releases, leaving an inconsistent hole.
Drive three to five test screws. If the heads are proud, turn the depth collar one small increment deeper. If the paper tears, back it off one increment. Once the setting is correct, check again after driving a dozen screws. Heat, worn bits, and changes in framing can alter results.
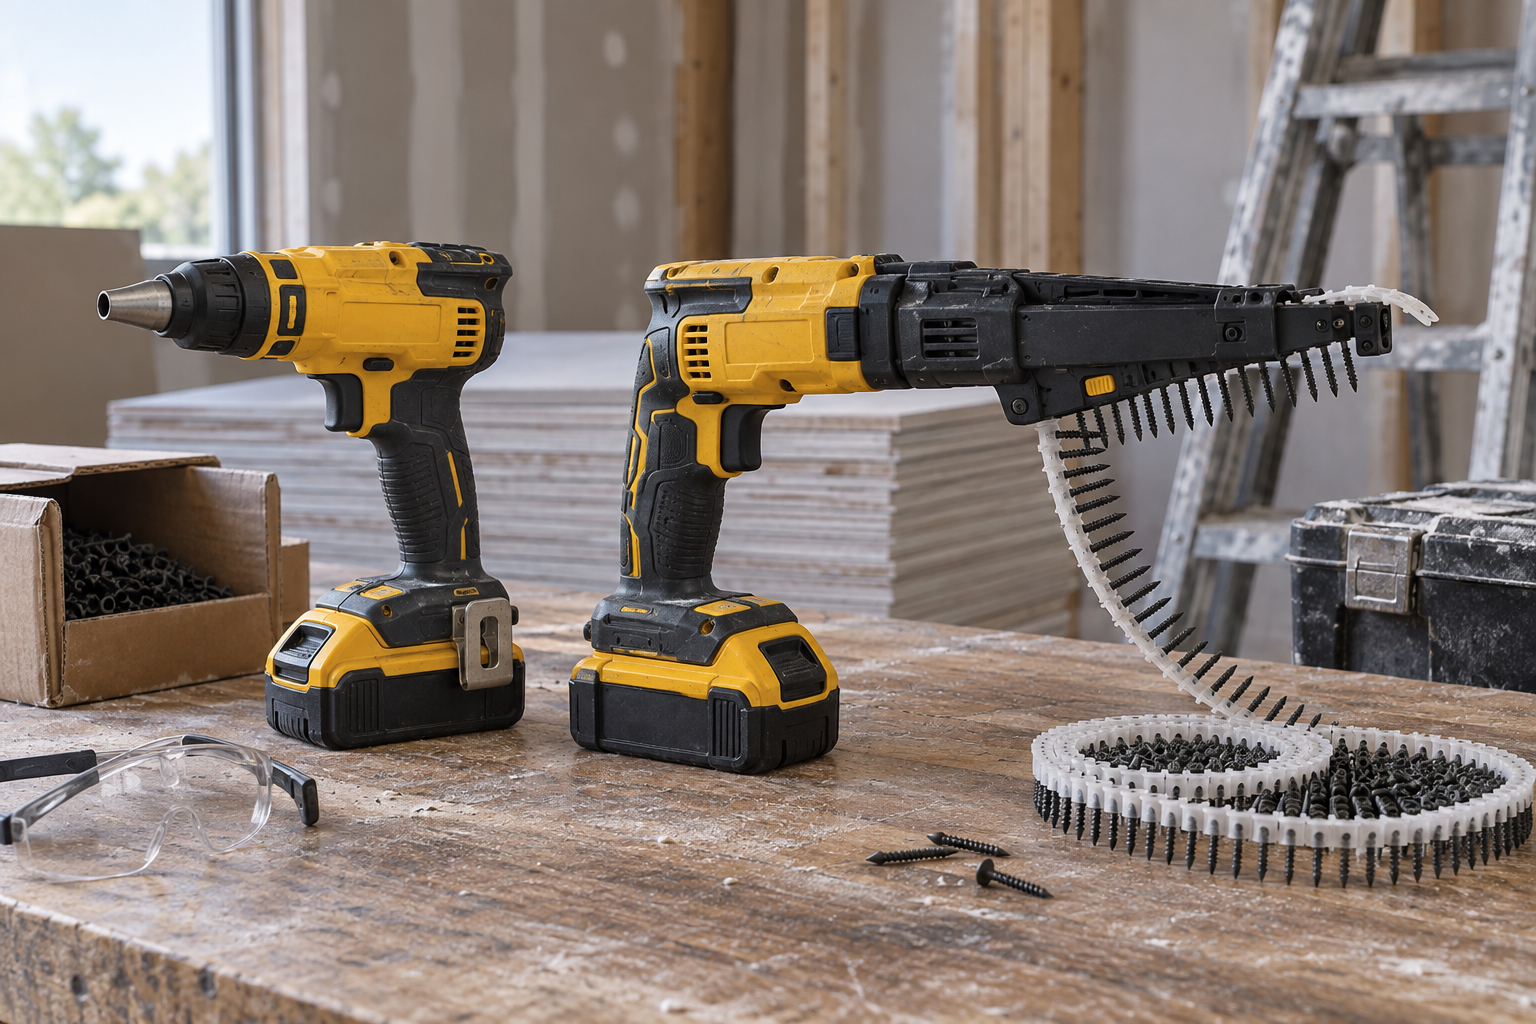
Many professional drywall guns use a nose cone or depth-stop collar rather than a conventional numbered torque clutch. That adjustment is usually more repeatable for drywall because it stops the nose at the same distance from the surface. A cordless drill with a clutch can work for a small repair, but its general-purpose clutch is less consistent and easier to misuse.
Adjust for Board Thickness and Framing
Board thickness changes the feel of the job. Five-eighths-inch fire-rated or sound-control board often requires more driving time and may need a slightly different depth setting than 1/2-inch board. Do not assume the same collar position works for both. Test whenever you change thickness.
Framing also matters. Wood accepts coarse-thread drywall screws and usually gives a predictable stop. Metal framing requires fine-thread screws, and light-gauge steel can flex as the screw seats. If the screw spins or fails to pull the board tight, the problem may be screw type or stud engagement rather than clutch depth.
At panel edges, stay at least 3/8 inch from the edge unless the manufacturer specifies otherwise. A screw driven too close can blow out the gypsum even when the clutch is correctly set. Keep fasteners straight and avoid repeatedly driving into the same damaged hole.
Which Tool Type Gives the Best Control?
| Tool type | Depth consistency | Best use | Main drawback |
|---|---|---|---|
| Dedicated corded drywall screw gun | Excellent | Large rooms and frequent work | Cord management and less general-purpose use |
| Cordless drywall screw gun | Excellent when properly adjusted | Remodeling and jobs without convenient power | Battery cost, weight, and runtime limits |
| Drill/driver with depth-sensitive attachment | Good | Occasional drywall and mixed tasks | Usually slower and less balanced |
| Basic drill/driver with torque clutch | Fair | Small patches and a few screws | More overdriving and inconsistent depth |
If you hang one or two sheets, a drill/driver is usually the cheaper option and is perfectly reasonable. Use a low-to-medium speed, a fresh Phillips bit, and inspect every screw. For a whole room, a dedicated drywall screw gun saves time and reduces the number of torn paper faces.
Bits, Screws, and Maintenance
A worn bit causes many apparent clutch problems. If the bit cams out, it can chew the screw head and force you to push harder, driving the fastener too deep. Replace the bit when it slips under normal pressure. Keep a spare nearby; bits are inexpensive compared with repairing a damaged finish.
Use screws intended for the framing and board thickness. For typical 1/2-inch board over wood studs, 1-1/4-inch drywall screws are common. With two layers, calculate length so the screw penetrates the wood adequately without unnecessarily extending far beyond it. For metal studs, choose fine-thread screws rated for that application.
A collated drywall screw gun can speed up repetitive work, but it adds cost and requires compatible strips. It is worthwhile for production hanging, not usually for a small repair. For occasional use, a drywall screw depth-stop attachment may offer better control without buying another complete tool.
When to Replace a Screw
Remove and replace any screw that breaks the paper badly, spins without gripping, sits more than about 1/8 inch below the surface, or leaves a loose section of board. Put the replacement screw at least 1 inch away when the original hole is damaged. A shallow torn spot can sometimes be covered with compound, but compound does not restore a screw’s holding power.
Before taping, inspect the wall with a wide taping knife or straightedge. Fix proud heads, loose panels, and torn paper first. Ten minutes spent correcting clutch depth is cheaper than sanding bumps and repairing screw pops after finishing.