What's inside
As an Amazon Associate I earn from qualifying purchases. This post may contain affiliate links at no extra cost to you.
A spokeshave produces thin, controlled shavings only when its blade is sharp, properly seated, and set to a very small cut. Most problems blamed on the tool—chatter, digging in, torn grain, or uneven thickness—come from blade adjustment rather than the shave itself.
What you need before adjusting the blade
Work on a stable bench with good light. You will need a screwdriver or spanner that fits the blade-cap screws, a flat surface for checking the blade, and a honing setup. A spokeshave replacement blade is worth considering if the existing blade is deeply pitted, cracked, or too short to clamp securely.
For most work, sharpen the blade before making fine adjustments. A dull edge forces you to apply more pressure, which makes the spokeshave dive into the wood. Hone a consistent bevel, usually around 25 to 30 degrees, then add a small secondary bevel of roughly 1 to 2 degrees if desired. The back of the blade must also be flat at the cutting edge. You do not need to polish the entire back; the first 6 to 10 mm matters most.
Clean the bed, mouth, and underside of the blade. A single shaving or speck of grit under the blade can tilt the edge enough to make one side cut deeper than the other.
Install and center the blade
Loosen the cap iron or blade screws enough for the blade to move, but keep the parts together. Place the blade on the bed with the bevel facing up on a standard bevel-up spokeshave. The cutting edge should project evenly across the mouth.
Do not center the blade by eye alone. Turn the shave upside down and look at the mouth against a bright background. Adjust the blade until both corners project by the same amount. If one corner extends farther, that side will leave a heavier shaving and may catch at the start of a stroke.
Tighten the screws gradually, alternating between them. If you fully tighten one screw first, the blade can twist as the second screw is tightened. Hold the blade in position while tightening, then check the edge again. A useful final check is to place a straightedge across the exposed edge or compare the two corners with a thin piece of paper.
Set the blade for a thin shaving
Start with the blade retracted until it produces no shaving. Then advance it in very small increments. On many spokeshaves, this means turning the adjustment screws only a few degrees at a time. If your tool has no precise adjusters, loosen the blade slightly and tap it forward with a light hammer or screwdriver handle.
A good starting cut is approximately 0.05 to 0.10 mm (0.002 to 0.004 inch). You may need closer to 0.15 mm (0.006 inch) for rough shaping, while a final pass may be below 0.05 mm. These numbers are targets, not guarantees; wood species, grain direction, and blade geometry affect the result.
Use a scrap of the same wood to test the setting. Push the spokeshave with light, even pressure and inspect the shaving. It should be continuous and roughly the same width as the blade. If the shaving is wide on one side and narrow on the other, correct the blade alignment before changing depth.
| Symptom | Likely cause | Adjustment |
|---|---|---|
| Tool takes no shaving | Blade is retracted or edge is dull | Advance the blade slightly; resharpen if it still will not cut |
| One side cuts deeper | Blade is skewed or not seated cleanly | Clean the bed and center the cutting edge |
| Shave digs in and stops | Cut is too deep, pressure is excessive, or edge is dull | Retract the blade and reduce hand pressure |
| Chatter or a corrugated surface | Loose blade, dull edge, or unsupported work | Tighten the cap, sharpen, and clamp the work firmly |
| Torn grain | Wrong direction or overly aggressive cut | Change direction and reduce the blade projection |
Use the right stroke and pressure
Hold the spokeshave with both hands, keeping your thumbs behind the blade and your fingers clear of the mouth. Start each stroke with the tool flat on the work. Do not begin with the front or rear sole tipped up; that changes the effective cutting angle and encourages a gouge.
On convex work, push or pull in the direction that gives the cleanest grain. On concave work, short pulling strokes often provide better control. Follow the grain rather than automatically working along the length of the board. If the grain reverses, work toward the reversal or take overlapping, lighter passes from both directions.
Use the hands mainly to guide the tool, not force it down. Excess pressure compresses the fibers ahead of the blade and makes the tool spring back or dig in. A properly adjusted shave should cut with modest pressure. If you must lean hard on it, stop and check sharpness, blade depth, and workholding.
Fine-tune for an even surface
After the first test, inspect both the shaving and the wood. A shaving that varies in thickness along its width usually indicates a blade that is not parallel to the sole. A shaving that varies from stroke to stroke usually indicates inconsistent pressure or a blade set too deep.
Retract the blade slightly for finishing. Take overlapping passes, changing your angle by a few degrees when the surface allows it. On a long edge, keep the stroke moving smoothly rather than stopping in the middle. Stopping can leave a visible hollow or step.
If the spokeshave has side-to-side adjustment screws, make only one change at a time. Mark the starting position with a pencil if the mechanism is unfamiliar. If the adjusters feel loose or have excessive backlash, a simpler fixed-mouth shave may actually be easier to control after manual blade positioning.
Choosing equipment for easier adjustment
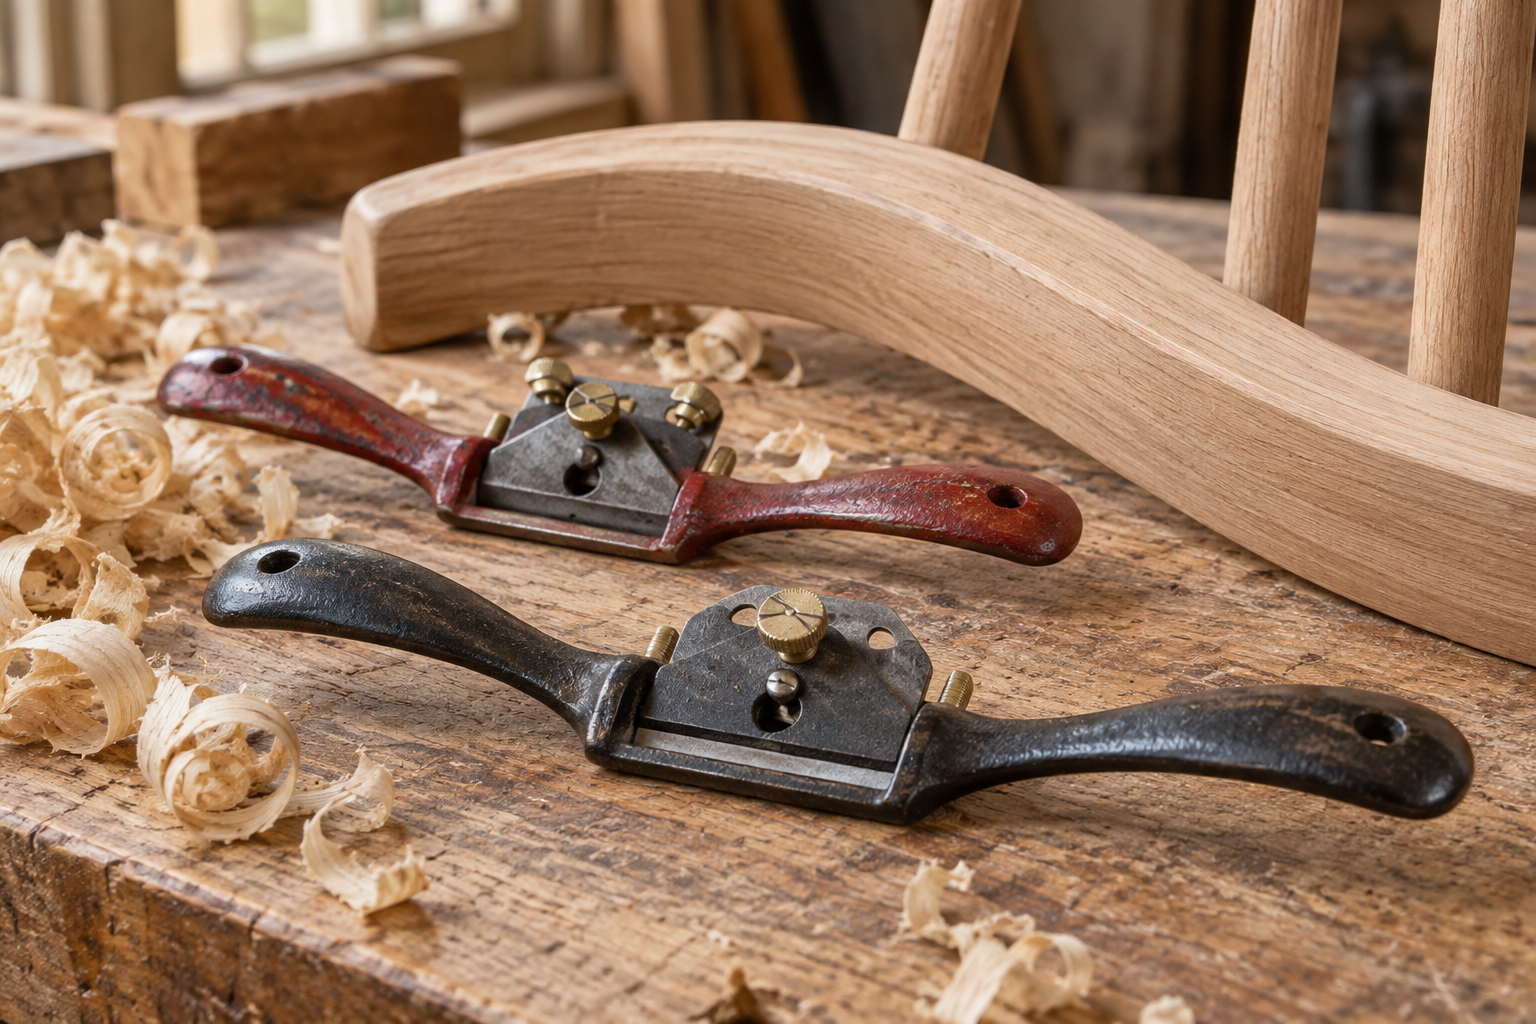
A metal spokeshave with adjustable blade screws is generally faster to tune, especially for beginners and changing wood species. A wooden spokeshave can be lighter and comfortable in the hand, but it often requires more care when seating and setting the blade. A metal adjustable spokeshave is the practical choice when you want repeatable setup.
For occasional shaping, a cheaper shave is fine if the blade clamps firmly and the sole is reasonably flat. Spend more for better adjustment hardware only when you use the tool frequently, work difficult grain, or need to switch repeatedly between rough and finishing cuts. Regardless of price, sharpness and blade seating matter more than decorative finish or brand markings.
Keep the blade lightly oiled after use, release the clamping pressure for storage, and protect the edge. Before the next job, clean the bed and reset from a no-cut position. That small routine is faster than trying to correct an uneven shaving halfway through a finished surface.