What's inside
As an Amazon Associate I earn from qualifying purchases. This post may contain affiliate links at no extra cost to you.
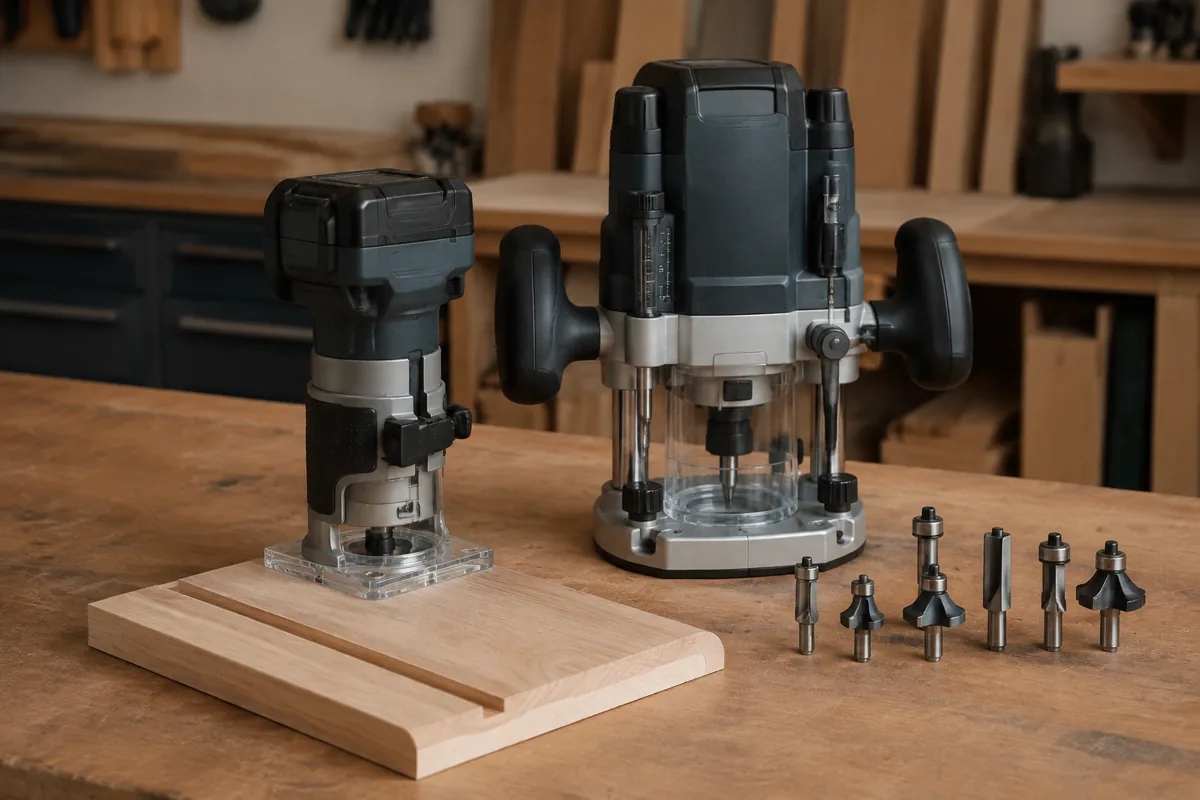
Flush-trimming laminate on a cabinet edge is a small job with little room for a sloppy cut. A router that is too large can be awkward to control, while an undersized trim router may bog down if you push it hard. For most cabinet work, a compact fixed-base router with a 1/4-inch collet is the sensible choice. The more important decision is whether you need a corded tool’s steady power or the convenience of a cordless one.
As an Amazon Associate we earn from qualifying purchases at no extra cost to you.


Our Top Picks
 BOSCH PR20EVS Colt 1.0 HP Variable-Speed Palm Router35 in9.41 x 7.43 x 4.7 inches3.3 PoundsCheck on Amazon


What matters for this job
Look for a compact router that feels stable when held with both hands, has a base you can see through, and allows small depth adjustments. A transparent base helps you follow the cabinet edge and spot the laminate before the bit reaches a corner. A fixed base is usually simpler and more predictable for edge trimming than a plunge base, though some kits include both.
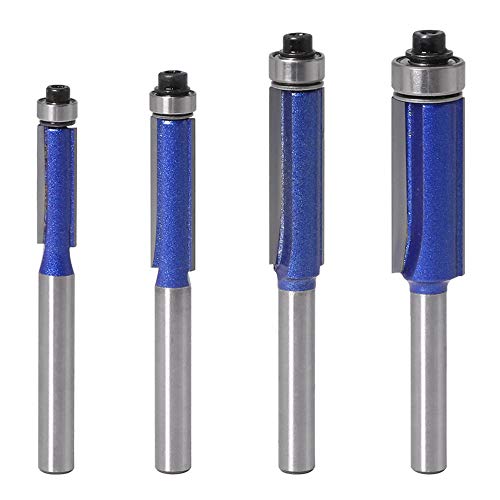
Use a laminate-flush-trim bit with a bearing, typically with a 1/4-inch shank. The bearing rides against the cabinet edge while the cutter trims the overhang. Match the bit’s cutting length to the laminate stack: a bit that is too short may leave a lip, while one with unnecessary cutting length can contact the cabinet face or another surface. Check the bit maker’s instructions and the router’s speed limits before use.
Corded or cordless?
A corded compact router is the practical pick for repeated trimming, a full kitchen’s worth of edges, or long passes in dense material. It delivers consistent power without battery changes and is often less expensive than a comparable cordless kit. The cord is the trade-off: keep it clear of the bit and route it over your shoulder or behind the work.
A cordless trim router is easier to move around assembled cabinets and avoids dragging a cord across finished surfaces. It makes sense for a handful of doors or occasional repairs, especially if you already own compatible batteries. Expect runtime to vary with battery capacity, material, bit sharpness, and how aggressively you feed the tool. A small battery may be convenient but can mean interruptions on a larger job.
Compact router options compared
| Option | Best fit | Main advantage | Trade-off |
|---|---|---|---|
| Corded fixed-base trim router | Several cabinets or frequent shop use | Steady power and usually lower tool cost | Cord management around finished work |
| Cordless trim router | Small jobs, site work, or battery-platform owners | No cord to snag on cabinet corners | Battery cost, weight, and limited runtime |
| Compact router kit with fixed and plunge bases | Buyers who also rout grooves or small recesses | One motor covers more tasks | More parts and expense than edge trimming requires |
Which one should you buy?
For regular cabinet work, start with a corded compact router with a fixed base. It is usually the better value when you have many edges to trim, and you do not need a large router for laminate. Pay attention to grip and visibility, not just motor power: a router that is awkward to steady is more likely to tip and mark the cabinet face.
Choose a cordless compact router if portability matters more than uninterrupted runtime, or you already have batteries for that tool platform. The cheaper corded option is entirely adequate for occasional edge trimming if you can manage the cord safely. Do not pay extra for a plunge base solely for this task; buy a kit with one only if you will use it for other work.
Budget separately for a sharp, appropriate bit. A bearing-guided laminate flush-trim bit is not a place to economize by choosing an unknown cutter with poor bearing fit. A dull bit needs more feed pressure, which makes the router harder to control and increases the chance of chipping or burning.
Setup and cut technique
Leave a modest overhang when applying laminate—about 1/16 to 1/8 inch is enough for the bit to remove. If the overhang is much larger, saw or file it closer first rather than asking a small router to remove a wide strip. Clamp the cabinet or door securely, and support the edge so the router base sits flat. A narrow or unsupported edge can let the base rock, producing a bevel instead of a flush cut.
Set the bit so its bearing runs on the cabinet edge and the cutter reaches just beyond the laminate. Test the setup on scrap made from similar material before touching the finished piece. Hold the router square, start it clear of the work, and feed steadily without forcing it. Follow the router and bit makers’ guidance for feed direction; conventional routing is generally the controllable approach for a handheld edge pass. Do not climb-cut casually to correct a problem, since the cutter can pull the router forward.
At outside corners, the laminate is most vulnerable to chipping. Keep the piece supported, avoid pausing with the cutter against the edge, and take a light finishing pass if a heavy first cut leaves a rough lip. Never use the bearing as a substitute for a firm grip: it guides the bit, but it does not prevent the router from tipping.
Common failures and safety checks
A chipped corner often points to a dull bit, an unsupported edge, or too much material left for one pass. A beveled edge usually means the base tilted or the work was unevenly supported. If the cut leaves a thin ledge, check that the bit’s cutting length covers the laminate thickness and that the bearing is actually riding on the cabinet edge. A hot or darkened cut can indicate a dull cutter, excessive pressure, or lingering in one spot.
Wear eye and hearing protection, and use dust extraction where practical. Unplug a corded router or remove the battery before changing the bit. Tighten the collet with the correct wrench, keep hands away from the cutter, and wait for it to stop before setting the tool down. Make a short test cut first; correcting depth on scrap is far cheaper than repairing a cabinet edge.