What's inside
As an Amazon Associate I earn from qualifying purchases. This post may contain affiliate links at no extra cost to you.
Our Top Picks


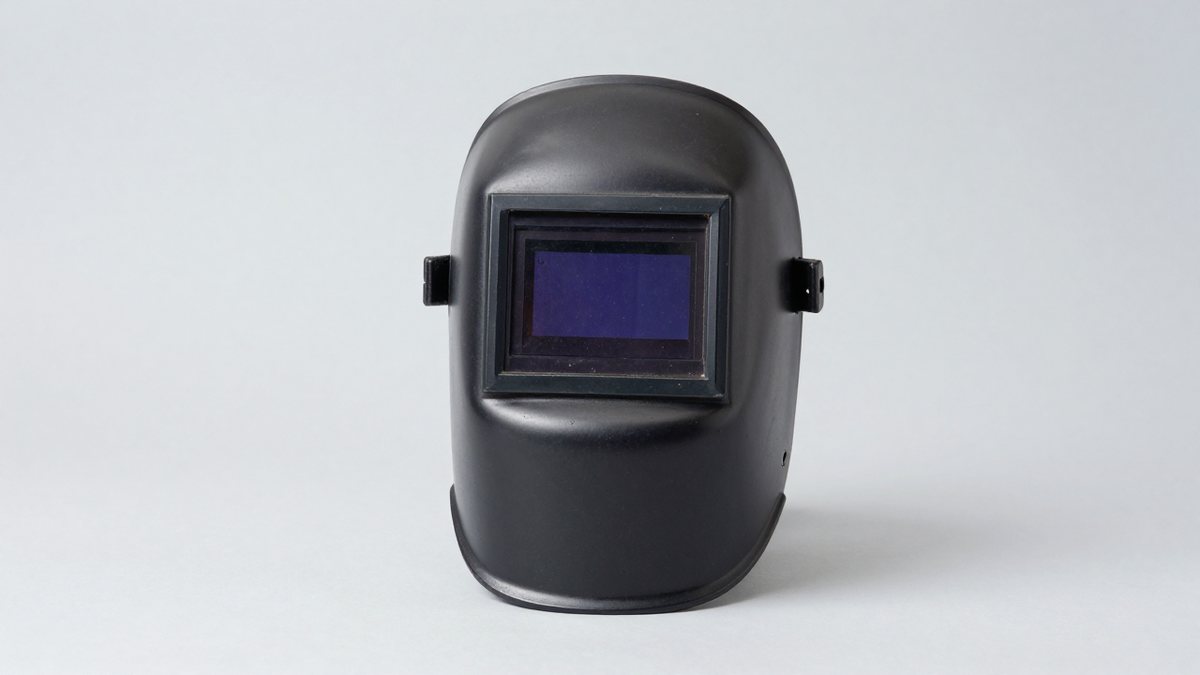
Best Auto-Darkening Welding Masks for Clear, Fast Shade Changes
For most home and shop welders, the best automatic dimming welding mask is a comfortable, four-sensor helmet with a large viewing area, adjustable sensitivity and delay, and a published light-to-dark reaction time of 1/25,000 second or faster. Choose a simpler fixed-shade model for occasional, consistent welding; step up to adjustable shade and grind mode if you switch processes or work in varied lighting.
Compare the key specifications
The table compares useful specification targets rather than implying that every helmet in a category has identical features. Check the exact model’s manual: viewing dimensions, shade range, power source, and reaction time vary even within a brand’s lineup.
As an Amazon Associate we earn from qualifying purchases at no extra cost to you.

| Helmet type or example | Typical viewing area | Dark-state shade range | Published switching time | Best fit |
|---|---|---|---|---|
| Basic fixed-shade auto-darkening helmet | About 3.5 × 1.75 in | Usually one dark shade, commonly 10 or 11 | Often around 1/10,000–1/25,000 sec | Infrequent welding with a familiar process |
| Midrange adjustable helmet | About 3.9 × 2.3 in | Typically shades 9–13 | Commonly 1/10,000–1/25,000 sec | Home-shop work across several amperage settings |
| Large-window professional helmet | About 4.3 × 3.5 in or larger | Often shades 5–13, with grind mode | Some models specify 1/25,000 sec or faster | Frequent work, out-of-position welding, or better peripheral visibility |
| Lincoln Electric Viking 3350 | 3.74 × 3.34 in | 5–13, plus grind mode | 1/25,000 sec | Welders who prioritize a broad, clear view and adjustable settings |
| 3M Speedglas G5-01 | Varies by configuration; designed for a broad view | Varies by lens configuration | Check the selected lens specification | Frequent or demanding work where fit and system options matter |
Product configurations can change, so confirm the current manufacturer specification before buying. A larger window helps you track the joint and surroundings, but it can add weight and may make the helmet feel less balanced. The most useful comparison is not window size alone: try to assess the helmet with its headgear adjusted, especially if you weld overhead or for long sessions.
Pick by the work you actually do
- Occasional stick or MIG repairs: A basic helmet can be adequate if its shade suits your usual amperage and it fits securely. Avoid paying for a wide shade range you will not use, but do choose a model with a clear low-battery indication or a dependable power setup.
- One helmet for several processes: Look for adjustable dark shade, sensitivity, and delay, plus a grind mode that is clearly identified. A broad shade range is useful when moving between low-amperage TIG and brighter, higher-amperage work.
- Frequent TIG at low current: Favor a helmet with adjustable sensitivity and enough sensors for the task. Low-current arcs can be harder for some lenses to detect, particularly when the torch, workpiece, or operator’s hand blocks sensors. Follow the manufacturer’s guidance for sensor placement and compatible applications.
- Long shifts or awkward positions: Prioritize comfortable, stable headgear and balanced weight. A large viewing window can reduce repeated head movement, but only if the helmet does not slide or strain your neck.
- Limited storage or shared equipment: Choose a helmet with replaceable outer and inner cover lenses and readily available consumables. Store it where the lens will not be scratched or exposed to welding spatter.
What the controls change—and what they don’t
Reaction time
Reaction time is how quickly the filter changes from its light state to its dark state after detecting an arc. A specification such as 1/25,000 second is a useful comparison, but it does not guarantee a perfect experience in every setup. Sensor obstruction, poor fit, depleted batteries, or unsuitable sensitivity can still cause the lens to miss or behave inconsistently. The return from dark to light is a separate delay setting; a longer delay can help prevent the bright end of a weld from flashing into view while the pool cools.
Shade range
Use the shade recommended for your welding process and current in the helmet manual, then adjust only within that guidance. More shade numbers are not automatically better: too dark can make it harder to see the joint, while too light is not an acceptable shortcut. Grind mode is for grinding only, not welding. Before striking an arc, confirm the helmet is back in welding mode.
Sensitivity and sensors
Sensitivity controls how readily the lens detects an arc. If the helmet darkens from nearby arcs, reduce sensitivity as directed by the manual; if it fails to switch reliably, stop welding and check sensor visibility, power, settings, and fit before continuing. Two sensors may be enough for straightforward work with a clear view of the arc. Four sensors provide more detection points and can be helpful when your position or the workpiece may block part of the lens, but they do not make blocked sensors irrelevant.
Power, fit, and ownership costs
Solar-assisted helmets may use replaceable batteries, sealed batteries, or a combination; “solar” does not necessarily mean battery-free. Replaceable cells are convenient when they are accessible, while sealed designs may require servicing or eventual helmet replacement if the power source fails. Check the manual for battery type, replacement instructions, and storage recommendations. Avoid assuming that leaving a solar helmet in bright light will solve every power problem.
Fit can matter as much as a fast lens. Adjust the crown and headband so the helmet sits level, then set the tilt and sensitivity controls where you can reach them. A helmet that shifts when you look down can expose you to arc light or make precise work harder. If you wear prescription glasses or a respirator, check the interior clearance before committing to a model; compatibility varies.
Cover lenses are consumables. Spatter, smoke residue, and scratches gradually reduce visibility, and cleaning a scratched plastic cover aggressively can make it worse. Replace damaged covers with the specified part, wipe them with a soft cloth, and keep abrasive grinding dust away from the filter. Also inspect the headgear: a loose ratchet, worn sweatband, or cracked shell can become the practical weak point before the electronic lens does.
Bottom line
Choose a fixed-shade automatic dimming welding mask for occasional work if its shade matches your process and it fits well. For a versatile home shop, a midrange model with adjustable shade, sensitivity, delay, and grind mode is usually the more useful balance. For frequent welding or difficult positions, consider a larger window and better-balanced headgear—but verify the exact lens specifications, battery arrangement, and available replacement covers. A helmet’s auto-darkening filter is a convenience, not a substitute for following welding safety procedures or the manufacturer’s instructions.