What's inside
As an Amazon Associate I earn from qualifying purchases. This post may contain affiliate links at no extra cost to you.
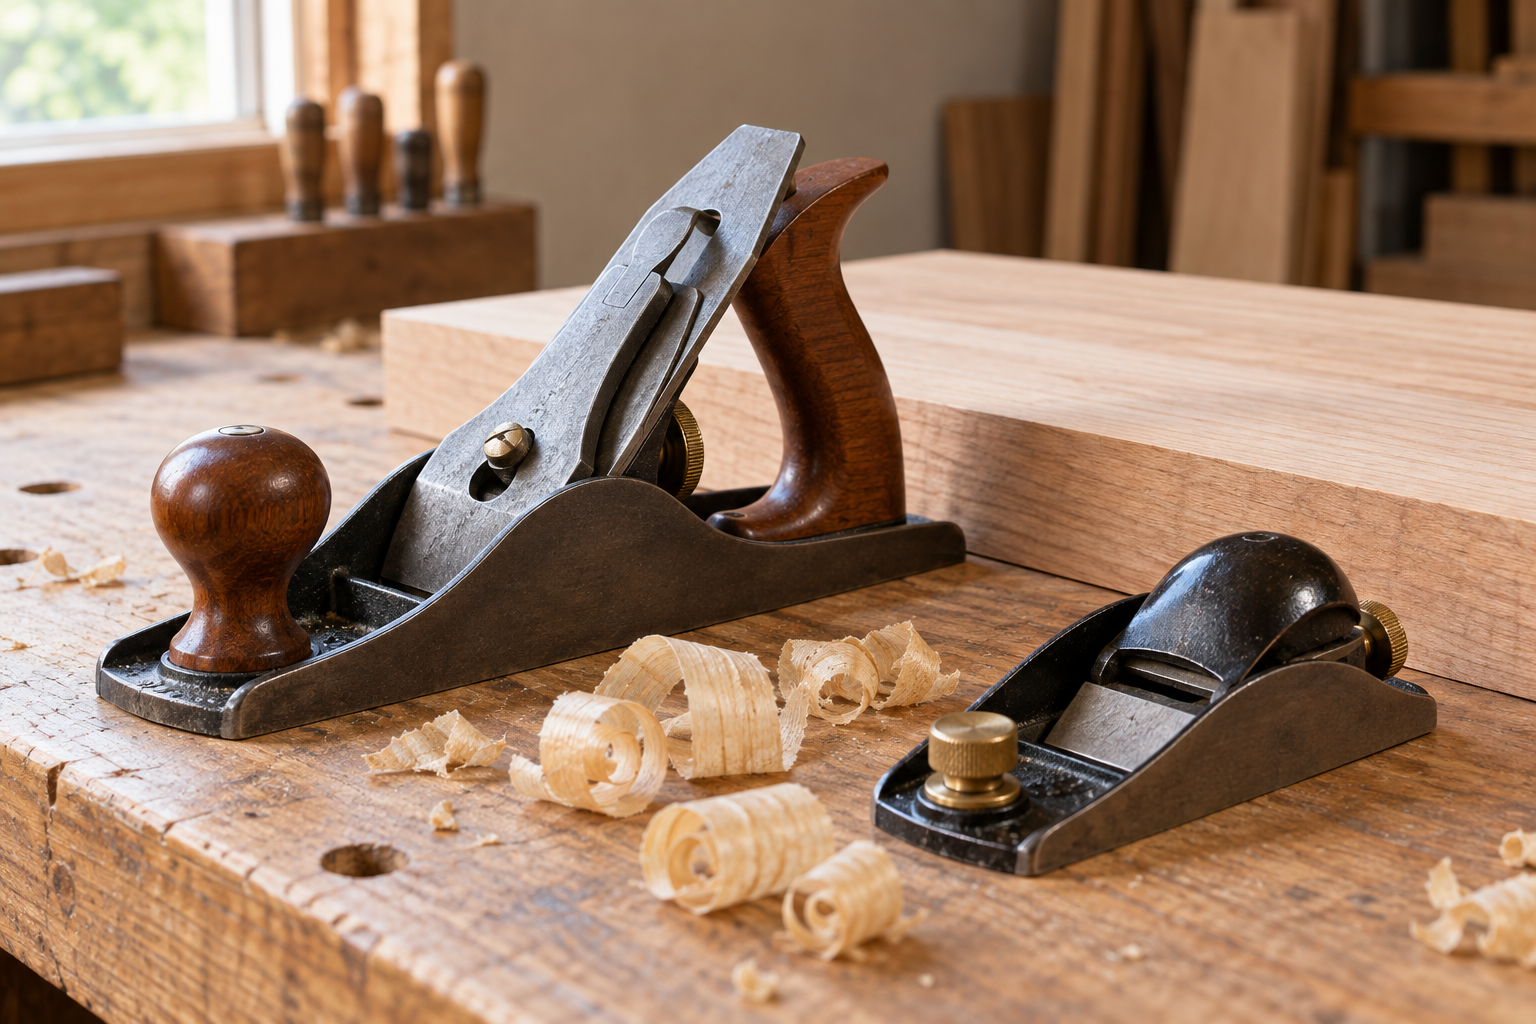
A hand plane can produce a surface that feels smoother than sanded wood, but hardwood exposes every weakness in the setup. A blade that is too deep tears the grain, an uneven edge leaves ridges, and a mouth opening that is too wide allows fibers to lift ahead of the cut. Fine shavings come from controlling all three: blade projection, lateral alignment, and chipbreaker or mouth support.
Our Top Picks
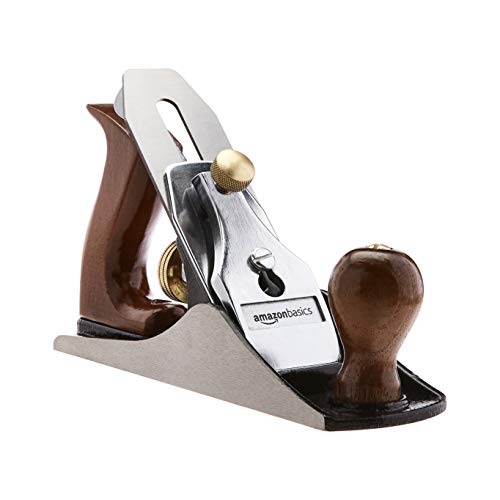 Amazon Basics No.4 Adjustable Precision Smoothing Bench Hand(Pack of 1)10 x 5.5 x 2.6 inches3.82 poundsCheck on Amazon

Choose the Right Plane Setup
For general work, a No. 4-style bench plane is a practical choice. Its moderate length is easy to control, while its sole is long enough to flatten small boards and panels. A low-angle block plane works well for end grain and trimming, but it is less comfortable for removing long, thin shavings from a broad hardwood face.
If you are buying rather than tuning an old plane, compare the cost and time involved. A cheaper plane can work very well after sharpening and adjustment, but a poorly machined sole or loose frog can turn setup into a project.
| Plane type | Best use | Fine-shaving trade-off |
|---|---|---|
| No. 4-style bench plane | General smoothing and flattening | Most versatile; requires careful blade setup |
| Low-angle block plane | End grain, edges, and small parts | Compact and inexpensive, but less stable on wide faces |
| Long jointer plane | Straightening long edges and boards | Stable cut, but excessive for short workpieces |
| High-angle or bevel-up plane | Reducing tear-out in difficult grain | Effective on figured hardwood, but usually needs more pushing effort |
For most users, a sound No. 4 hand plane is the sensible starting point. If the plane will mainly trim doors, shelves, or small parts, a low-angle block plane may be the better buy.
Sharpen the Blade Before Adjusting It
Adjustment cannot compensate for a dull iron. On hardwood, the cutting edge should be sharp enough to shave end grain cleanly and leave a continuous, translucent shaving on face grain. A common setup is a 25-degree primary bevel with a small 30-degree secondary bevel. The exact angles are less important than a clean, consistent edge.
Flatten only the first 1/2 inch or so of the back unless the blade is badly damaged. Hone the bevel until you can feel a small burr along the full width, then remove that burr from the back. Finish with a fine stone or strop if available. Do not round over the edge by rocking the blade; a rounded edge makes a thicker, less predictable shaving.
For a standard bench plane, camber the edge very slightly. The center should project farther than the corners by roughly 0.1 to 0.3 mm. You should not see deep tracks at the edges of a test shaving. A block-plane blade used for trimming may be nearly straight across, but its corners still need a tiny relief.
A hand plane sharpening stone set is usually a better first upgrade than an expensive plane. A flat medium stone, a fine stone, and a reliable honing guide are enough for repeatable results. The cheaper option is fine if the stones are genuinely flat and you are willing to maintain them.
Install and Align the Iron
Retract the blade before installing it. Fit the cap iron or chipbreaker firmly, with its leading edge parallel to the cutting edge. For ordinary smoothing, set the chipbreaker about 0.5 to 1 mm behind the edge. Move it closer—sometimes to about 0.2 mm—when tear-out persists in reversing or figured grain. A closer setting supports the fibers better, but it also clogs more easily and requires a clean, accurately fitting edge.
Place the blade assembly in the plane and tighten the lever cap or cap screws only enough to hold it. Look through the mouth from the sole side. Extend the blade gradually until a very narrow line of steel appears. On a properly cambered blade, the projection should be greatest in the middle and disappear at both corners.
Use the lateral lever to make the cutting edge parallel to the sole. Sight along the sole rather than relying only on the position of the lever. One side of the blade projecting just 0.2 mm farther can leave a noticeable ridge, especially when taking several overlapping passes.
Set the Mouth and Cutting Depth
Start with a fine cut. On hardwood, begin around 0.02 to 0.05 mm of blade projection. This is approximately the thickness of a light shaving, not a measurement you need to hit perfectly. If the plane produces dust or skips, the blade may be too shallow, dull, or riding over a rough surface. Increase projection in tiny increments—about one-eighth turn on many adjusters—until a continuous shaving appears.
A tight mouth helps prevent tear-out. For a smoothing plane, an opening around 0.5 to 1 mm is a useful starting point. Open it to roughly 1.5 to 2 mm only when you need more clearance for a thicker cut. A tight mouth will clog if the shaving is too thick, so do not treat a narrow opening as a substitute for a light cut.
If the plane has an adjustable frog, set it with the blade removed or fully retracted. Moving the frog forward closes the mouth; moving it back opens it. Make sure the frog is seated firmly and its screws are tight. A loose frog can chatter even when the blade is sharp.
Test and Correct the Cut
Plane with the grain whenever possible. Examine the shaving, the sound, and the surface after every few passes. A fine shaving should come out in a continuous ribbon. A torn, fuzzy surface usually means the grain is reversing, the blade is dull, the cut is too deep, or the mouth and chipbreaker are not providing enough support.
| Symptom | Likely cause | Adjustment |
|---|---|---|
| Blade leaves a ridge on one side | Iron is not square or camber is uneven | Correct lateral alignment and sharpen the corners back |
| Plane chatters or skips | Dull edge, loose frog, or cut too deep | Sharpen, tighten the assembly, and retract the blade |
| Surface tears behind the cut | Reversing grain or insufficient support | Reduce depth, close the mouth, and move the chipbreaker closer |
| Shaving will not start | Blade is retracted, dull, or held at the wrong angle | Advance the iron slightly and verify the edge |
When grain direction changes, reverse the planing direction or skew the plane 20 to 30 degrees. Skewing reduces the effective cutting angle and can make a difficult area behave better. For severe tear-out in curly maple, walnut, or figured oak, a higher cutting angle is often more effective than forcing a standard setup. A high-angle hand plane costs more and cuts more slowly, but it can save time on difficult grain.
Finish With Consistent Passes
Support the workpiece securely, keep the sole flat, and use overlapping passes with moderate pressure. Put more pressure over the front of the plane at the start of a pass, then shift toward the rear handle as the plane exits. Excess downward pressure can force the sole to rock and create a hollow surface.
Check the surface with a straightedge and raking light rather than chasing every visible line. Once the shavings are thin, the blade is aligned, and the surface is clean, stop advancing the iron. The last few passes should remove high spots, not attempt to correct a badly twisted board.