What's inside
As an Amazon Associate I earn from qualifying purchases. This post may contain affiliate links at no extra cost to you.
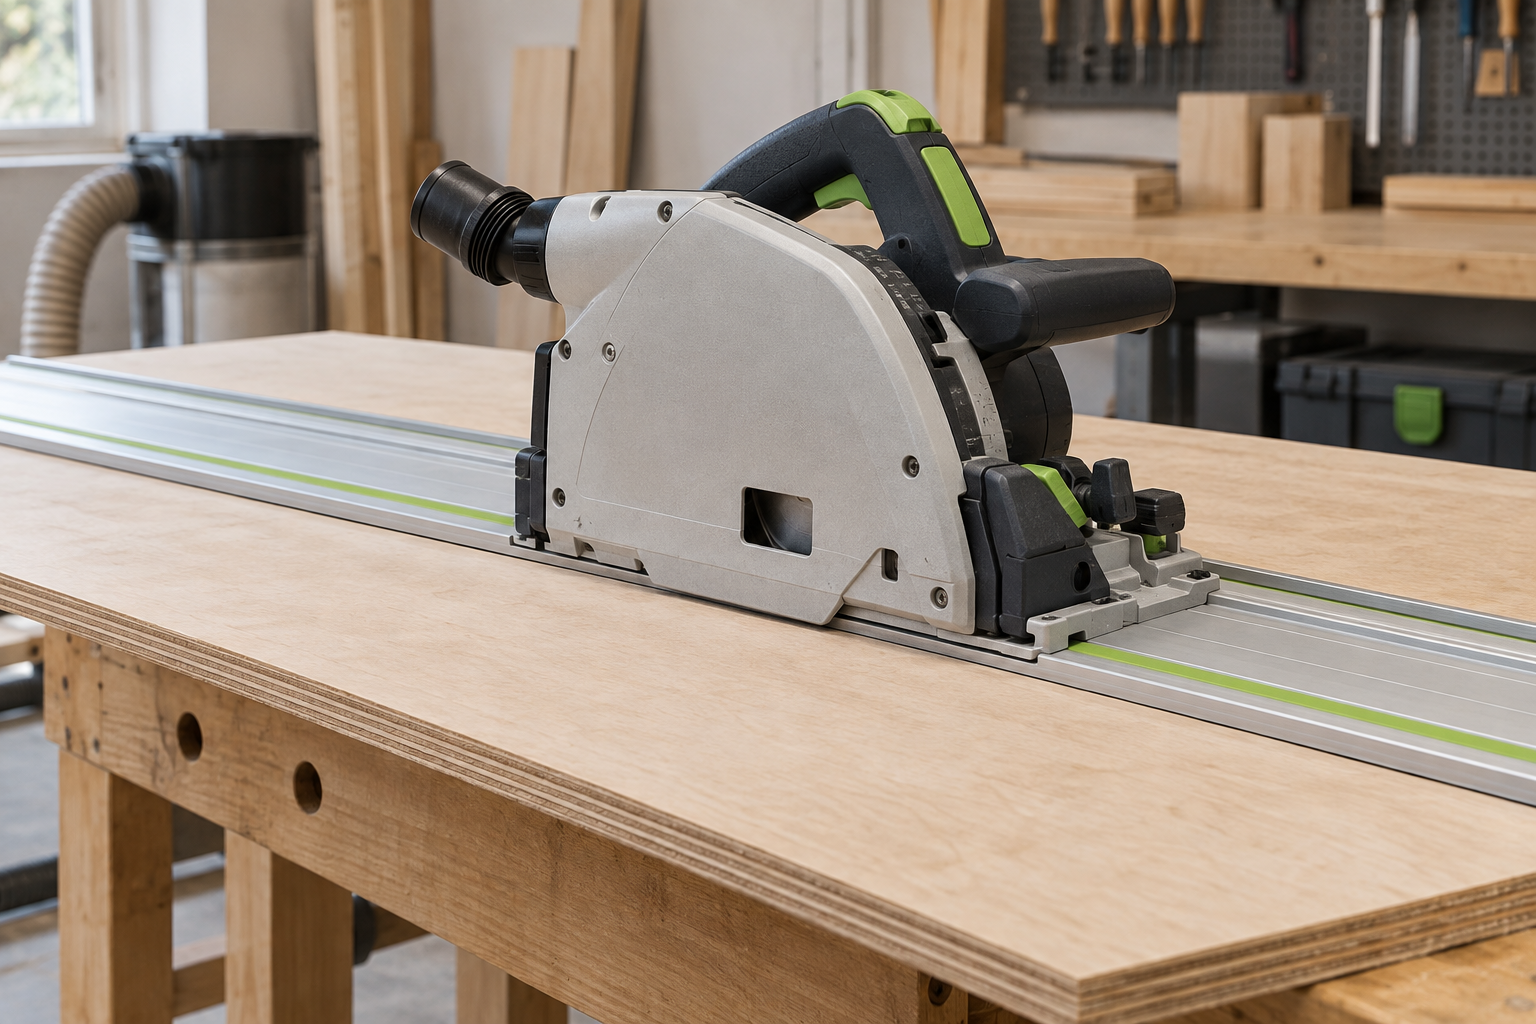
A track saw’s splinter guard is a sacrificial strip, not a permanent part of the track. It supports the edge of the workpiece as the blade exits, reducing tear-out on the waste side of the cut. After several cuts, the strip becomes worn, crushed, or too short to register accurately. Replacing it is straightforward, but the first cut matters: it establishes the new guard’s exact edge for that track and saw setup.
Choose the Right Replacement
Buy a guard made for your track brand and track width. The mounting shape, adhesive backing, and guard height are not universal. A strip that looks similar may sit too far from the guide rib, peel under the saw, or leave the blade cutting outside the supported edge.
Use the saw manufacturer’s replacement when you want the least fitting work. Third-party strips can cost less and may be perfectly adequate for plywood, MDF, and general construction lumber, but check reviews for adhesive quality and thickness. The wrong thickness can make the saw drag or prevent the base from sliding freely.
| Replacement type | Best for | Advantages | Trade-offs |
|---|---|---|---|
| Manufacturer replacement | Frequent use and expensive sheet goods | Correct fit, predictable adhesive, easy trimming | Usually costs more |
| Third-party track strip | Budget repairs and backup tracks | Lower price and useful for multiple tracks | Fit and adhesive quality vary |
| Generic rubber or edge strip | Temporary shop fixes | Cheap and widely available | May not hold position or provide a clean zero-clearance edge |
For a primary track used on cabinet panels or veneered plywood, a track saw replacement splinter guard made for your track is the safer purchase. For a spare track used mainly on framing plywood, the cheaper compatible strip is often fine.
Tools and Preparation
Gather the replacement strip, a sharp utility knife, a plastic scraper, denatured alcohol or the adhesive maker’s recommended cleaner, masking tape, a straightedge, and a shop vacuum. You may also need a small block of wood for pressing the strip down.
Remove the old guard with the track off the workbench. Start at one end and pull it back slowly at a low angle. A plastic scraper helps lift stubborn sections without gouging the track. Do not use a screwdriver against the track’s edge; a small dent can affect saw movement and cut accuracy.
Clean the adhesive residue thoroughly. Wipe the mounting surface until it feels smooth and dry, then allow the solvent to evaporate completely. Dust trapped under the new strip creates bumps, while oily residue weakens the bond. Do not soak the track or leave solvent pooled near plastic components.
Install the New Splinter Guard
Lay the track on a flat surface with the guide rib facing up. Before removing the backing, compare the new strip with the old one. Confirm that its locating edge matches the track and that it is long enough to extend beyond both ends.
Start at one end of the track. Peel back only 75 to 100 mm of backing paper, align that short section, and press it down. Keep the strip lightly tensioned as you work, but do not stretch it. Stretching can cause the guard to shrink back later, leaving gaps at the ends.
Continue peeling the backing in short sections. Press from the installed portion toward the loose end, using your thumb or a small wood block. Keep the strip parallel to the track. If it begins to wander, lift it immediately and correct it; trying to force a crooked strip flat usually produces a permanent curve.
Most adhesive-backed guards should be pressed firmly along their full length. Pay particular attention to the first and last 150 mm, where lifting commonly starts. Follow the product’s instructions for curing time. If no time is specified, waiting at least 30 minutes before trimming is sensible, and several hours is better in a cold shop.
Trim the Cut Edge Accurately
The guard is intentionally oversized toward the blade. Trimming it with the saw creates a zero-clearance edge matched to the saw’s blade position and the track. This is why a replacement guard cannot be accurately trimmed just by measuring from the track edge.
Set the track on scrap material at least as wide as the track. Clamp it or use track clamps so it cannot move. Position the saw on the track and check that the blade is suitable for the material. A fine-tooth blade gives a cleaner guard edge, but the blade must be sharp and properly installed.
Set the depth so the blade extends about 3 to 5 mm below the material. Too much blade exposure makes the cut harder to control and increases the chance of damaging the bench or a clamp. Start the saw clear of the material if your model permits, let it reach full speed, and make one steady trimming cut along the track. Do not stop halfway and restart; a hesitation can widen or burn the edge.
On a plunge saw, use the normal plunge action and keep the base fully seated on the track. On a saw that starts with the blade already exposed, position the track so the blade enters the scrap before reaching the guard. Follow the saw’s safety instructions either way.
Check Accuracy and Common Failure Modes
After trimming, inspect the edge from end to end. It should be continuous, with no uncut sections, lifted adhesive, or torn rubber. Make a test cut on scrap and check the relationship between the track edge and the cut line. On many saws, the finished cut should fall directly at the track’s guard edge, but verify your particular saw rather than assuming.
- Guard cut too far inward: The strip may have been misaligned, stretched, or trimmed with the saw base not fully seated.
- Guard cut too far outward: The saw may not have been pushed fully against the guide rib, or the replacement strip may be too thick.
- Peeling corners: The track was dirty, the adhesive was cold, or the ends were not pressed firmly.
- Wavy edge: The strip wandered during installation or the track moved during trimming.
- Ragged cuts after replacement: The blade may be dull, the material may be unsupported, or the guard may be worn on the wrong side for the cut direction.
If you use more than one track with the same saw, trim each guard separately. Small differences in track extrusion, saw-base fit, and blade position mean one trimmed strip is not a universal reference for another. Keep the track’s cut side marked, and replace the guard when it becomes visibly loose, heavily frayed, or no longer supports the material fibers.
When to Spend More
Choose the adhesive track saw replacement strip from the original manufacturer when downtime, veneer tear-out, or repeated installation work matters. The higher price is mainly buying predictable fit and bonding, not a dramatic improvement in cutting power.
For occasional DIY use, a compatible third-party guard is a reasonable saving if it matches the track and has dependable adhesive. Avoid generic weather stripping and unbacked rubber unless the repair is temporary. They may look acceptable, but a guard that shifts by even 1 mm can make the track’s edge unreliable—the exact problem the replacement is meant to solve.