What's inside
As an Amazon Associate I earn from qualifying purchases. This post may contain affiliate links at no extra cost to you.
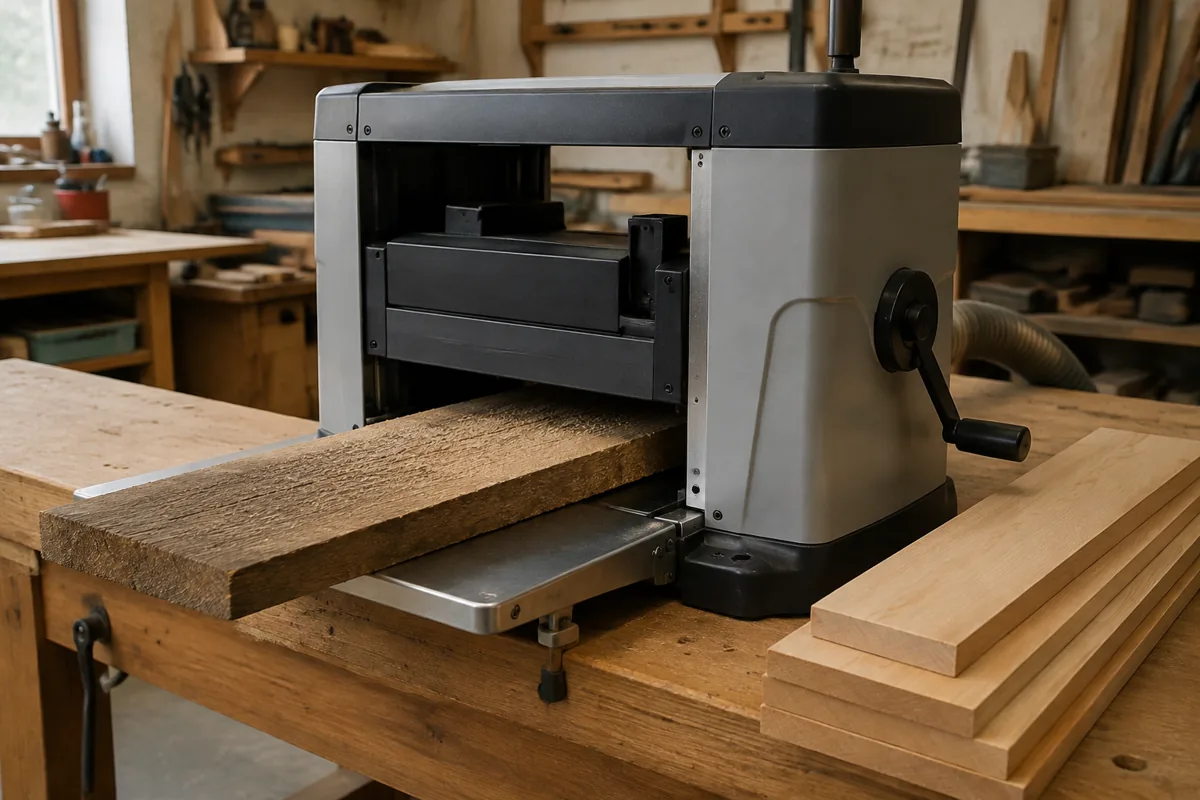
A planer is not a jointer. It can make both faces of a board parallel, but it cannot reliably flatten a board that rocks, twists, or has a hollow underside. Feed that board directly into the planer and the machine usually copies the defect: the top may become smooth while the twist remains. In worse cases, the board shifts on the bed, stalls, kicks back, or takes an uneven cut.
The reliable method is to stabilize the board on a flat reference surface first. Once one face is flat, remove the sled and run the board through the planer with the flattened face down.
Our Top Picks


Check the Board Before Machining
Start with a straightedge at least as long as the board, plus winding sticks if the stock is wide. Place the straightedge along the length, across the width, and diagonally. Look for a crown, cup, bow, or twist. A board with a small amount of bow may need only support under the low spots. A twisted board needs support at multiple corners so it cannot rock.
Mark the high spots with chalk or pencil. Also mark the face you want to preserve. Measure the board’s thickness at several points and compare it with the planer’s minimum finished thickness. If flattening will remove 3/16 inch from one face and you also need to clean up the other, a nominal 4/4 board may no longer be thick enough for your project.
Check the planer’s maximum width and depth capacity as well. Most benchtop planers handle boards around 12 to 13 inches wide, but the useful limit is smaller when the board is heavily twisted or difficult to support.
Choose a Flattening Method
For occasional work, a shop-made sled is usually the best value. It turns the planer into a thicknessing machine while the sled provides the flat reference surface. A router sled is slower to set up and makes more dust, but it handles very wide panels. A jointer is faster for narrow boards, though its practical width is limited.
| Method | Best use | Advantages | Limitations |
|---|---|---|---|
| Planer sled | Twisted boards up to planer capacity | Low cost, repeatable, works with a benchtop planer | Needs shims and a rigid flat sled; removes material slowly |
| Jointer | Boards narrower than the cutterhead | Fast, simple setup, excellent for one flat face and edge | Limited width; long twisted boards need infeed and outfeed support |
| Router sled | Wide slabs and panels | Handles stock wider than most planers | Slow, noisy, dusty, and leaves machining marks to remove |
| Hand plane | Small corrections or quiet work | No machine capacity limit; precise when mastered | Physically demanding and slower on severe twist |
If you regularly flatten rough lumber, a benchtop thickness planer is useful, but it does not replace a jointer or sled. For boards wider than the planer, a router sled flattening kit may be the more practical purchase.
Build a Stable Planer Sled
Use a flat, rigid base such as 3/4-inch plywood, MDF, or a laminated panel. Make it slightly narrower than the planer’s maximum opening and long enough to support the board. A sled around 8 inches longer than the workpiece is a useful starting point. The base must not flex under the board or the cutterhead will reproduce that flex.
Attach low side rails or end stops to keep the board from sliding sideways. They should not be so high that they interfere with the planer’s rollers. Avoid using a permanently raised fence if the sled could contact internal parts of the planer.
Place the board on the sled with the concave or unstable face down, depending on the defect. The goal is to support the board so it cannot rock. Slide shims into the gaps under the board, concentrating them near the corners and at the high points that cause movement.
Hot-melt glue is convenient for holding shims in place, but use small spots and keep the glue away from the board’s finished surfaces. Double-sided tape also works, though thick tape can compress and introduce movement. Do not rely on loose shims alone; they can shift as the feed rollers apply pressure.
Flatten the First Face
Set the planer for a light cut, usually 1/32 inch or less. On badly twisted stock, start at 1/64 inch. Heavy cuts increase roller pressure and can force the board against the sled in a way that temporarily hides the defect. They also increase the chance of tear-out and motor overload.
Feed the sled squarely and support it at the infeed and outfeed sides. Long boards can tip as they enter or leave the planer, changing the cut and creating snipe. Use level stands or roller support, but make sure the supports do not lift the sled above the planer bed.
After each pass, inspect the face. Pencil lines are a useful gauge: draw a grid across the board before the first pass. Continue with shallow cuts until the pencil disappears across the entire face. If only one corner is still untouched, do not remove a large amount at once. Recheck the shims and the board’s stability.
Stop if the board rocks, the sled flexes, or the cutters begin taking a deep bite at one end. Those are setup problems, not reasons to increase feed pressure.
Remove the Sled and Thickness the Board
Once one face is flat, remove the board and scrape away glue or tape residue. Mark the newly flattened face clearly. That face goes down on the planer bed. Now take light passes from the opposite face until the board reaches the target thickness.
Measure with calipers or a reliable thickness gauge rather than trusting the planer scale. Leave about 1/32 inch for a final cleanup pass if appearance matters. If the planer produces snipe, keep the board attached to sacrificial stock at the front and rear, or cut the affected ends off after machining.
Know When a Jointer Is Better
A jointer is the cheaper and quicker option when your boards are narrower than its cutterhead and the twist is moderate. A 6-inch jointer is fine for many furniture parts, while an 8-inch jointer offers noticeably more capacity. It still needs adequate infeed and outfeed tables for long stock, and it cannot flatten a board wider than its knives.
For occasional narrow boards, buying a jointer may not make sense. A sled costs less and works with equipment you may already own. For frequent rough-lumber milling, however, the time saved by a jointer—or by a wider jointer combined with a planer—can justify the price.
For final cleanup by hand, a jack plane is often enough. Use a woodworking straightedge and winding sticks to verify flatness instead of judging by appearance. A smooth-looking board can still be twisted, and that twist will show up later as rocking furniture, open joints, or a panel that refuses to sit flat.