What's inside
As an Amazon Associate I earn from qualifying purchases. This post may contain affiliate links at no extra cost to you.
Fitting hardwood joinery is a controlled-force job. You need enough impact to seat a tenon, close a dovetail, or bring a housed joint home, but not enough to bruise the fibers, dent a finished surface, or split a thin component. A mallet and a dead-blow hammer can both work, but they deliver force differently and suit different stages of assembly.
For most furniture joinery, a wooden joiner’s mallet is the better primary tool. A dead-blow hammer is more versatile when you need compact size, low rebound, and a face that will not mark the work. The cheaper option is often fine: if you are fitting unfinished parts and already own a decent rubber or plastic mallet, there is no need to buy a specialist dead-blow tool just for occasional assembly.
As an Amazon Associate we earn from qualifying purchases at no extra cost to you.


Our Top Picks

How the tools deliver force
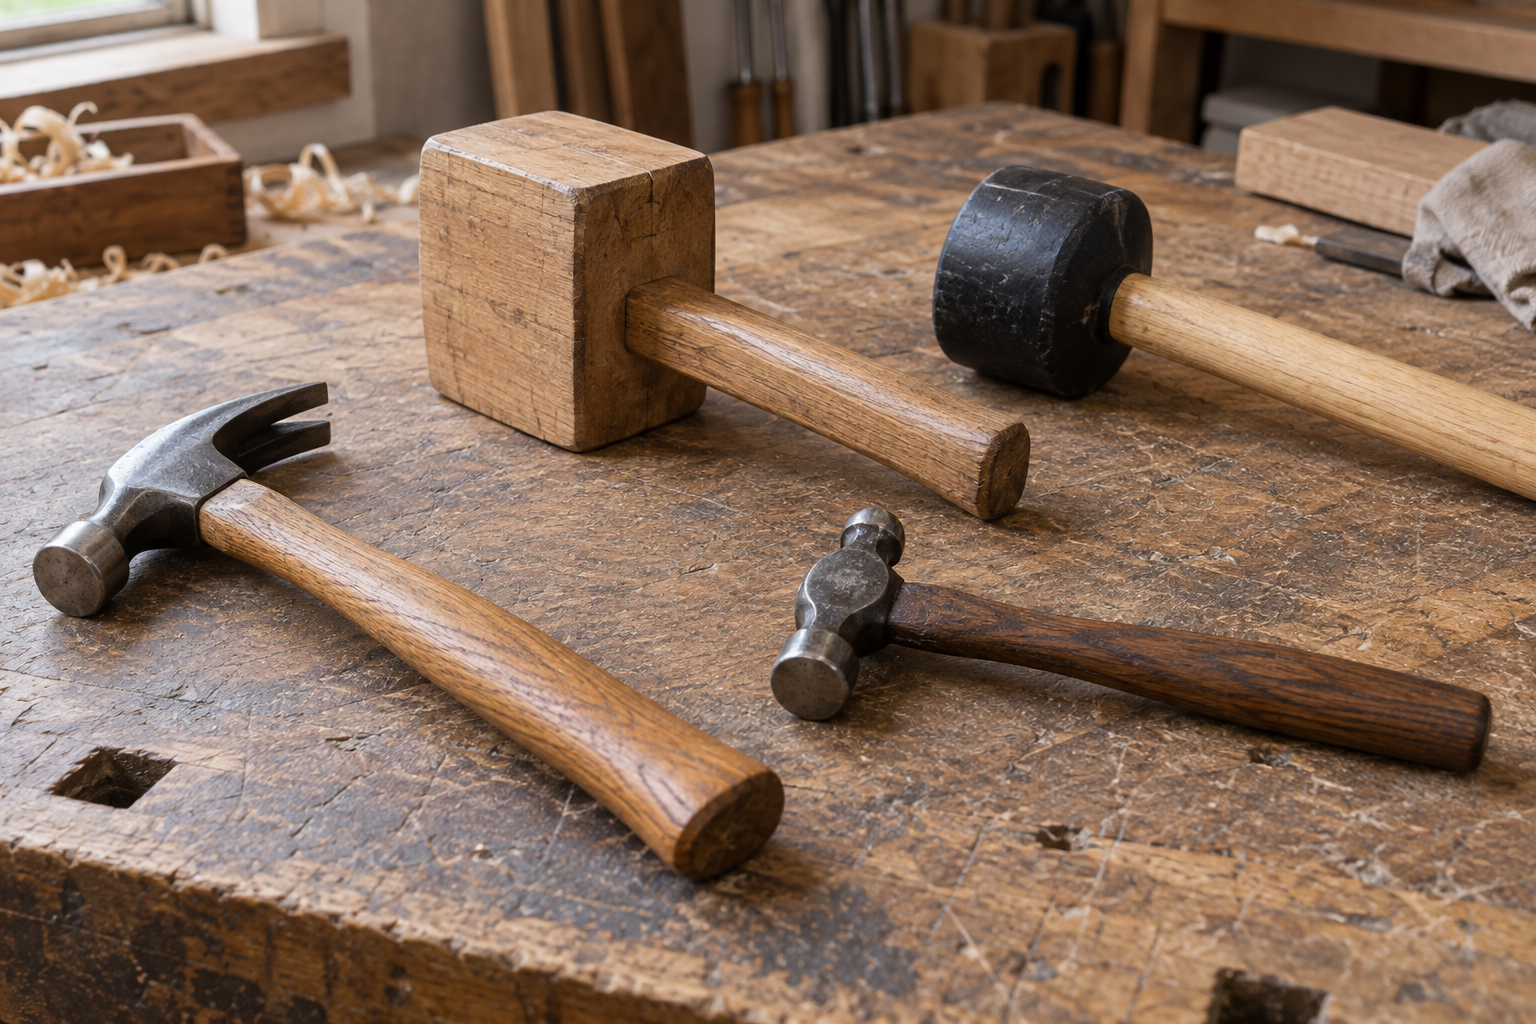
A traditional wooden mallet has a broad head and a handle that lets you swing it with a loose wrist. The head’s mass produces a relatively soft, spreading impact. That makes it forgiving on joinery edges and useful for tapping a chisel as well as assembling parts. A hardwood mallet can still dent a workpiece, especially on a sharp corner, but its large face makes accidental concentrated strikes less likely.
A dead-blow hammer contains loose shot inside its head. When it hits, the shot moves forward and absorbs rebound. The result is a short, controlled impact that stays on the work instead of bouncing back. Many dead-blow hammers have a steel or composite body with replaceable plastic, urethane, or rubber faces.
Dead blow does not mean gentle. A 16-ounce dead-blow hammer can deliver a surprisingly authoritative hit, and a 24- or 32-ounce version can damage a joint quickly. The reduced rebound improves control, but it does not remove the risk of crushing fibers or driving a joint past its intended position.
Mallet vs dead-blow hammer
| Factor | Wooden or soft-face mallet | Dead-blow hammer |
|---|---|---|
| Best use | General assembly, dovetails, tenons, and chisel work | Firm seating, alignment, and work where rebound is a problem |
| Surface protection | Good with a broad wooden head; variable with rubber faces | Very good with a clean, nonmarring replaceable face |
| Control | Excellent for light taps and angled work | Excellent for straight, compact impacts |
| Rebound | Some rebound, depending on material and strike | Minimal |
| Versatility | Can also drive chisels and knock apart joints | Mainly an assembly and alignment tool |
| Typical weakness | Can bruise edges and may bounce off hard joints | Can feel too aggressive and may mark finishes or soft fibers |
When a mallet is the better choice
Choose a mallet when the joint needs many small corrections rather than one heavy blow. Dovetail drawers are a good example. You can tap alternately on each side of the drawer until the tails seat evenly, watching the shoulders close. A broad wooden face spreads the load and gives you a useful visual and tactile rhythm.
A mallet is also the more useful workshop tool if you cut joinery by hand. The same tool can drive a chisel, pare stubborn waste, tap a plane adjustment, and knock apart a dry-fit joint. A wooden joiner’s mallet with a head around 450 to 700 grams (16 to 25 ounces) covers most cabinetmaking work. A smaller 250- to 400-gram mallet is easier to control on delicate boxes and narrow components.
For a first purchase, a wooden joiner’s mallet is usually the sensible choice. Avoid a head with mushroomed corners, loose joints, or a face so hard and narrow that it behaves like a hammer.
When a dead-blow hammer earns its place
A dead-blow hammer is especially useful for joints that need firm, direct seating: large mortise-and-tenon work, wedged components, workbench parts, and assemblies that resist the last few millimeters of travel. Its lack of rebound makes it easier to keep the head aligned with the joint, particularly when working in a confined cabinet or against a stop.
It is also useful for positioning parts without the repeated bounce of a rubber mallet. A clean plastic-faced dead blow can tap a cabinet side into alignment, shift a frame against a clamp, or close a stubborn drawer joint. The compact head is convenient where a large wooden mallet cannot swing freely.
Look for a 16-ounce nonmarring dead-blow hammer as a general woodworking size. Larger 24-ounce tools are useful for substantial hardwood frames, but they increase the chance of overdriving a joint. Replaceable faces are valuable because embedded grit or glue can transfer directly to a finished surface.
How joinery gets damaged
The common mistake is striking the exposed end of a tenon or dovetail directly. That can mushroom the end, compress the shoulder, or split the surrounding stock. Use a scrap block of the same or similar hardwood between the tool and the joint. The block spreads the impact across a shoulder or broad end, rather than concentrating it on a fragile edge.
Stop if the joint suddenly becomes much harder to move. A dry tenon that stops 3 mm short may have a misplaced shoulder, a swollen cheek, or a closed mortise end. More force will not correct bad geometry; it can split the mortise wall or bow the rail. Disassemble the joint and remove the actual obstruction.
Glue changes the calculation. A joint that is tight dry may become dangerously tight when covered with glue. Test the complete assembly first, mark the seating depth, and make sure excess glue has somewhere to escape. If a mallet or dead blow requires repeated full-force strikes, the fit is too tight for a safe glue-up.
Buying and using advice
Choose face material before choosing brand. A clean rubber or urethane face is suitable for unfinished hardwood, while a white or light-colored plastic face reduces the risk of dark transfer on pale timber. Keep one face reserved for clean assembly; a face used on concrete, metal, or dirty shop fixtures can carry grit into your furniture.
Hold either tool near the end of the handle for normal seating, but shorten your grip for delicate adjustments. Start with taps that move the part less than 1 mm. Check shoulder gaps, diagonals, and alignment after every few strikes. A clamp can often provide more even pressure than either hammer when the joint is broad or fragile.
If you only assemble occasional projects, a nonmarring rubber mallet is the low-cost answer. For a hand-tool furniture shop, buy the wooden mallet first, then add a dead blow when you regularly work in tight spaces or fit large, stubborn assemblies. Neither tool replaces careful joinery: the best strike is the one that finishes a correctly sized joint without leaving evidence.