What's inside
As an Amazon Associate I earn from qualifying purchases. This post may contain affiliate links at no extra cost to you.
For flattening a wide wood panel, a belt sander and a drum sander do very different jobs. A belt sander is a handheld stock-removal tool that can knock down glue squeeze-out, ridges, and localized high spots. A drum sander is a thicknessing machine that removes a controlled amount from a broad, supported surface. If the panel is already reasonably flat and you only need to smooth it, either may work. If the panel is twisted, cupped, or uneven across its width, neither tool is a magic replacement for a jointer, planer, or router sled.
As an Amazon Associate we earn from qualifying purchases at no extra cost to you.


Our Top Picks


The short answer
Choose a drum sander when you have many panels to process, need predictable thickness, or want to sand a large surface with less risk of creating obvious waves. Choose a belt sander when you have one project, a limited budget, or need to remove a few proud areas rather than flatten an entire panel.
A handheld belt sander is cheaper and more versatile. It is also easier to misuse. Holding it in one place for even a few seconds can create a hollow, and sanding across soft and hard areas can leave a surface that looks flat until finish highlights the remaining dips.
A drum sander is more controlled, but it requires a flat reference surface and repeated passes. It is not usually the first machine to buy for occasional furniture work. A quality benchtop drum sander also costs considerably more than a belt sander and takes up substantial shop space.
How the tools work
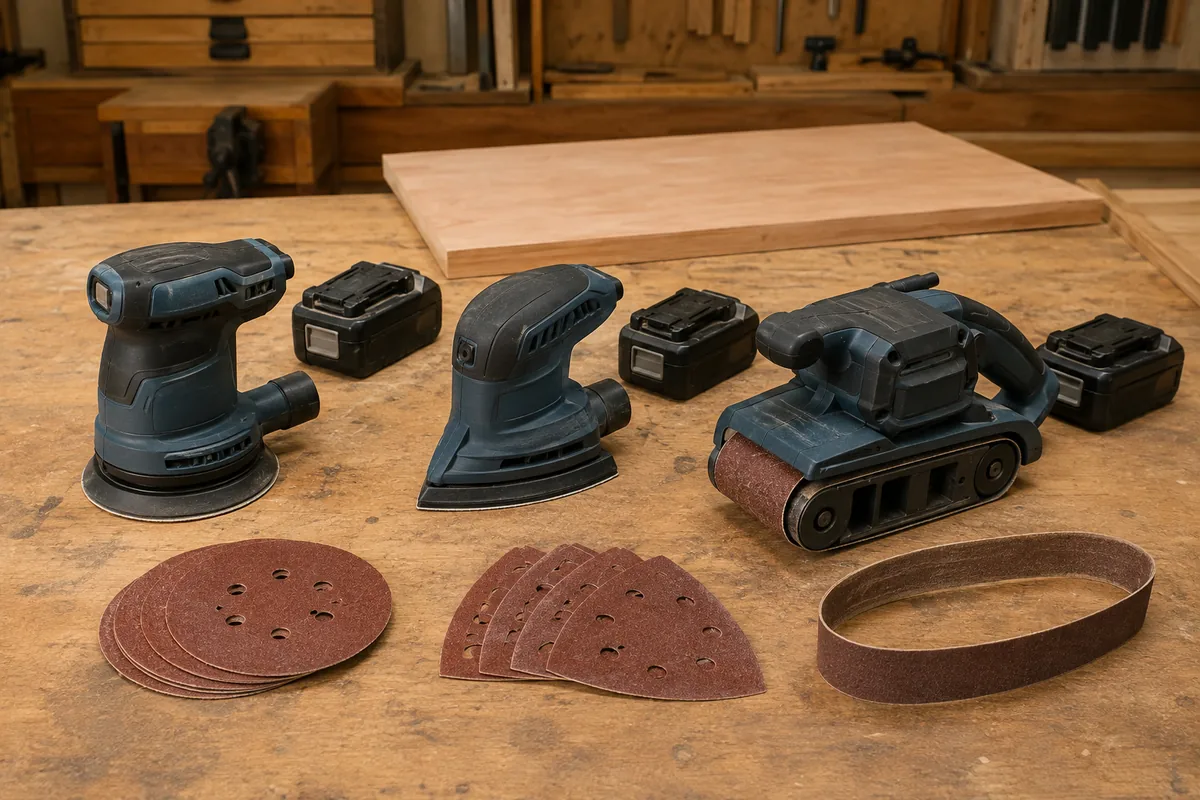
A belt sander runs a continuous abrasive belt around two drums. Common woodworking sizes include 3-by-21-inch and 4-by-24-inch models. The larger the sanding surface, the easier it is to bridge small irregularities, but the tool also becomes heavier and harder to control. Coarse belts such as 40 or 60 grit remove material quickly; 80 grit is a useful compromise for leveling; 120 grit and finer are generally for follow-up smoothing.
A drum sander feeds the workpiece under a rotating abrasive-covered drum. The conveyor controls the feed rate, while the drum height controls the cut. Unlike a planer, a drum sander does not use knives to take a heavy cut. It makes relatively light passes, often removing around 1/64 inch or less per pass depending on the machine, wood species, abrasive, and motor load.
| Factor | Belt sander | Drum sander |
|---|---|---|
| Typical cost | Lower; suitable for occasional use | Higher; a dedicated shop machine |
| Control over thickness | Low and dependent on operator skill | High, with repeatable light passes |
| Best at | Glue removal, high spots, edges, and repairs | Flattening broad surfaces that already have a stable reference face |
| Main failure mode | Hollows, gouges, rounded edges, and sanding tracks | Snipe, burning, conveyor marks, and uneven results from poor setup |
| Dust and noise | High dust and loud handheld operation | High dust volume; requires effective extraction |
When a belt sander makes sense
A belt sander is a practical choice for a glued-up tabletop with visible squeeze-out or a few boards sitting slightly proud of their neighbors. It can also flatten a small panel if you work carefully and accept that final hand sanding may be extensive.
Use a hard sanding platen or a flat-backed model where possible. Start with a fresh, open-coat belt, and keep the tool moving. Sand diagonally across the grain only for initial leveling, then switch to strokes with the grain before progressing through 80, 120, and 150 grit. Do not lean heavily on the front or rear of the machine; that tilts the belt and digs trenches.
Check the surface frequently with a straightedge in several directions. A pencil grid is useful: draw evenly spaced lines over the panel and sand until the lines disappear. If one area loses its marks while another still has them, do not simply keep sanding the low area. That confirms the panel needs more controlled flattening, not more random pressure.
A belt sander is a poor choice for a severely cupped panel. The tool will follow the cup, removing the high edges first and potentially making the middle thinner without producing a truly flat reference plane. It also rounds over edges quickly. A 3-by-21-inch belt sander is fine for occasional leveling, but use a sanding block or random-orbit sander for the final surface.
When a drum sander makes sense
A drum sander is the better tool when you need to process wide glued panels repeatedly and want consistent thickness. It can remove milling marks and bring a panel to a target dimension without the dramatic hand pressure changes that cause belt-sander hollows.
The important limitation is the reference face. If the panel has twist or cup, the conveyor carries that irregular shape under the drum. The top may become smooth while still being parallel to the original, crooked underside. For a badly distorted panel, flatten one face first with a router sled, hand plane, wide-belt sander, or a properly supported planer setup. Then run the panel through the drum sander with the flattened face down.
Feed wide panels slowly enough to avoid burning, but not so slowly that the abrasive overheats. Clean or replace loaded abrasive, support long stock at both ends, and check the machine’s maximum width and thickness before buying. A wide open-end drum sander offers more capacity, but it will not compensate for a poorly aligned conveyor or an unsupported panel.
A practical workflow
First, let the panel acclimate and mark its high areas with pencil. Measure thickness at multiple points and decide how much material you can safely remove. If the panel is twisted, stabilize it on a flat sled rather than trying to force it flat during sanding.
For a one-off panel, remove glue beads with a scraper or chisel before using a belt sander. Start with 60 or 80 grit only when necessary; finer abrasive wastes time on pronounced ridges. Keep each pass overlapping and change direction gradually, but finish with the grain. Stop as soon as the surface is level enough for the next tool.
For drum sanding, take several light passes instead of one aggressive cut. Measure after each pass, especially near the minimum thickness. Leave the final 1/32 inch or so for lighter finishing passes if the design allows it. Use dust extraction: fine hardwood dust is both a respiratory hazard and a fire risk when it accumulates in a collector.
Which one should you buy?
Buy the belt sander if the job is occasional, the panel is modest in size, and your main needs are glue cleanup and localized leveling. The cheaper option is perfectly reasonable for a single tabletop when you already own a straightedge and can work patiently.
Buy the drum sander if you regularly build doors, tabletops, cutting boards, or other wide glued panels and value repeatable thickness more than low purchase price. If the panel is badly warped, spend the money on a flattening method first; a drum sander is a finishing and thicknessing solution, not a substitute for establishing a trustworthy flat face.