What's inside
As an Amazon Associate I earn from qualifying purchases. This post may contain affiliate links at no extra cost to you.
Our Top Picks
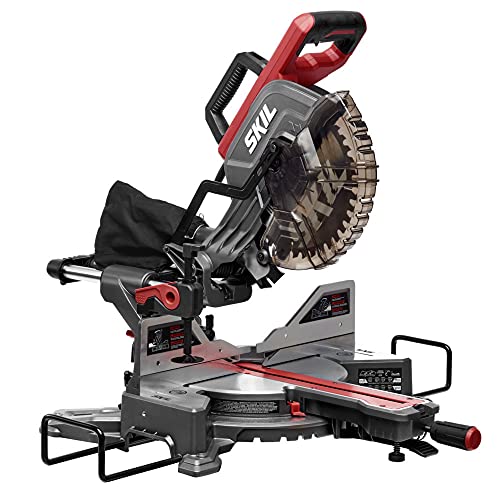 SKIL 10" Dual Bevel Sliding Compound Miter Saw-MS6305-0010''35.43 x 22.44 x 14.17 inches39.4 poundsCheck on Amazon


The short answer
A dual-bevel miter saw can save time on baseboards, but only when you regularly cut compound angles or handle long, awkward trim. For ordinary baseboard work—square cuts, inside and outside corners, and a few scarf joints—a single-bevel saw is often just as quick once you get used to flipping the workpiece. The cheaper saw is a sensible choice for one room or occasional projects.
The difference is not that a dual-bevel saw cuts more accurately by itself. Both types can make accurate cuts when set up properly. The advantage is that a dual-bevel saw tilts left and right, so you can cut both sides of a compound joint without turning the board over. Whether that saves meaningful time depends on your trim profile, cut volume, and workspace.
As an Amazon Associate we earn from qualifying purchases at no extra cost to you.


What single- and dual-bevel mean
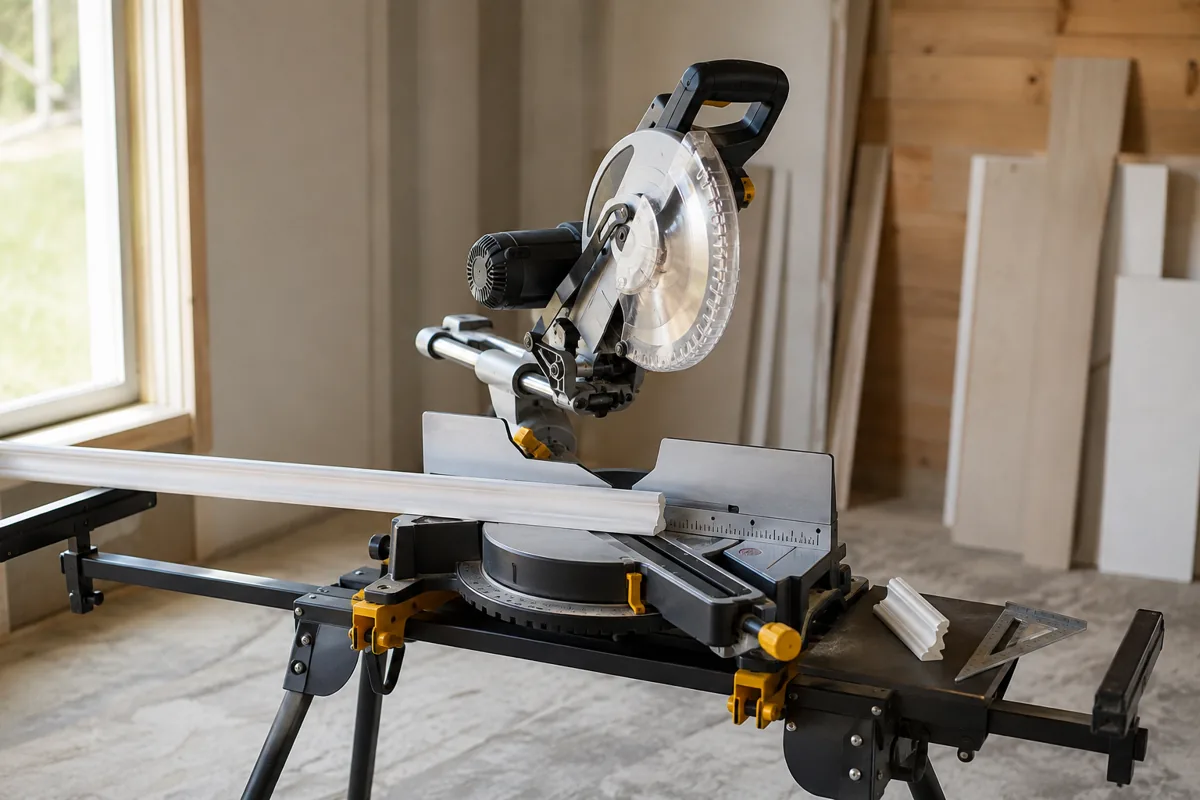
A miter setting turns the saw blade across the base, for cuts such as the angle at a wall corner. A bevel setting tilts the blade, which is useful for compound cuts where the trim leans against the wall and its top edge also slopes. A single-bevel saw tilts in one direction; a dual-bevel saw tilts both ways.
Baseboards are usually cut standing against the saw fence, with the bottom edge against the table. For many standard inside and outside corners, you need a miter cut but no bevel at all. That means the dual-bevel feature may sit unused through much of a straightforward installation.
Where a dual bevel saves time
The time savings show up when the trim needs a compound angle, especially on stairs, sloped ceilings, or transitions where the molding must meet at an angle in two planes. With a single-bevel saw, one side of a matching pair may require turning the board over or changing how it sits against the fence. That can be awkward with tall baseboard, and reversing the setup makes it easier to confuse the reference edge or cut direction.
On a dual-bevel saw, you can leave the board in the same orientation and tilt the blade the other way for the matching cut. That is useful when making several pairs of compound cuts. It is less compelling for a single pair: flipping and checking the piece can take less time than paying extra for a feature you rarely use.
Even on a dual-bevel saw, do not assume that matching left and right settings automatically produce a perfect joint. Confirm the trim’s wall angle and spring angle, keep the piece firmly against the fence, and test the setup on scrap. A small error in how the molding sits can open the joint even when the saw’s angle scale looks right.
The single-bevel workaround
For compound cuts, a single-bevel saw can often do the job by turning the trim end-for-end or over, depending on the cut and how the molding is supported. The catch is that the same face may no longer sit against the fence, so you need to recheck orientation and settings. Tall or bulky profiles can be harder to hold safely in the reversed position.
Before cutting a finished board, label the back with “top,” “bottom,” and the room or wall, then mark the waste side. Make a test cut on scrap and check both pieces together. This costs a little setup time, but it is cheaper than replacing trim cut on the wrong side. If the saw’s manual does not show a safe way to support the reversed workpiece, do not improvise a loose setup.
The practical differences
| Factor | Single-bevel | Dual-bevel |
|---|---|---|
| Blade tilt | One direction | Left and right |
| Standard baseboard corners | Handles most cuts; many need no bevel | Handles the same cuts |
| Repeated compound cuts | Usually requires reversing the workpiece or setup | Can keep the workpiece in the same orientation |
| Setup and error risk | More attention needed when flipping pieces | Less flipping, but angles and support still need checking |
| Price and complexity | Usually the less expensive, simpler option | Often costs more and has more adjustments |
| Best fit | Occasional trim and straightforward rooms | Frequent compound work and varied trim jobs |
What may matter more than bevel direction
For baseboards, capacity and support can affect your pace more than the bevel feature. Check the saw’s stated vertical cutting capacity against the height of your trim; a saw that cannot cut the board in one pass may mean repositioning or a different cut method. Also check the fence and table support. A long board that sags or shifts can produce a poor joint on either saw.
A sharp, appropriate blade matters too. A blade with more teeth generally leaves a cleaner finish on painted or finished trim, though feed the saw steadily and follow its manual rather than forcing the cut. If you expect frequent trim work, compare dual-bevel sliding miter saws with single-bevel options on capacity, fence design, dust collection, and how easily the bevel locks—not just the number of directions it tilts.
For occasional installs, look at single-bevel miter saws that have the capacity you need and a stable fence. Put the savings toward a suitable blade, work supports, or a reliable way to measure and mark. Those can reduce errors on every cut, including the many cuts that do not use a bevel.
Which one should you buy?
Choose a single-bevel saw if you are fitting baseboards in a few rooms, most corners are standard, and you are comfortable labeling and checking pieces before compound cuts. The time penalty is small when compound cuts are occasional, and the lower price is easier to justify for a one-off job.
Choose a dual-bevel saw if you cut compound joints repeatedly, install trim on stairs or sloped surfaces, or want to avoid repeatedly turning long, awkward pieces. It can make the workflow cleaner and reduce orientation mistakes, but it will not correct a bad measurement or unsupported stock. For ordinary baseboards, its time advantage is real but limited; for repeated compound trim work, it is easier to appreciate.
Whichever saw you choose, dry-fit corners before fastening the boards. Walls are not always square: a nominal 90-degree corner may call for two cuts slightly different from 45 degrees. Make a small test pair, adjust the miter in small increments, and keep track of which side is waste. That habit saves more trim than rushing to make a cut on either type of saw.