What's inside
As an Amazon Associate I earn from qualifying purchases. This post may contain affiliate links at no extra cost to you.
A cross-line laser level can project a perfectly square-looking cross and still be several millimeters off at the far end of a shelving run. That error is easy to miss on a short wall and obvious when shelves are installed across 6 feet or more. Calibrate—or at least verify—the laser before drilling so you do not build a crooked installation around a bad reference.
Our Top Picks
 Franklin Sensors ProSensor MAX 13-Sensor Stud FinderExtra Large9 x 4.5 x 3.1 inches1.1 poundsCheck on Amazon


What calibration means for a laser level
Most cross-line lasers use a self-leveling pendulum. You normally do not adjust the pendulum at the jobsite; you check whether the horizontal and vertical beams are accurate. If they are not, some models allow internal adjustment, while others must be serviced or replaced.
For shelving, check three things:
- Horizontal accuracy: The level line does not slope up or down across the wall.
- Vertical accuracy: The plumb line does not lean left or right.
- Squareness: The horizontal and vertical lines meet at a true 90-degree angle.
Look up the tool’s stated accuracy before testing. A common specification is about 1/8 inch at 30 feet, but inexpensive units may be less accurate. For a 6-foot shelving run, even 1/16 inch of error can affect bracket alignment, especially with multiple shelves stacked vertically.
Choose a stable setup
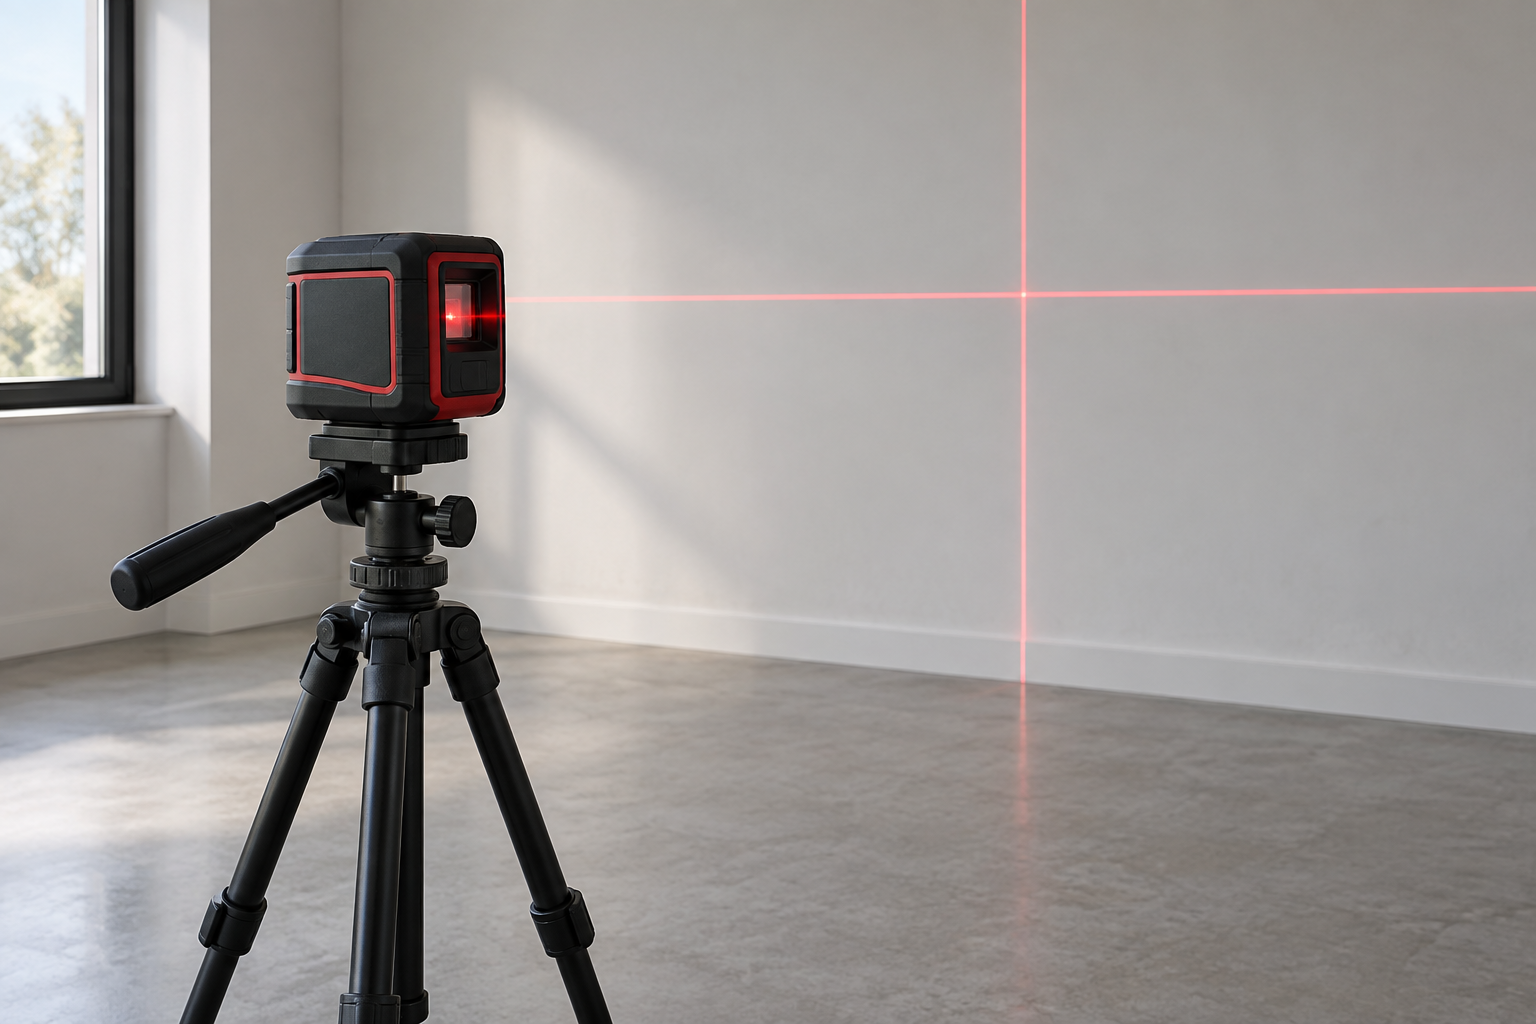
Use a solid tripod, wall mount, or stable shelf—not a loose stack of boxes. A laser level tripod mount makes the test repeatable and is worthwhile if you install cabinets or shelving regularly. Keep the instrument away from fans, heaters, open windows, and vibrating tools.
Set the laser 10 to 15 feet from a clear wall. The farther the test distance, the easier it is to detect error, but do not exceed the manufacturer’s recommended working range. Put the laser on a roughly level surface and allow the pendulum to settle. A self-leveling unit often needs a few seconds; wait until the beam stops drifting.
If the unit flashes or beeps because it is outside its self-leveling range, reposition it. Do not perform a calibration test with the pendulum locked unless you are specifically checking a manual layout mode.
Check the horizontal line
Mark the horizontal beam on the wall at the left side of the projected line. Label it A. Mark the same beam at the right side and label it B. Measure the height of both marks from the floor using a tape measure or, preferably, compare them with a straightedge.
For a more reliable test, rotate the laser 180 degrees without changing its position. Mark the beam at the same two locations again. If the marks do not agree, measure the difference. Rotation cancels out many setup errors and exposes the instrument’s error.
As a practical example, if the original line is 1/8 inch higher at the right and the rotated line is 1/8 inch lower at the right, the total change is 1/4 inch. The actual level error is approximately half that difference: 1/8 inch across the test distance.
| Observed difference after rotating | Approximate tool error | Typical shelving decision |
|---|---|---|
| 1/16 inch at 10 feet | About 1/32 inch | Fine for most household shelves |
| 1/4 inch at 10 feet | About 1/8 inch | Usable for rough work; verify critical brackets |
| 1/2 inch at 10 feet | About 1/4 inch | Do not trust it for finished shelving |
These are practical limits, not universal manufacturer tolerances. If your shelves have tight joinery, glass, doors, or visible gaps, use the tighter standard.
Check the vertical line
Place the laser 10 feet from a wall and project the vertical line. Mark two points on the beam, one near the floor and one near the ceiling. Measure the distance from each point to a fixed reference, such as a plumb line or the edge of a door opening.
Then rotate the laser 180 degrees and repeat. A vertical beam that shifts sideways after rotation is not truly plumb. For shelving, this matters when the vertical laser is used to line up brackets or side standards. A small error at the top can push a bracket noticeably out of alignment at the bottom.
You can also compare the beam with a known-good 24-inch box level. This is less precise than a rotation test, but it quickly identifies a badly damaged or drifting tool.
Check whether the cross is square
Project the cross onto a wall and mark the intersection. Place a straightedge along the horizontal beam and mark a point 3 feet from the intersection. Along the vertical beam, mark a point 4 feet away. Measure diagonally between those two marks. A true 90-degree angle gives 5 feet, following the 3-4-5 triangle.
For a smaller wall, use 12, 16, and 20 inches. A difference of 1/8 inch over the 20-inch diagonal is usually insignificant for ordinary shelving. A difference approaching 1/4 inch suggests the cross is not square or the marks were made inaccurately. Repeat with the laser rotated if the result matters.
When a cheaper laser is enough
A basic red-beam cross-line laser is fine for one or two indoor shelving projects if the room can be darkened and the test shows acceptable accuracy. Red beams are harder to see in bright rooms, but they usually cost less. A red cross-line laser level is the sensible budget choice for occasional DIY work.
Green beams are easier to see in daylight and across longer distances, but visibility is not the same as accuracy. Choose a green cross-line laser level when the wall is bright, the run is long, or you regularly work in unfinished spaces. Pay attention to battery life and beam brightness; some green lasers consume batteries faster.
Do not pay extra for a four-plane or 360-degree model solely to install a short shelf. Those features help with multiple walls and cabinet layouts, but they add cost and can complicate setup. Spend more when you need better visibility, a stronger mount, certified accuracy, or a tool that will be used weekly.
Final checks before drilling
After calibration, mark the shelf height at both ends of the wall. Use the laser line as the reference, then locate studs with a stud finder with deep scan or confirm them with a small pilot hole. A level line does not tell you whether a bracket is attached to adequate framing.
Check the wall for bows. Hold a straightedge against it and measure gaps; a wall that varies by 1/4 inch may require shims even when the laser is accurate. Finally, leave the laser in place while marking every bracket. If you move it, repeat the level check rather than assuming the new position matches the old one.