What's inside
As an Amazon Associate I earn from qualifying purchases. This post may contain affiliate links at no extra cost to you.
Our Top Picks
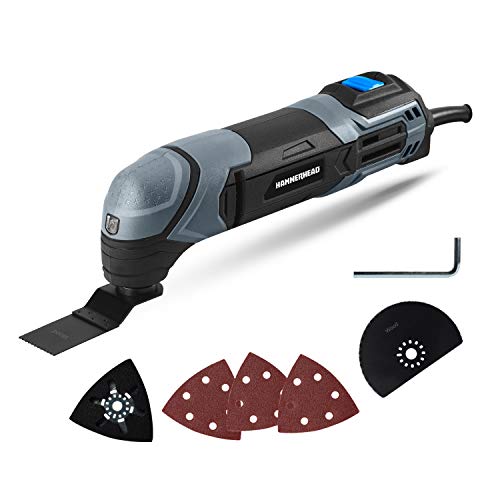 Hammerhead 2.2-Amp Oscillating Multi-Tool with 1pc Flush Cut(Pack of 1)12.56 x 4.41 x 3.79 inchesCheck on Amazon

Why flush cuts scar the surface
A flush cut removes a protruding nail, shim, dowel, or piece of trim level with a finished surface. The risk is that the blade teeth—or the blade’s side—rub against the work and leave scratches, burn marks, or a shallow gouge. Oscillating tools are useful here because their short, controlled stroke can cut close to a wall or floor, but they do not make contact harmless.
The main variables are blade type, angle, pressure, and what lies behind the material. A blade that is too coarse can chatter and skip; a blade held flat against finished wood can scuff it even if the teeth are cutting cleanly. Before starting, check for wiring, plumbing, and hidden fasteners. A flush-cutting blade can damage what is behind the protrusion as easily as it can remove it.
Choose a blade for the material
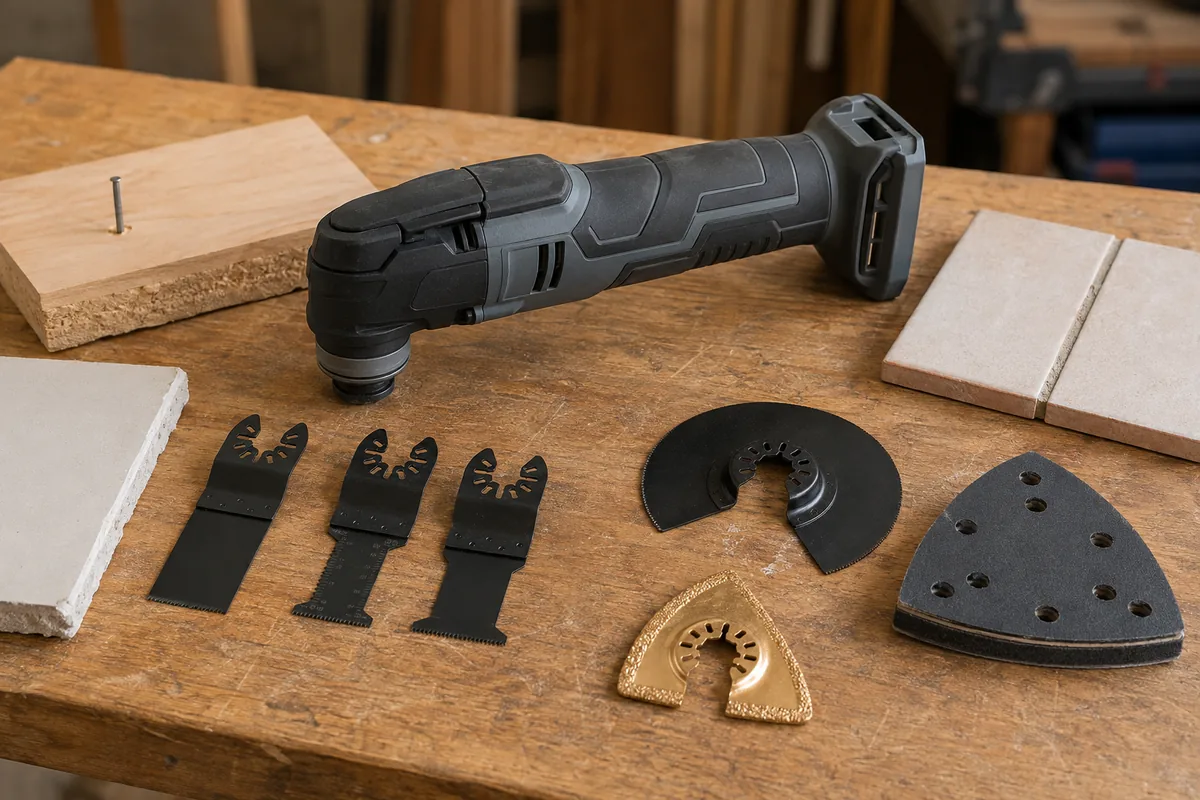
For nails and screws, use a bi-metal or carbide-grit blade rated for metal. Standard high-carbon-steel wood blades dull quickly on metal and may snag or overheat. For wood, plastic, and soft trim, a sharp wood-cutting blade usually leaves a cleaner edge and costs less. If the cut crosses both wood and an embedded nail, choose a blade rated for wood with nails or a suitable bi-metal blade.
Blade width affects control. A narrow blade is easier to maneuver in a tight corner; a wider blade is steadier across a long, flat cut. Short blades are less likely to flex, but they may not reach a recessed fastener. Match the blade’s reach to the job rather than using the longest blade available.
If you need a versatile blade for occasional mixed-material cuts, compare bi-metal oscillating-tool flush-cut blades. For repeated cuts through hardened fasteners, carbide-grit blades generally last longer, though they cost more and may cut wood less cleanly.
Blade choices at a glance
| Blade type | Best use | Trade-off |
|---|---|---|
| High-carbon steel | Clean cuts in wood, plastic, and soft materials | Inexpensive, but teeth dull quickly on nails |
| Bi-metal | Wood with occasional nails; common metal fasteners | Good general-purpose choice, but less durable than carbide on repeated hard-metal cuts |
| Carbide-grit | Hard nails, screws, and abrasive materials | Long-wearing, but pricier and often slower or rougher in wood |
Protect the finished surface
For a cut against painted trim, flooring, or a cabinet face, put a thin sacrificial barrier between the blade and the surface. A scrap of thin sheet metal or a purpose-made flush-cut guide works well. Keep it secured so vibration cannot shift it into the cut. Avoid using a thick spacer that forces the blade to leave a proud nub; the goal is to protect the finish while keeping the cut nearly level.
Painter’s tape can reduce minor scuffs on some finishes, but it is not a hard stop for teeth. It may also lift weak paint or delicate veneer. Test tape in an inconspicuous spot, and do not rely on it when cutting metal. For a repeatable setup, a flush-cut guide for an oscillating tool can help keep the blade at a consistent angle, although it adds bulk in tight spaces.
Vacuum or brush away grit before setting the blade against the work. A loose metal shaving trapped between the blade and a finished surface can scratch it immediately.
Make the cut in controlled passes
Fit the blade securely and set the tool’s speed to a moderate level to start. The ideal setting depends on the tool, blade, and material, so follow the blade maker’s guidance where available. Put on eye protection and hearing protection; metal fragments can fly, and oscillating tools are loud at close range. Clamp loose work if possible.
Hold the tool with both hands if the cut is awkward, and keep the blade stable rather than pressing hard. Start the tool before the teeth touch the material. Let the blade do the cutting with light, steady pressure. Heavy pressure increases heat, makes the tool harder to control, and can cause a blade to wander into the surface.
For a protruding nail, start with the blade at a shallow angle to the finished surface, with the cutting teeth aimed at the fastener. As the nail shortens, adjust the angle gradually to get closer to flush. Do not twist the tool sideways to force a faster cut; that can bend the blade, widen the cut, or gouge the surrounding wood. If the blade begins to discolor, smoke, or stop cutting efficiently, back off and let it cool. Replace a dull blade rather than leaning harder.
For a wood protrusion, use a sharp wood blade and make several light passes if the piece is thick. A single aggressive pass is more likely to chatter or tear fibers at the edge. Leave a fraction of a millimeter proud if the finish is delicate, then level it carefully with a sharp chisel, sanding block, or file.
Common mistakes and fixes
Scratches beside the cut: The blade or trapped debris is rubbing the surface. Clean the area, add a rigid barrier, and change the approach angle. If the blade is flexing, use a shorter or wider blade suited to the cut.
A rough, burned cut: The blade may be dull, the speed or pressure too high for the material, or the cut too long without a pause. Ease off, clear dust, and make short passes. Metal cuts can heat a blade quickly; pause rather than forcing it.
A nail stub remains: The blade may be riding over the fastener instead of cutting it. Reposition so the teeth engage the nail, then approach from another side if access allows. Avoid prying the stub out with the oscillating blade.
The surface gets gouged at the end: The blade tip may have dipped as the cut broke through. Support the tool, reduce pressure near the end, and stop as soon as the protrusion is level.
When another tool is the better choice
An oscillating tool is a practical choice for a fastener near a wall, a tight corner, or a short flush cut where a larger saw will not fit. For a long, visible cut in delicate trim, a Japanese pull saw or fine-tooth hand saw may offer better control and less risk of vibration marks. A flush-cut hand saw is also inexpensive and needs no blade-speed adjustment, but it can be awkward against very hard fasteners.
If the cut is exposed and finish quality matters more than speed, compare a flush-cut hand saw with an oscillating tool. The hand saw is often the sensible cheaper option for occasional wood-only work. For hidden nails, restricted access, or repeated jobs, the oscillating tool’s speed and reach may justify the extra cost—provided you use the right blade and protect the surface.