What's inside
As an Amazon Associate I earn from qualifying purchases. This post may contain affiliate links at no extra cost to you.
Our Top Picks


Why You Should Undercut Instead of Cutting Around
Trying to cut flooring to fit around a door jamb leaves an ugly gap that caulk or quarter-round can’t really hide. Undercutting the jamb lets the plank slide underneath for a clean, professional look and allows the floor to expand and contract without binding against the frame. This matters most for floating floors like laminate, LVP, and engineered hardwood, but even tile and nail-down hardwood look better with an undercut. The gap you need is simple: the thickness of your flooring plus the underlayment, usually 8mm to 15mm total. For 7mm laminate with 2mm foam you need about 9mm of clearance; for 12mm LVP with attached pad you might need 13-14mm.
An oscillating tool is the best way to make this cut in a finished house because it cuts flush to the floor with almost no risk to the surrounding trim if you use technique. A jamb saw cuts faster but costs more and is hard to control in tight closets. A handsaw works but is slow and shaky on painted jambs.
What You Actually Need
You don’t need a big kit, but the right blade makes the difference between a clean cut and a burned, wavy mess. Use your flooring scrap as a height gauge and a guide for the blade.
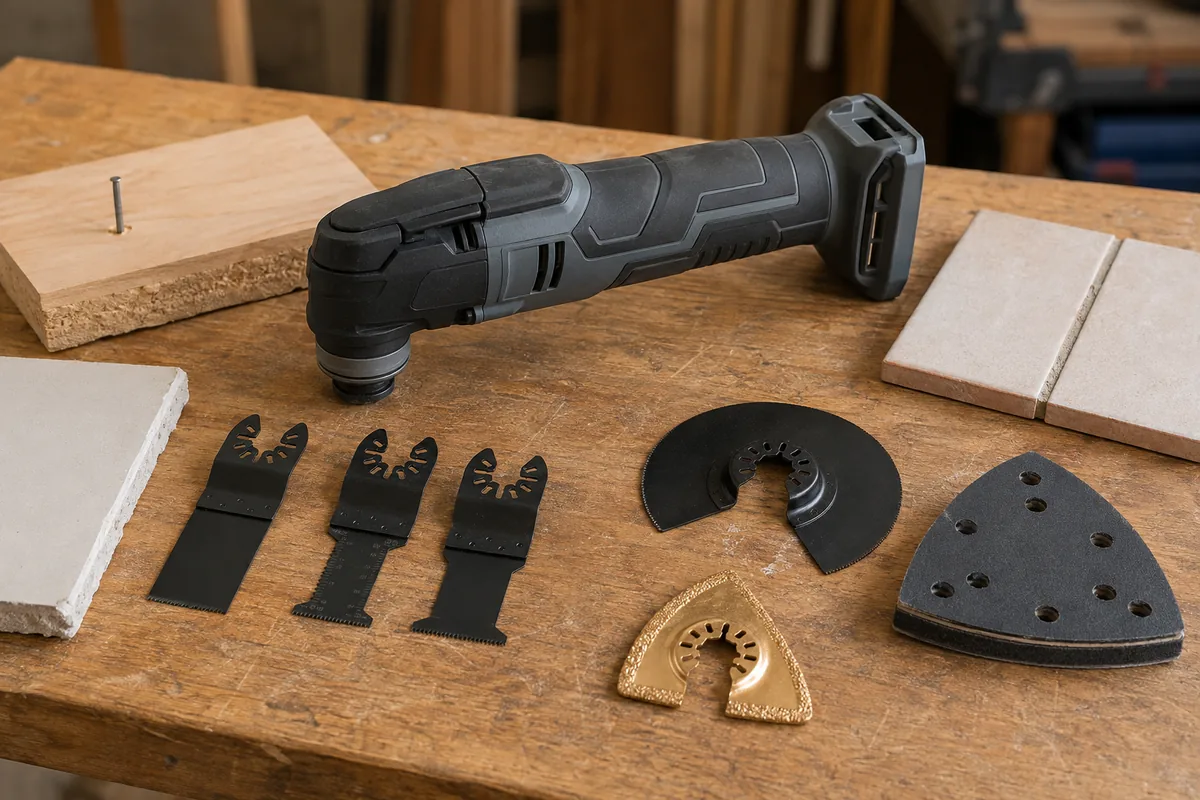
A basic oscillating multi-tool with variable speed is all the power you need. Corded or 18V/20V cordless both work fine here – runtime is not an issue for 2-4 doorways. What matters is that the tool has a flat, low-profile head and a solid blade lock with no wobble. Wobble translates directly into a wider, sloppy kerf. If you are buying for this job, don’t chase max OPM. You will be cutting at 30-50% speed for control anyway.
For blades, use a flat flush-cut blade, either bi-metal or carbide-tipped. Wood-only blades are thinner and cut cooler, while carbide holds up if you hit nails holding the jamb to the stud. Most door jambs have at least one finish nail or brad within 1 inch of the floor, and the trim nails go right where you are cutting. A carbide blade will skate over a nail instead of instantly losing its teeth. Stock up on two blades per 3-4 doors if you use bi-metal, one carbide blade will usually do a whole house.
You also need a scrap of your new flooring with underlayment, painter’s tape, a pencil, a vacuum, and eye and ear protection. A thin piece of cardboard or sheet metal to protect the subfloor is optional but useful if you are cutting over finished hardwood you intend to keep.
Blade Choice Matters More Than Tool Price
Not all flush-cut blades cut the same. Thickness, tooth geometry, and carbide vs. bi-metal change cut quality and how much heat you put into the jamb.
| Blade Type | Kerf / Thickness | Best For | Downside |
|---|---|---|---|
| Bi-Metal Wood Flush-Cut (35mm wide) | 1.0 – 1.2mm | Painted pine jambs, MDF jambs with no nails | Dulls in 10-20 cuts if you hit nails; teeth strip |
| Carbide-Tipped Flush-Cut (34-45mm wide) | 1.2 – 1.4mm | Hardwood jambs, jambs with nails, multi-door jobs | More expensive, slightly rougher finish, cuts slower |
| Japanese Tooth Precision Blade | 0.8 – 1.0mm | Stain-grade jambs where finish matters | Extremely fragile on nails, flexes and wanders |
For 90% of flooring jobs, a 34mm wide carbide flush cut oscillating blade is the safe bet. It is a little slower than bi-metal but you won’t stop to change blades every doorway. If your jambs are plain MDF and you know there are no nails low down, the cheaper bi-metal is fine and will leave a slightly cleaner edge.
How to Cut the Jamb Step-by-Step
1. Prep the height. Lay your flooring scrap plus underlayment flat on the subfloor tight against the jamb. If your subfloor is uneven, put the scrap on the highest spot near the jamb. That’s your guide height. Some pros add an extra business card thickness, about 0.5mm, for wiggle room on floating floors. Don’t add more or the gap will show on thin trim.
2. Protect the surroundings. Put one strip of painter’s tape around the base of the jamb where the blade might kiss the paint. It won’t stop a deep gouge but it prevents chipping from vibration.
3. Set the blade flat. With the tool off, rest the flat of the blade directly on top of the flooring scrap. The teeth should just touch the jamb. The blade must stay flat to the floor the entire cut. Tilting even 5 degrees leaves a tapered bottom that pinches the plank.
4. Cut at low to medium speed. Start the tool before it touches the wood. Use 10,000 to 14,000 OPM, not max. Let the blade do the work with light forward pressure. Forcing it heats the paint, melts MDF, and stalls the motor. Cut slowly across the face of the jamb and the side casing in one smooth pass. On a standard 4-3/4 inch jamb you need about 5-6 inches of cut depth to clear the stud behind it. Don’t jab deep into the wall – you only need to clear the jamb and trim, about 3/4 inch past the face.
5. Check and clean out. Pull out the flooring spacer and test-fit a real plank. It should slide under with light finger pressure, not hammering. Vacuum the dust, especially below the cut. That sawdust wedge is enough to hold a plank up 1-2mm and throw off your row. Use a flat screwdriver or utility knife to flick out the small cut-off wedge of jamb material that often stays pinned by a nail.
For door stops and casing, cut them the same way. Many people forget the thin door stop strip inside the jamb. If you leave it, the flooring will hit it. Cut it to the same height as the jamb.
Common Failures and How to Avoid Them
Burning and discoloration comes from speed and pressure. If the blade is smoking or the paint is browning, you are pushing too hard or running too fast. Drop the speed, lighten up, and pull the blade out every 10 seconds to clear dust.
Wavy or angled cuts happen when you lift the back of the tool. Keep your wrist locked and your forearm parallel to the floor. If your tool has a tall body, kneel lower so you are not cutting downhill. A 1-degree tilt over a 3-1/2 inch jamb leaves a 1.5mm taper, enough to make the plank bind.
Cutting into the drywall behind the casing is the classic beginner mistake. The oscillating blade will go right through drywall and leave a divot you have to patch. Stop your cut once you feel the blade exit the back of the wood casing. You don’t need to cut the drywall. If you are unsure where the casing ends, make a light pencil mark on the floor at the back edge of the trim before you start.
Hitting a nail will stop a bi-metal blade cold and may kick the tool. If you feel a hard stop and hear a metallic buzz, don’t force it. Pull back, switch to carbide, or nudge the cut up or down 1mm to clear the nail shank. This is why variable speed helps – you can creep through a nail with carbide at low speed instead of hammering through.
Oscillating Tool vs. Other Ways to Cut Jambs
| Tool | Cut Quality | Cost | When to Choose It |
|---|---|---|---|
| Oscillating Tool | Very clean, flat, easy to control | $40 – $180 for tool, $10 – $25 per blade | 1-10 doors, DIY, remodels with finished walls |
| Manual Jamb Saw / Pull Saw | Clean if you keep it flat | $15 – $35 | One door, no power, stain-grade work where heat matters |
| Dedicated Jamb Saw (Crain, Roberts) | Fastest, perfectly flat | $180 – $400 | Pros doing whole houses, 15+ doors a week |
| Reciprocating Saw | Poor, too aggressive, tears casing | Already owned | Never for finished jambs – demolition only |
If you only need to do one or two jambs, a $20 pull saw that rides on your flooring scrap will work. It is slower and takes more skill to keep flat, but it can’t overheat the paint. For everything else, the oscillating tool wins on control and versatility. You will use it again for baseboard, vents, and undercutting. A dedicated jamb saw only makes sense if you install floors for a living.
Don’t overthink power. A cheap corded multi-tool cuts door jambs just as cleanly as a $200 cordless, it just vibrates more and is louder, around 85-95 dB. Put on ear protection and take breaks. Expensive tools buy you less vibration, better dust sealing, and quick-change blade systems, not a better cut. If you already own an oscillating tool blade set with wood and metal blades, try the wood blade first. Only switch to carbide if you are hitting fasteners or the wood blade dulls mid-door.
After the Cut: Test Fit and Finish
Slide a full plank under both sides of the door before you lock the whole row in. The plank should go 1/2 to 3/4 inch under the jamb, not just to the face. Check from the other side of the door – you should not see subfloor. If the plank rocks, you left sawdust or a hanging chip under the jamb. Clean it again. For the final row at the doorway, cut the plank length so the end joint doesn’t land directly under the jamb where it will flex.
Leave the required expansion gap at the jamb. The fact that the flooring is hidden does not mean it can be tight. Manufacturers typically call for 1/4 inch gap at vertical obstructions, which will be concealed by the undercut. A tight fit here is what causes buckling in summer.