What's inside
As an Amazon Associate I earn from qualifying purchases. This post may contain affiliate links at no extra cost to you.
Our Top Picks
 Hobart 770257 Welding Helmet with 2-by-4-1/4-Inch No.10 Shade14.3 x 10.3 x 9.1 inches1.8 poundsCheck on Amazon


Best Fixed-Shade Welding Helmets for Comfortable, Reliable Protection
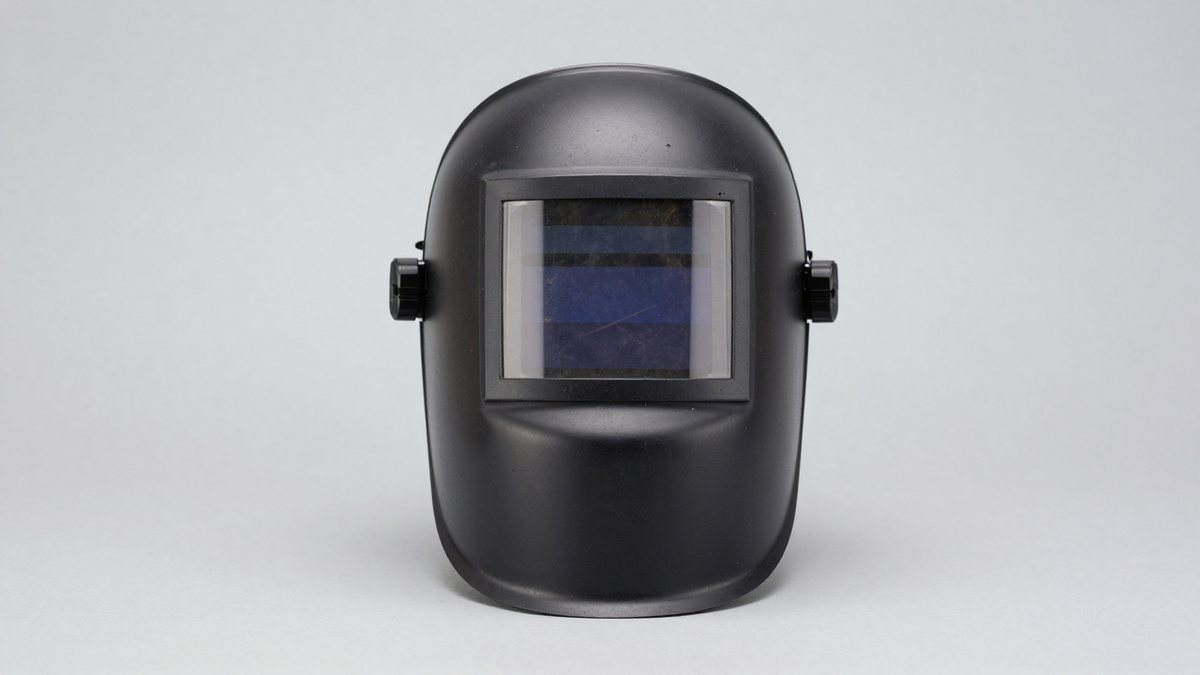
For a dependable fixed-shade welding helmet, choose a shade 10 model with a clear, standard-size lens for routine stick or MIG work, then prioritize shell weight and an adjustable, well-fitting headgear assembly for long sessions. A fixed-shade hood is usually the simpler, lower-cost choice; frequent process changes or varied amperages may justify an adjustable-shade helmet instead.
Which fixed shade suits your work?
A fixed shade stays at one darkness level, so you must select the right filter for the process and current you use. Shade 10 is a common starting point for general welding, not a universal setting. Check the machine, process, amperage, and applicable safety guidance before welding. A welding helmet shade chart is a selection aid, not a substitute for the helmet and filter manufacturer’s instructions. The same applies to a welding mask shade chart: “mask” and “hood” are often used informally, but the filter still needs to be appropriate for the job.
As an Amazon Associate we earn from qualifying purchases at no extra cost to you.


- Occasional stick welding: A basic fixed shade 10 welding helmet is often a practical, economical choice if shade 10 is appropriate for your amperage. Check that the lens is easy to source and replace.
- Regular MIG on one setup: A fixed shade can work well when your process and settings stay within the filter’s suitable range. A larger window can make it easier to see the joint and surrounding work.
- Frequent process or amperage changes: Consider an adjustable shade welding helmet. Its variable filter can save repeated lens changes, but adds cost and features that may not be useful for a single, consistent setup.
- Tight spaces or overhead work: Favor a compact shell and balanced headgear. A heavy, forward-heavy hood can become tiring even when its stated weight looks acceptable.
Fixed-shade helmets compared
The following examples illustrate real fixed-shade product types and published specifications. Dimensions and weights can vary by model variant or packaging; confirm the exact configuration and replacement-lens format before buying. “Window” here means the viewing area, not necessarily the size of the filter plate.
| Helmet or type | Fixed shade | Viewing area | Approx. shell weight | Good fit for |
|---|---|---|---|---|
| Lincoln Electric K3034-4 VIKING 1740 | 10 | 3.74 × 3.34 in | About 1.3 lb | Routine shop welding when a broad view and familiar, replaceable lens format matter |
| Jackson Safety HSL 100 | 10 | 2 × 4.25 in | About 1.2 lb | Budget-conscious work with a traditional narrow lens |
| 3M Speedglas 10V | 10 | 1.73 × 3.66 in | About 1.1 lb | A compact fixed-filter option from a brand known for welding protection |
| Basic passive helmet, standard 2 × 4.25-in lens | Typically 10 or 11; verify before purchase | 2 × 4.25 in | Often about 1–1.5 lb | Infrequent welding where low purchase cost and easy-to-find consumables lead |
Weights are approximate and may exclude packaging or differ across versions. The table is a shortlist, not a claim that one helmet suits every face, process, or work environment. A larger viewing area helps with visibility, but does not make an unsuitable shade safer. Also check whether the listed window is the filter’s actual viewing area and whether the helmet accepts standard cover lenses.
What matters beyond the shade number
Shell weight and balance
Compare complete helmet weight, but try to judge balance as well. A helmet that sits too far forward can feel heavier than a slightly heavier, better-balanced model. A secure fit should keep the hood in place when raised or lowered without forcing you to overtighten the crown band. If you wear prescription eyewear or other protective equipment, check that the helmet accommodates it comfortably.
Viewing window and lens availability
A narrow 2 × 4.25-inch lens is widely used and can be economical to replace. A larger viewing window may improve awareness of the work area, but its cover lenses or filter plates may cost more or be less interchangeable. Before purchase, look up the exact inner and outer cover-lens part numbers. A helmet with inexpensive replacement parts can cost less over time than a cheaper hood with hard-to-find consumables.
Headgear adjustment
Look for a crown band that adjusts to your head circumference, a comfortable forehead pad, and a reliable ratchet or equivalent tension adjustment. Check the tilt and distance from the face to the lens too: the viewing window should sit where you can see the work without craning your neck. Headgear is a wear item; if it slips, cracks, or no longer holds adjustment, replace it rather than compensating with an unstable fit.
Estimate the cost of ownership
As an example, suppose a basic fixed-shade helmet costs $35–$70, and a pack of compatible cover lenses costs $8–$20. If you replace an outer cover lens every 10 welding sessions and weld 100 sessions in a year, that is about 10 covers, or roughly $8–$20 in annual cover-lens cost, before any inner lens or headgear replacement. Actual replacement frequency depends on spatter, dust, scratches, and cleaning habits.
Use this calculation to compare models: annual consumable cost = sessions per year ÷ sessions per cover lens × pack cost ÷ lenses per pack. Confirm pack quantity and compatibility; similarly sized lenses are not automatically interchangeable. Filter plates and cover lenses are different parts, and a scratched cover lens should not be confused with a damaged filter.
Keep a fixed-shade hood clear and dependable
- Inspect the filter, cover lenses, shell, and headgear before work. Replace cracked, deeply scratched, or badly spattered components with the correct parts.
- Clean cover lenses with a soft cloth and a method approved by the manufacturer. Abrasive pads and unsuitable solvents can create scratches or damage coatings.
- Keep spare compatible cover lenses on hand. Changing a scratched outer cover is generally cheaper than continuing to work with a compromised view.
- Store the helmet where the lens will not rub against tools or collect grinding dust. Keep it away from heat and chemicals that may degrade the shell or headgear.
- Do not use a fixed filter simply because it is marked shade 10. Verify shade suitability for the process and current, and use all required eye and face protection for adjacent tasks such as grinding.
Bottom line
For steady, familiar welding work, a well-fitting fixed shade welding helmet can provide reliable protection with fewer moving parts and relatively inexpensive upkeep. Choose shade only after checking the process and amperage guidance; then compare balance, window dimensions, headgear adjustment, and the cost of exact replacement lenses. Pick an adjustable filter when the flexibility is useful often enough to justify its extra complexity and expense.