What's inside
As an Amazon Associate I earn from qualifying purchases. This post may contain affiliate links at no extra cost to you.
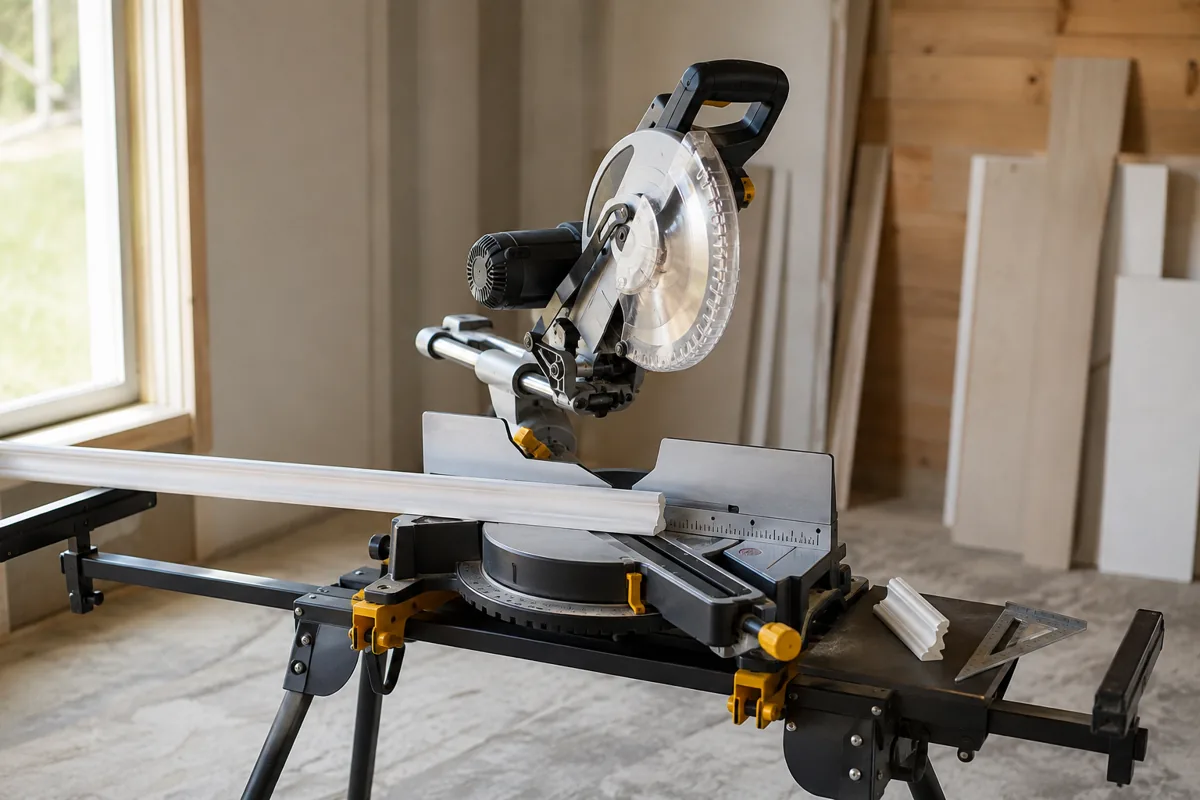
Cutting crown molding flat on a miter saw means laying the molding on the saw table instead of holding it against the fence at its installed angle. The method is useful when the molding is too tall for the saw, when you need repeatable compound cuts, or when your saw has a convenient bevel scale.
It also creates more opportunities for mistakes. You must set both the miter angle and the bevel angle, and the correct settings depend on the molding’s spring angle and the corner angle. A cheap test piece is essential.
Our Top Picks
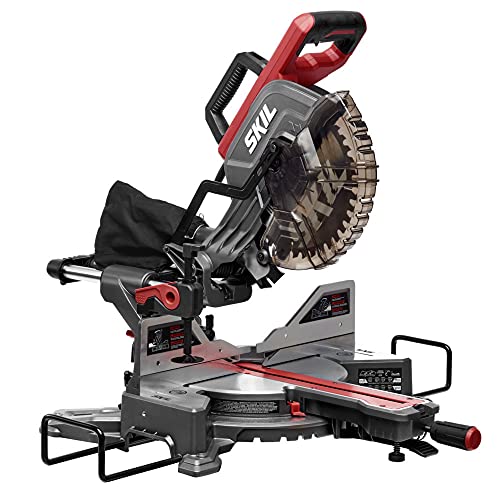 SKIL 10" Dual Bevel Sliding Compound Miter Saw-MS6305-0010''35.43 x 22.44 x 14.17 inches39.4 poundsCheck on Amazon
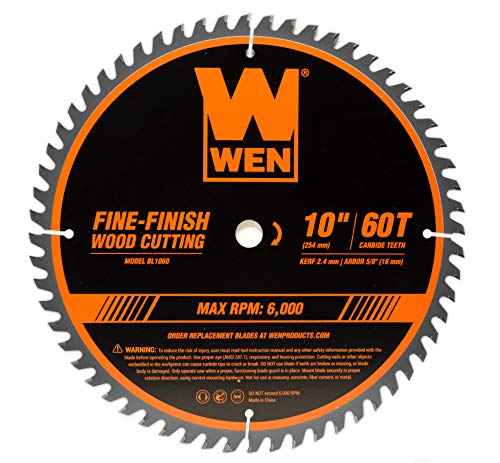 WEN BL1060 10-Inch 60-Tooth Fine-Finish Professional Woodworking SawPack of one1.5 poundsCheck on Amazon
What you need
Use a miter saw with a working bevel adjustment, a sharp blade with at least 60 teeth for painted or finished molding, a tape measure, pencil, protractor or angle finder, and several feet of scrap molding. A dual-bevel saw saves time because you can tilt the blade left or right without flipping the workpiece, but a single-bevel saw can cut crown flat just as accurately.
If you are buying a saw specifically for this work, compare dual-bevel compound miter saws rather than focusing only on blade diameter. A 10-inch saw is usually easier to control and less expensive, while a 12-inch saw offers more capacity for wide crown. Either can produce clean cuts if the molding is supported properly.
A 60-tooth fine-finish saw blade is a sensible general-purpose choice. The cheaper option is fine if the molding will be painted and you are willing to sand or fill small chips. For stained hardwood, use a sharp blade designed for finish cuts and make a test cut before touching the finished stock.
Identify the molding’s spring angle
The spring angle is the angle between the back of the crown and the wall when the molding is installed. The two common profiles are 52/38 and 45/45. The first number is often called the wall angle and the second is the ceiling angle, although manufacturers and charts do not always label them consistently.
Do not assume based on appearance. Place a short piece against a wall and ceiling, then measure the angle or check the manufacturer’s information. A difference between 52/38 and 45/45 is large enough to leave an obvious gap at the corner.
| Common crown profile | Typical miter setting for a 90-degree corner | Typical bevel setting |
|---|---|---|
| 52/38 | 31.6 degrees | 33.9 degrees |
| 45/45 | 35.3 degrees | 30.0 degrees |
These figures assume a true 90-degree corner and a saw whose scales are accurate. They are starting points, not a substitute for a test cut.
Set up the saw for a flat cut
Clear the saw table and support the molding at the same height as the table. Long crown can twist or lift at the end, changing the cut by a degree or two. Use extension supports, a stand, or a temporary level platform. Keep the molding fully supported on both sides of the blade.
Place the crown face-up or face-down according to the cut chart and your saw’s bevel direction. There is no universal “good side up” rule for flat cutting because the bevel changes which edge contacts the table. Mark the waste side and make a shallow test cut in scrap first.
Set the miter and bevel angles from a reliable chart or calculator. Lock the bevel firmly, then check that the saw head clears the fence and that the molding lies flat without rocking. On a single-bevel saw, flipping the molding may be necessary between left- and right-hand cuts. Keep the orientation marks on the back so you do not reverse the part.
Make a test corner
Cut two pieces of scrap, each at least 12 inches long, and bring them together at the corner. For an inside corner, the visible face of the molding is usually longer at the bottom or ceiling edge depending on the piece’s orientation; this is why test fitting is safer than relying on a diagram alone.
Look at the joint from several feet away. A small hairline gap can be caulked on painted molding, but a wide gap usually means the angle or orientation is wrong. If both ends of the joint show a consistent gap, adjust the compound settings. If one end fits and the other does not, the corner or the molding may be bowed.
Measure the actual wall corner if it is not square. An angle finder is more useful than guessing. For example, a 92-degree inside corner requires slightly different settings than a 90-degree corner, and drywall compound or corner bead can make the apparent angle vary along the wall.
Cut inside and outside corners
Inside corners are normally coped for the most forgiving joint, especially when walls are not square. However, a flat compound cut can work when the molding is uniform and the corner is close to 90 degrees. For outside corners, compound-cut both pieces and leave extra length so you can sneak up on the final fit.
Always label each piece before cutting: left inside, right inside, left outside, or right outside. Crown molding reverses familiar baseboard habits because it is installed at an angle. Make a small diagram on the wall or on the back of the stock. A 1/16-inch measurement error is easy to hide; a reversed 8-foot piece is not.
Cut safely and accurately
Keep your hands at least 6 inches from the blade, clamp short or narrow pieces, and wait for the blade to stop before lifting the saw head. Do not force the molding through the cut. A slow, steady feed reduces splintering and prevents the piece from shifting as the blade exits.
For repeat cuts, make a stop block only after confirming the first piece. Crown’s angled profile can slide against a conventional stop, so screw a tall auxiliary fence or use a stop that contacts a flat, consistent part of the molding. Mark the cut line on painter’s tape when the finish is delicate.
If your project has only one or two short runs, buying an expensive saw is unnecessary. A basic compound saw, a good blade, solid support, and careful test cuts are enough. A dual-bevel saw and angle finder become worthwhile for a whole room, tall molding, or repeated inside and outside corners where flipping stock would introduce errors.
For recurring trim work, a crown molding angle finder can speed setup, but it cannot correct a bowed wall or poorly supported stock. Fit the test corner first, then transfer the proven settings to the finished molding.