What's inside
As an Amazon Associate I earn from qualifying purchases. This post may contain affiliate links at no extra cost to you.
Installing a recessed fixture in plaster is harder than cutting drywall. Plaster can chip at the surface, crack around the opening, and hide wood lath or metal mesh behind it. The best adjustable hole cutter is one that makes a controlled, clean circle without forcing you to lean heavily on the ceiling.
As an Amazon Associate we earn from qualifying purchases at no extra cost to you.


Our Top Picks
 VEVOR Adjustable Hole Saw Cutter Kit(1-5/8" to 8")-20PCS13.39 x 13.39 x 0.1 inches5.8 PoundsCheck on Amazon


What to buy for plaster
For most plaster ceilings, choose an adjustable circle cutter made for a drill, with a central pilot bit and a carbide or hardened cutting blade. These tools let you set the diameter to match the fixture template instead of buying a separate hole saw for every size. A useful range is roughly 2 to 7 inches, although the exact adjustment range varies.
A cutter with one sharp blade is usually easier to control than a two-blade design. Two blades cut faster and can be smoother when properly balanced, but they create more vibration and are less forgiving if the adjustment is not perfectly even. For occasional fixture work, a plaster-rated adjustable hole cutter with a replaceable pilot bit is the sensible starting point.
Do not confuse these tools with inexpensive drywall circle cutters. A drywall cutter with a thin scoring knife may handle soft gypsum board, but it can skid across hard plaster or catch on lath. Some adjustable cutters are intended only for thin sheet metal and will not survive repeated contact with plaster and wood.
Adjustable cutter options compared
| Tool type | Best use | Advantages | Common failure |
|---|---|---|---|
| Single-blade adjustable cutter | Occasional plaster fixture openings | Good control, adjustable size, relatively low cost | Blade can wander if the pilot hole is enlarged |
| Two-blade adjustable cutter | Several similar-size openings | Faster cutting and balanced removal | More vibration; uneven settings can damage the ceiling |
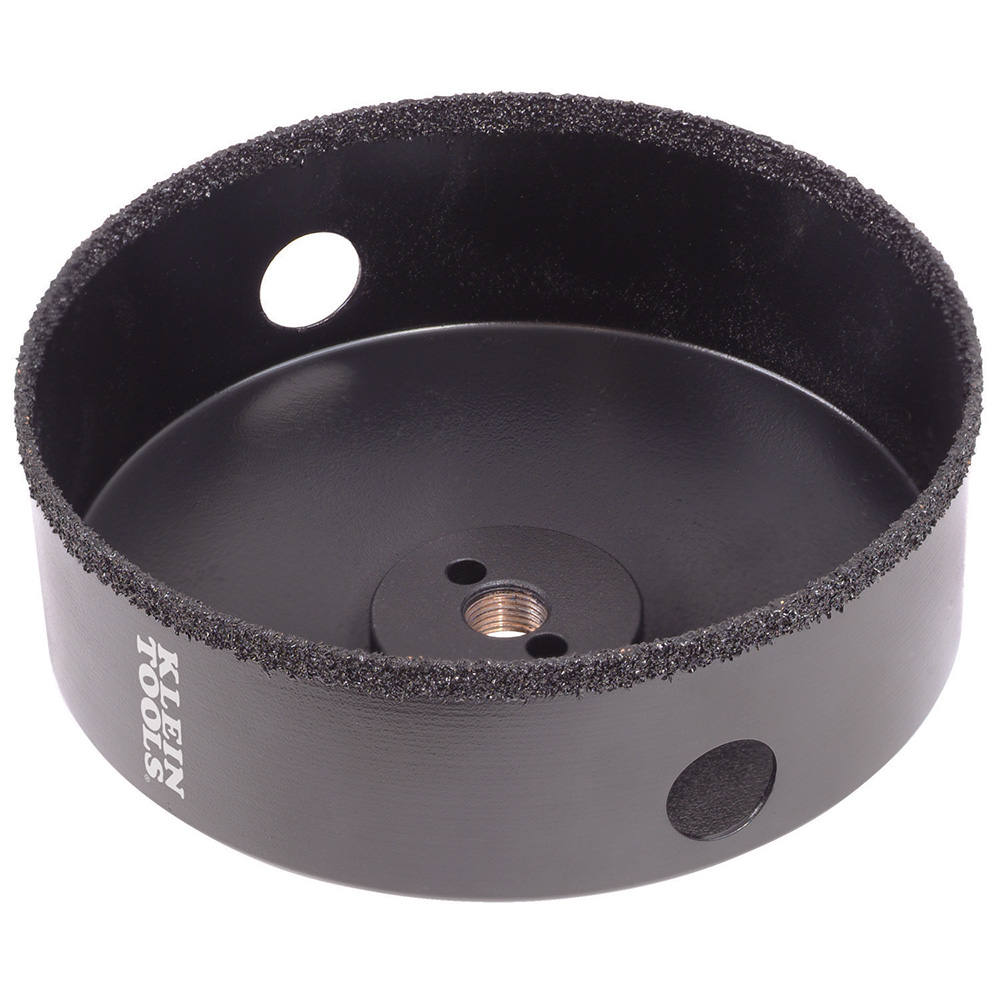
| Carbide-grit hole saw | Hard plaster or unknown wall materials | Handles abrasive surfaces better than ordinary teeth | Fixed diameter and expensive in larger sizes |
| Diamond-grit hole saw | Very hard plaster, tile-like finishes, or masonry | Clean abrasion with little tooth snagging | Slow, dusty, and usually unnecessary for normal plaster |
| Drywall jab saw or keyhole saw | Soft plasterboard or rough openings | Cheap and easy to control by hand | Slow in hard plaster; edges are often ragged |
Set the size from the fixture, not the box
Measure the recessed fixture’s required cutout diameter from its installation template. Do not measure the visible trim. A 4-inch fixture may require a cutout close to 4 1/8 inches, while a larger fixture can have several millimeters of difference between trim size and housing size. Cutting to the trim diameter can leave too little material for the spring clips or friction tabs.
Make the opening only as large as specified. An oversized hole can let the fixture fall through, expose a dark gap around the trim, or leave the mounting clips unable to grab the plaster. If the fixture provides a paper template, transfer its center point and diameter rather than guessing from the product name.
Check the cutter’s adjustment with a ruler before tightening it. Measure from the pilot point to the outer edge of the blade. On a circle cutter, a 4-inch hole requires a 2-inch radius. Locking screws that are not fully tight can allow the blade to move during cutting, producing an oval or an opening larger than intended.
How to cut plaster without cracking the ceiling
First, turn off the circuit and confirm it is dead with a reliable tester. Use a stud finder or small inspection hole to locate joists, pipes, and existing wiring. Recessed fixtures need clearance above the ceiling, and many housings cannot be installed directly against insulation or framing unless they are specifically rated for that location.
Protect the room with plastic and tape a vacuum hose near the cutting point. A dust shroud made for hole saws can reduce the mess, but it will not capture all plaster dust. Wear eye protection, hearing protection, and a properly fitted respirator rated for fine dust. Plaster dust is much finer and more abrasive than typical drywall dust.
Drill the pilot hole first at low speed. Keep the drill square to the ceiling and let the pilot bit establish a firm center. Then start the cutter at a slow speed, around 300 to 600 rpm for a typical hand drill. Do not use hammer mode. Apply light, steady pressure; forcing the cutter is a common cause of chipped plaster and bent blades.
If the plaster has wood lath behind it, stop when the cutter reaches the lath and remove the remaining strips separately with pliers or an oscillating tool. Trying to power through thick lath can snag the cutter and twist the drill. For metal lath, a carbide-grit hole saw or a separate metal-cutting tool is usually safer than a standard adjustable cutter.
The best choice for most installations
A single-blade adjustable cutter is the best general-purpose choice when you need one or a few openings in normal plaster. It is cheaper than buying several large hole saws and allows small corrections in diameter. Look for a rigid arbor, a replaceable pilot drill, a positive blade lock, and a blade intended for plaster, masonry board, or abrasive materials.
If you are cutting six or more identical openings, a two-blade tool can save time, provided your drill has a side handle and adjustable speed. For especially hard, old, or cement-like plaster, skip the bargain adjustable tool and use a carbide-grit hole saw for plaster. You lose diameter adjustment, but the cut is more predictable.
The cheaper option is fine when the plaster is thin, the opening is under about 5 inches, and you are making only one or two cuts. Spend more when the ceiling is fragile, the finish is valuable, or a failed opening would require a large repair. Replacement blades are also worth considering: dull blades generate heat and vibration, and those are more damaging to plaster than a few extra seconds of cutting.
Inspect the opening before fitting the fixture
After cutting, remove loose crumbs and check the hole edge for cracks extending beyond the trim. Small chips hidden under the trim are usually harmless, but cracks that run several inches can continue spreading when the fixture clips are tightened. Seal a crumbly edge with a suitable primer or reinforce it only if the fixture instructions allow.
Test-fit the housing before connecting wires. Confirm that the opening is round, the mounting clips have room to engage, and no lath or framing interferes. If the hole is slightly undersized, enlarge it gradually with the same cutter or a hand rasp. Do not enlarge it by prying against the plaster with a screwdriver; that is how a manageable correction becomes a ceiling repair.
For small, irregular openings or repair work, a carbide-grit drywall and plaster rasp is useful for final fitting. The cutter should make the circle; the rasp should only remove a small amount of material.