What's inside
As an Amazon Associate I earn from qualifying purchases. This post may contain affiliate links at no extra cost to you.
Porcelain is hard, brittle, and unforgiving. A standard bi-metal hole saw will usually skate across the glaze, overheat, and dull before it makes useful progress. For faucet shanks, toilet-supply lines, shower valves, and other plumbing penetrations, the right choice is a diamond-grit hole saw used with controlled speed and steady water cooling.
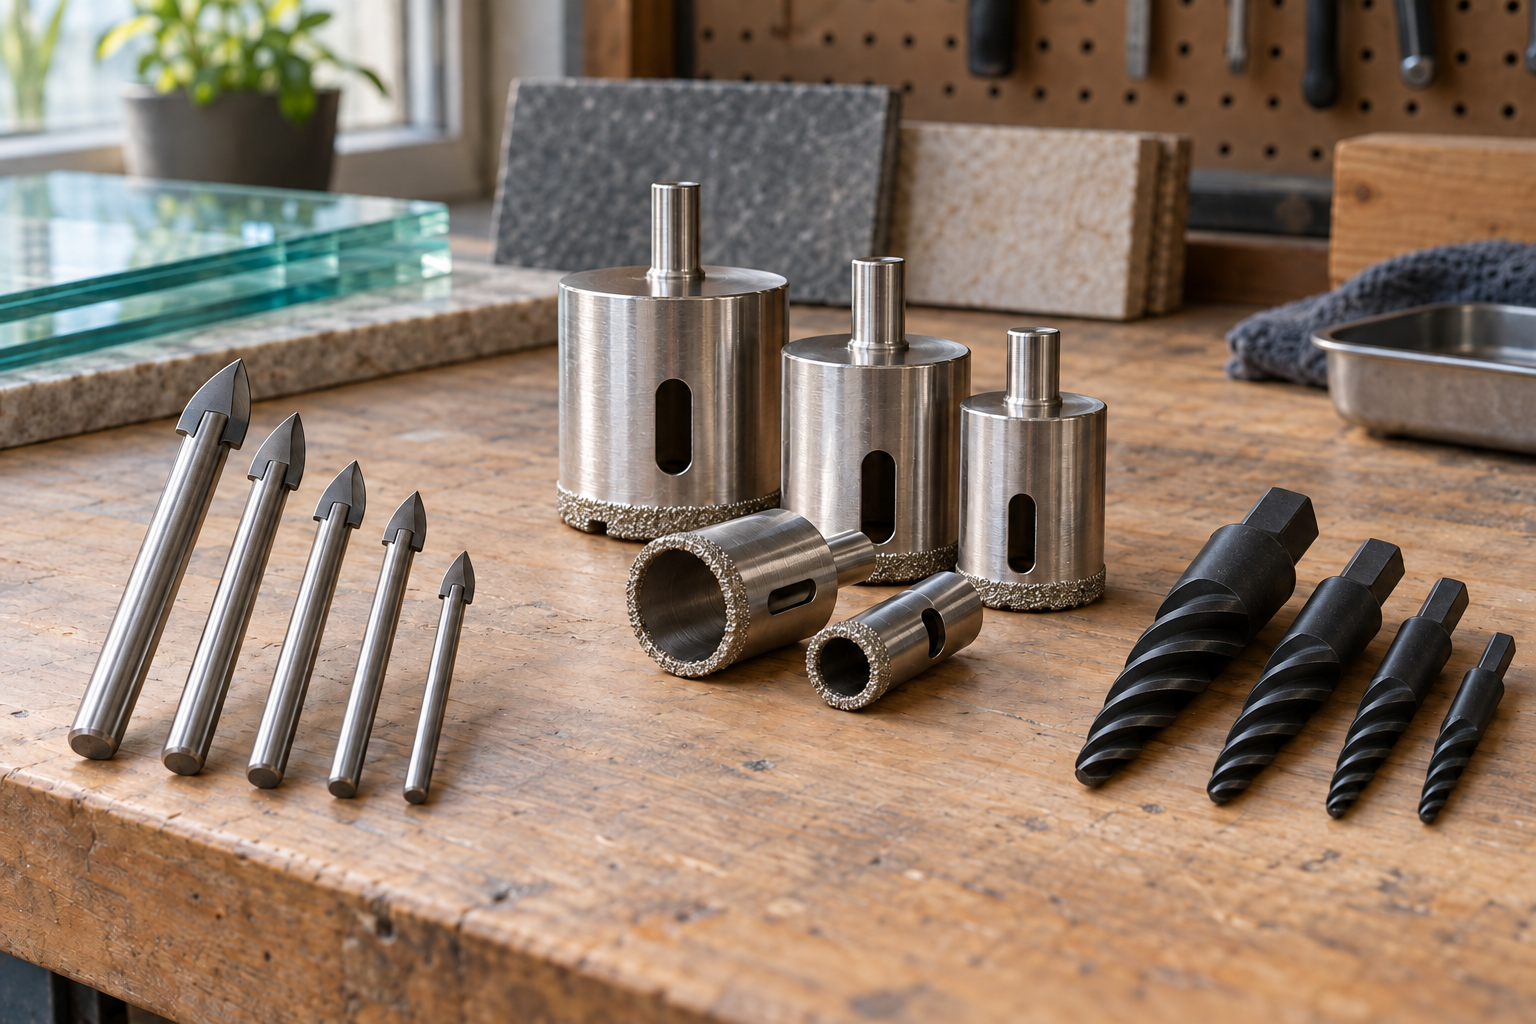
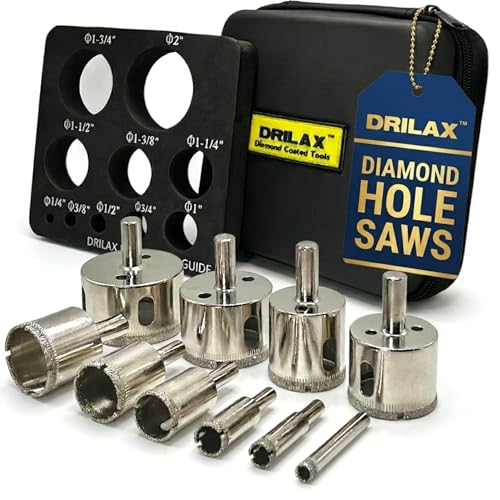
The best all-around choice is a continuous-rim diamond hole saw in the size required by the fixture. For occasional household work, a small kit covering common plumbing sizes is more practical than buying a large professional set. The kit should include a solid diamond rim, a side opening or slots for clearing the core, and a way to use it without relying on a pilot bit.
As an Amazon Associate we earn from qualifying purchases at no extra cost to you.


Our Top Picks



What to buy for porcelain
Look for a porcelain tile diamond hole saw kit with sizes around 1/4 to 1-1/4 inches. Exact requirements depend on the fixture: a faucet shank may need a 1-1/4- to 1-3/8-inch opening, while a small supply line or anchor may need 1/2 inch or less. Measure the threaded shank and follow the fixture manufacturer’s clearance requirement rather than guessing from the outside trim.
Continuous-rim diamond cups are preferable to segmented masonry-style cutters. They leave a cleaner edge and are less likely to chip the glaze. A rim thickness of roughly 1/8 inch is common. Very cheap cups can have sparse diamond coverage, out-of-round bodies, or a thin rim that wears through after one or two holes. They may still be acceptable for a single bathroom repair, but inspect the rim before starting.
A kit with a pilot drill can be convenient on wood or soft tile, but the pilot is usually the wrong tool for porcelain. It can catch, crack the workpiece, or force you to run the cutter dry. A guide plate, suction-cup guide, or a scrap of plywood clamped over the marked location is more useful. If you regularly drill tile, consider a diamond tile hole saw guide.
Diamond hole saw options compared
| Type | Best use | Strengths | Weaknesses |
|---|---|---|---|
| Budget electroplated kit | One or two fixture holes | Low cost, common sizes, fast enough when wet | Shorter life, inconsistent rims, more vibration |
| Professional continuous-rim cups | Several bathrooms or repeated work | More consistent cutting, better edge quality, longer service life | Higher price; individual sizes add up |
| Diamond core drill system | Frequent tile and stone work | Rigid guidance, excellent control, efficient dust and water management | Expensive and excessive for one faucet installation |
| Carbide-grit hole saw | Soft ceramic tile and occasional repairs | Inexpensive and widely available | Slower and less reliable in dense porcelain |
For most homeowners, the budget diamond kit is the sensible purchase if it has the needed diameter and the job is limited to one or two holes. A professional cup is worth the extra money when the hole is visible, the tile is expensive, or you need to make multiple penetrations. A full core-drilling rig makes sense for installers, not for fitting one faucet.
Choose the diameter carefully
The hole must be large enough for the threaded shank to pass through, but not so large that the escutcheon or mounting washer cannot cover it. Measure the narrowest part that must pass through the porcelain. Then check the trim’s outside diameter and keep a generous overlap. For example, a 1-1/4-inch hole under a 2-inch escutcheon leaves only 3/8 inch of cover per side, before accounting for an imperfect cut.
Do not enlarge a hole by angling the saw aggressively. That creates a tapered, chipped opening and can damage the glaze beyond the trim’s coverage. If the existing hole is slightly undersized, use a diamond burr or a larger cup carefully, but protect the fixture’s sealing surfaces from scratches.
How to drill porcelain without cracking it
First, confirm that the tile is fully supported. Drilling a loose or flexing tile is a common cause of cracks. If the tile is already installed, avoid drilling directly over a hollow spot where possible. Check for plumbing, electrical wiring, and structural obstructions behind the surface before drilling.
Mark the center with painter’s tape or a tile-marking pencil. Tape reduces skating and helps contain splash, but it does not replace a guide. A plywood guide with the correct hole, held firmly against the tile, is effective for starting a hole. Do not use the drill’s hammer setting.
Run the drill at a moderate speed—often around 400 to 800 rpm for a 1- to 1-1/4-inch cup, depending on the saw and drill. Smaller cups can tolerate more speed, but excessive rpm builds heat quickly. Apply light, even pressure. Let the diamonds grind; forcing the saw can glaze the rim, overheat the tile, or chip the exit side.
Use continuous water cooling. A helper can trickle water onto the rim, or you can build a small dam from plumber’s putty around the mark and fill it with a shallow layer of water. Keep water away from the drill’s electrical connections, use a ground-fault circuit interrupter, and never combine a wet process with an unprotected corded tool.
After the cup cuts through the glaze, pause periodically to clear slurry from the kerf. Near breakthrough, reduce pressure and let the final section grind through. The back side can chip when the core drops out, so support the tile and, where accessible, apply tape to the rear surface. Smooth the edge with a diamond hand pad before installing the fixture.
Common failures and useful extras
A glazed, shiny rim usually means the saw was run too fast, too dry, or with too much pressure. Stop, cool it, and expose fresh diamond by lightly dressing the rim against a piece of abrasive masonry or a suitable dressing stone. If the diamond layer is gone, replacement is the only dependable fix.
For a cleaner setup, add a wet tile drilling guide and a small diamond hand pad. The guide costs more than tape but reduces wandering, especially on polished porcelain. A hand pad costs little and removes sharp chips that can cut a gasket or prevent a trim ring from sitting flat.
If this is a one-time repair, buy the least expensive continuous-rim diamond kit that includes the exact size, then spend more attention on water, support, and alignment. Those details prevent more failures than a premium label. If you install fixtures regularly, buy individual professional-quality cups in the sizes you actually use; they cut more predictably and waste less time correcting chipped or undersized holes.