What's inside
As an Amazon Associate I earn from qualifying purchases. This post may contain affiliate links at no extra cost to you.
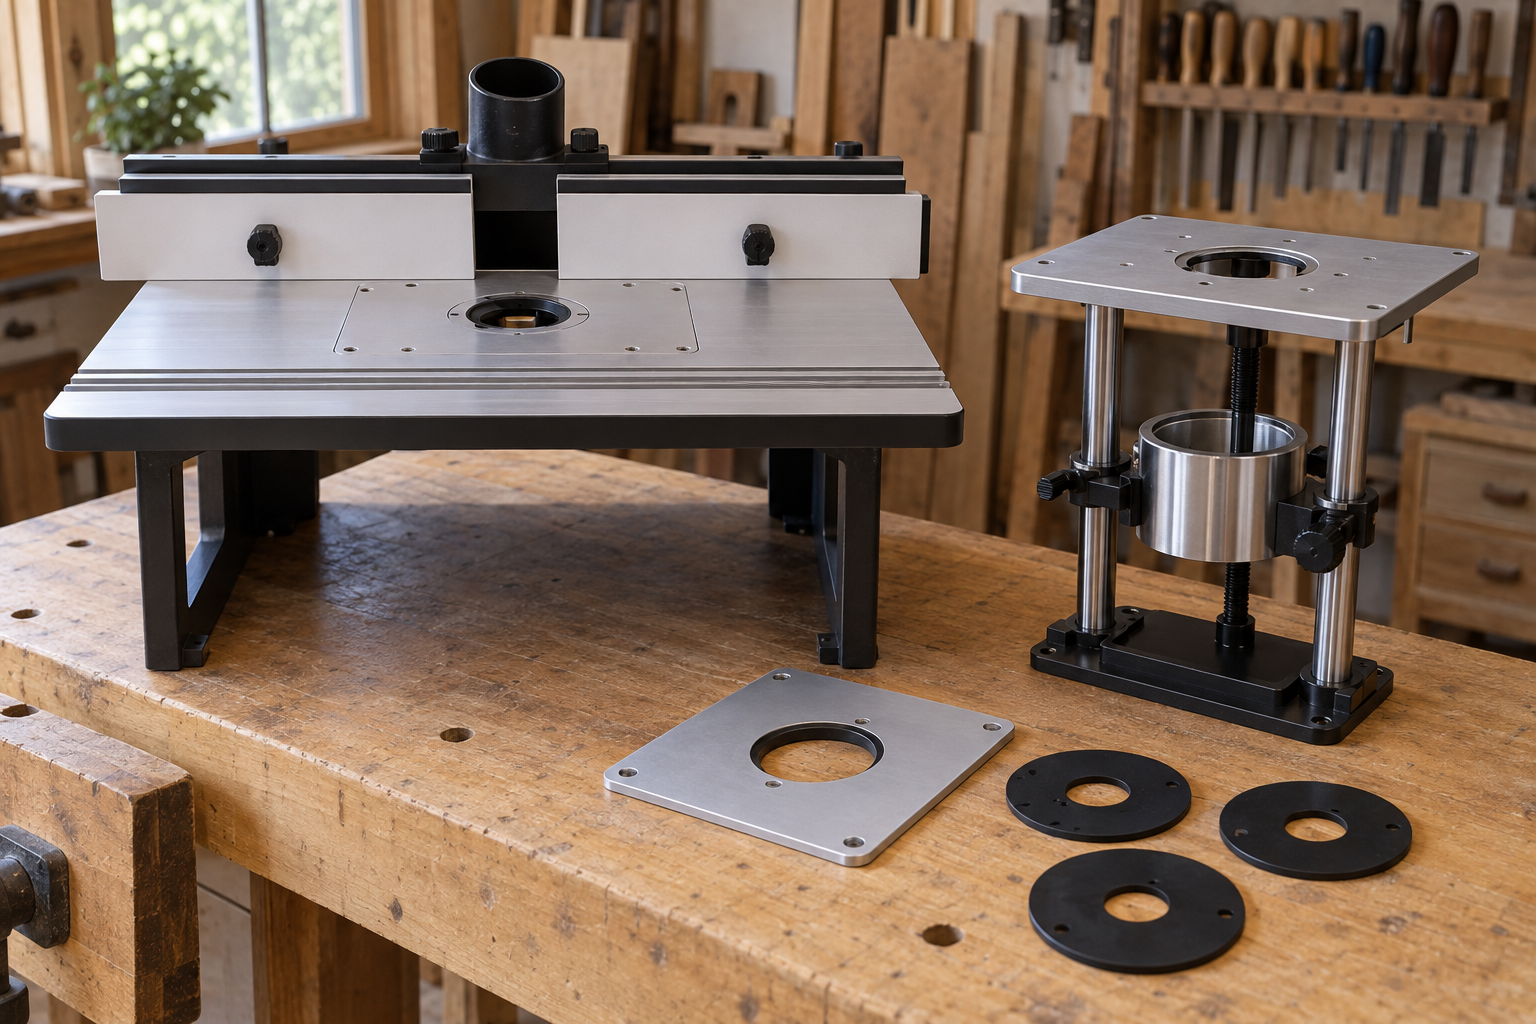
A router table insert sits between the router and the workpiece, so its fit affects more than appearance. A poor insert can leave the cutter unsupported, snag a narrow board, or force you to make awkward adjustments under the table. The right choice depends on your router, table, cutters, and the kind of stock you rout.
Start With the Table and Router
Measure the opening in your table before shopping. Inserts are not universally sized. Common round inserts are roughly 3-1/2 to 4 inches in diameter, but the actual dimensions vary, and many tables use a proprietary plate or a full-size lift plate instead.
Also measure the plate thickness and mounting method. Some inserts drop into a recessed ledge and rely on leveling screws. Others are held by a retaining ring or several screws. An insert that is 1/8 inch too thick can prevent the workpiece from sliding smoothly across the table. One that is too thin may sit below the surrounding surface and create a catch point.
Check router compatibility before buying. A fixed-base router may bolt directly to the plate, while a plunge router can be difficult to secure or adjust from above. If you frequently change bit height, a router lift or above-table-adjustable router is more convenient than reaching underneath for every change.
For a replacement, measure the old insert with calipers if possible. Record its outside diameter, thickness, screw-hole pattern, and center opening. Do not assume that two inserts with the same advertised diameter will share the same mounting holes.
Choose the Opening Size
The center hole should be only slightly larger than the bit body or cutting circle. A large opening leaves more of the workpiece unsupported and increases the chance that a narrow edge will dip into the hole. That dip is a common cause of catching, especially when routing end grain or using a bearing-guided bit.
Interchangeable rings are usually the best solution. Use a ring that leaves about 1/8 inch of clearance around the rotating cutter. For example, a 1/2-inch bit does not need a 2-inch opening. A hole around 5/8 to 3/4 inch is normally sufficient, provided the bit’s actual cutting diameter and collet area clear it safely.
Never use an opening so tight that the cutter can touch the ring. Turn the spindle by hand with the router unplugged, then raise and lower the bit through its full adjustment range. Check clearance at the collet, bearing, and widest cutting edge—not just at the bit’s midpoint.
If you use large panel-raising bits or wide bowl-style cutters, choose an insert system with larger rings and a strong surrounding plate. For small roundovers, rabbets, and flush-trim work, a smaller opening gives better support and is less likely to catch a corner.
Compare Insert Materials
| Insert type | Advantages | Limitations | Best use |
|---|---|---|---|
| Phenolic | Stable, affordable, smooth, and easy to replace | Can chip around screw holes or the opening if overtightened | Most general router-table work |
| Aluminum | Rigid, durable, and suitable for frequent setup changes | Costs more and can be damaged by a carbide cutter | Heavy use and router-lift systems |
| Acrylic or plastic | Low cost and easy to see through | More likely to flex, scratch, or crack | Occasional light routing |
| Solid wood shop-made insert | Cheap and customizable | Can swell, warp, and lose accuracy | Temporary work or unusual bit sizes |
Phenolic is the sensible default for most hobby shops. Aluminum is worthwhile when the plate is part of a lift system or you regularly remove and reinstall the router. A cheap plastic insert can be fine for occasional roundovers, but its flexibility becomes a problem when you push wide stock or use a tall fence.
If you want a replacement ring set, compare router table insert plate ring sets by the actual ring diameters and plate dimensions, not by the number of pieces alone. A set with six rings is not useful if none fits your table.
Reduce Workpiece Catching
Install the insert flush with the surrounding table. Put a straightedge across several directions and adjust the leveling screws until you cannot feel a step. Even a 1/32-inch lip can catch thin stock. Lock the screws after leveling, then recheck after the first few cuts.
Keep the opening centered around the bit. An off-center hole can leave a wide unsupported gap on one side. This matters when routing a narrow part: a 1-1/2-inch rail can lose a significant portion of its bearing surface if the insert opening is several inches wide.
Use a featherboard before the cutter and, when practical, a second one after it. The infeed featherboard should press the stock toward the fence without making it difficult to feed. Set it so the board can move forward with firm, even resistance—typically enough to deflect the feathers slightly, not enough to stop the cut.
Use a starting pin when routing curved work without a fence. Keep the stock against the pin until it contacts the bearing or cutter, then feed in the correct direction. On a table router, feed the workpiece from right to left so the bit’s rotation pushes the stock against the fence. Feeding left to right can pull the work forward and cause a climb cut.
Do not let a large bit extend farther than necessary. A high cutter increases leverage and makes a catch more violent. Raise the bit in several passes, removing roughly 1/8 inch or less per pass for demanding cuts. Inspect the insert for cracks or a widened opening; replace it if the ring no longer sits firmly.
When to Buy a Router Lift
A lift is useful if you change bit heights often, use bearing-guided profiles, or need repeatable setups. It adds cost and requires a compatible mounting system, but above-table adjustment can prevent the loose, poorly supported setups that lead to catches.
If you make only occasional roundovers or rabbets, a standard insert and an affordable fixed-base router are usually enough. Spend the difference on a flat fence, featherboards, and accurate rings. Those accessories do more to control the workpiece than a premium plate by itself.
For a complete replacement setup, shop among router table insert plates and router lifts only after confirming the router’s mounting pattern. For basic work, a router table featherboard set may be the better purchase.
Make a Final Fit Check
Before powering the router, unplug it and spin the bit by hand. Confirm that the cutter clears the ring, the plate is flush, every screw is tight, and the fence does not contact the bit. Test on scrap at the same feed direction and depth as the real work. If the scrap catches, chatters, or drops into the opening, fix the setup before touching finished stock.