What's inside
As an Amazon Associate I earn from qualifying purchases. This post may contain affiliate links at no extra cost to you.
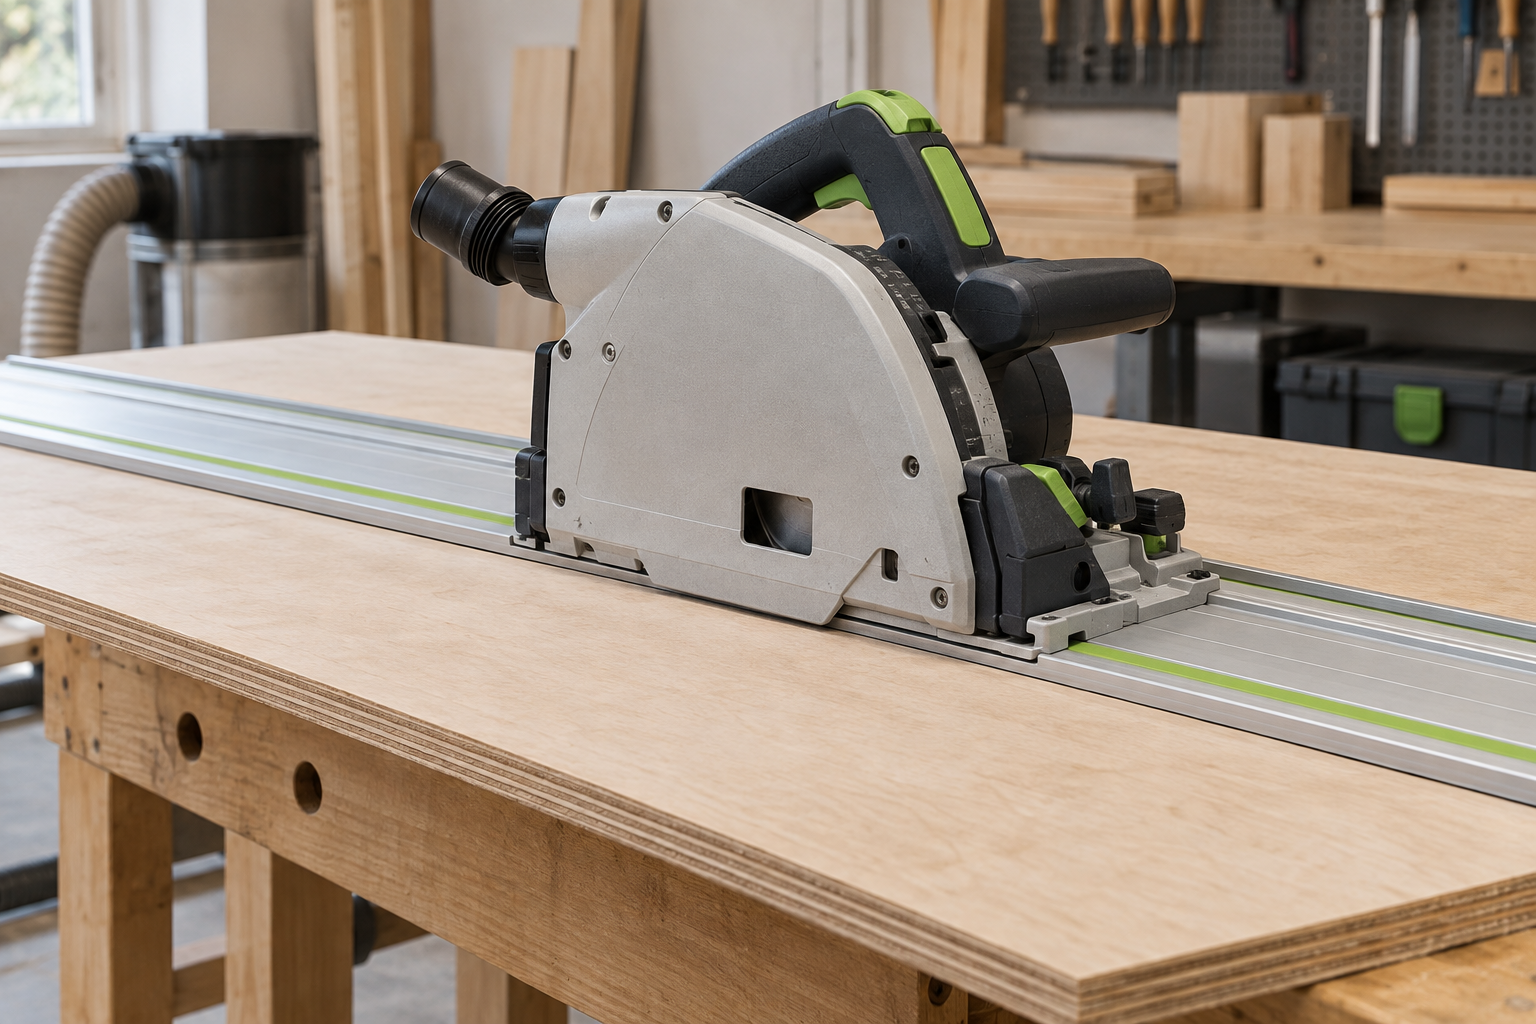
A track saw is designed to start a cut in the middle of a panel, but a plunge cut can damage the guide rail if the blade is set too deep or the saw is started incorrectly. The usual result is a chewed-up splinter strip, a scored aluminum rail, or a blade that catches as it enters the workpiece.
The good news is that the rail itself should not be touched by the blade. The rubber edge strip is sacrificial and is normally trimmed during the first setup. After that, the goal is to cut the material cleanly while leaving the aluminum guide rail untouched.
What Can Be Damaged
There are three parts to distinguish:
- Aluminum rail: This is the precision surface. A light mark may not ruin it, but a deep groove or burr can affect saw travel and accuracy.
- Rubber splinter strip: This is supposed to be cut by the blade during setup. It provides a zero-clearance edge that helps prevent tear-out.
- Anti-slip strips: These sit underneath the rail and can be damaged by a blade set too deep, especially when cutting on a soft workbench.
If you are replacing a worn edge strip, buy the correct track saw replacement splinter strip for your rail width and brand. Universal strips can work, but their adhesive and thickness vary. A strip that sits too high or too low may produce a less accurate cut.
Set Up the Rail and Workpiece
Put the panel on a stable cutting surface that supports both sides of the cut. Foam insulation board is inexpensive and works well because the blade can enter it without immediate damage. A sacrificial plywood top also works, but you must account for its thickness when setting blade depth.
Mark the cut line and position the rail with its splinter edge directly on the waste side of the line. Check the saw’s offset markings rather than assuming the rail edge equals the blade location. On most systems, the rail edge is intended to align with the cut, but the indicator must still be calibrated to the blade being used.
Clean dust and chips from the rail before setting the saw on it. A small chip under the base can shift the saw several millimeters and can also make the base rock during the plunge. Clamp the rail when the panel is narrow, slippery, bowed, or too short for the anti-slip strips to grip reliably.
Set Blade Depth Before Starting
Set the blade to project about 3 to 5 mm below the workpiece. That is enough to cut through the panel without sending a long section of carbide into the support surface. For a 19-mm sheet of plywood on foam, a blade projection of roughly 22 to 24 mm is usually sufficient.
Do not set the blade depth by lowering the saw onto the rail and guessing. With the saw unplugged or the battery removed, place it on the material and plunge it fully. Look underneath the panel, or use a scrap of identical material, to confirm the teeth extend only slightly beyond the bottom face.
Too little depth can leave an uncut veneer or cause the blade to rub during the plunge. Too much depth increases the chance of cutting the anti-slip strip, the bench, or an unseen clamp. It also increases kickback forces because more tooth is exposed below the workpiece.
Make the Plunge Cut Without Striking the Rail
- Inspect the blade. A bent blade, missing carbide tooth, or blade with heavy pitch buildup should not be used for a plunge cut.
- Place the saw on the rail with the blade clear of the material’s edge. Make sure the saw base is fully seated and both guide ribs are engaged.
- Hold the saw firmly with both hands. Keep your fingers away from the plunge lever and blade housing.
- Start the motor before lowering the blade. Do not press the saw into the material while the blade is stationary.
- Lower the saw smoothly until the depth stop reaches its setting. Do not force the plunge or release it suddenly.
- Let the blade reach full speed, then push the saw through the cut at a steady rate. Keep the saw base flat against the rail.
- At the end of the cut, maintain control until the blade has completely cleared the material. Release the trigger only after the blade is out of the workpiece.
For a stopped cut, begin and end within the panel rather than plunging directly over a corner. Corners increase the chance of twisting the saw or pinching the blade. If the cut must start near an edge, support the offcut so it cannot drop and lift the rail.
Common Failure Modes
| Problem | Likely cause | Fix |
|---|---|---|
| Rubber edge strip is shredded | Blade depth is excessive, or the saw was twisted during the plunge | Reduce depth to 3–5 mm below the panel and keep the base flat |
| Aluminum rail has a groove | Blade was lowered before the saw was fully seated, or the wrong blade diameter was installed | Check blade size and plunge mechanism; inspect the base for damage |
| Cut starts wandering | Rail moved, panel was unsupported, or the saw was pushed too quickly | Clamp the rail, support the panel, and use a steady feed rate |
| Bottom face splinters | Dull or incorrect blade, excessive depth, or unsupported waste | Use a fine-finish blade, reduce projection, and support both sides |
Choose the Right Accessories
A purpose-made track saw guide rail clamp set is worthwhile when cutting full sheets or making repeated stopped cuts. Clamps add setup time, but they prevent the most expensive mistake: a rail that shifts halfway through a finished panel.
Use a blade matched to the material. A 40- to 48-tooth blade is a practical general-purpose choice for plywood and sheet goods. A 56- to 60-tooth blade gives cleaner veneered-panel cuts but feeds more slowly and costs more. For rough construction lumber, a lower-tooth blade is faster, though it may leave more tear-out.
If you make many plunge cuts, compare saws by their plunge smoothness, depth-stop design, blade-brake behavior, and rail compatibility—not just motor power. A saw with a stiff base and a clearly marked depth scale is easier to control than a more powerful model with a vague adjustment. Review compatible track saw blades for plywood before buying, since proprietary blade sizes can limit your choices.
When a Cheaper Setup Is Fine
You do not need premium rails or multiple clamps for occasional straight cuts in plywood. A basic compatible rail, a sharp blade, foam board, and careful depth adjustment are enough for many home-shop projects. Spend more on clamps or a longer rail when accuracy, repeatability, or large sheet handling matters.
Before every cut, check three things: the blade is sharp, the rail is clean and stable, and the teeth project only slightly below the panel. Those checks prevent nearly every plunge-cut failure that damages a rail.