What's inside
As an Amazon Associate I earn from qualifying purchases. This post may contain affiliate links at no extra cost to you.
Angle Grinder Safety Toolbox Talk: A Ready-to-Deliver 10-Minute Script
This 10-minute angle grinder safety toolbox talk covers five checks your crew should complete before grinding or cutting: match the disc’s RPM rating to the grinder, ring-test suitable wheels, set the guard between the wheel and the operator, stay out of the kickback path, and wear the right PPE. Use the script below as written, then pause for the discussion questions.
Before the talk: set up the demonstration
Bring a grinder with its guard fitted, the disc you plan to use, and the tool and disc labels or manuals. Keep the grinder unplugged or remove its battery during the demonstration. Do not use a damaged disc to demonstrate a failure, and do not spin a wheel just to illustrate a point. Follow the grinder, disc, and site instructions; those instructions take precedence over this general briefing.
As an Amazon Associate we earn from qualifying purchases at no extra cost to you.


| Talk segment | Time | Key check |
|---|---|---|
| Choose and inspect the disc | 2 minutes | Correct type, size, condition, and RPM rating |
| Fit the guard and disc | 2 minutes | Guard positioned; accessories installed as specified |
| Plan the cut and control kickback | 2 minutes | Stable work, clear path, two-handed grip |
| Check PPE and work area | 2 minutes | Eye, face, hearing, hand, and body protection |
| Questions and crew check-back | 2 minutes | Workers explain the stop-work conditions |
Ready-to-deliver script
Minutes 0–2: Match the disc to the grinder
“Before we fit a disc, we check that it is the correct accessory for this job and this tool. Read the disc label and the grinder rating. The disc diameter, arbor or mounting arrangement, and intended use must be compatible with the grinder and its instructions. A cutting disc is not a grinding disc: use each only for its stated purpose.”
“Now compare the disc’s maximum RPM with the grinder’s maximum no-load RPM. The disc’s rating must be equal to or higher than the grinder speed. Never use a disc rated below the tool’s speed, and don’t assume a smaller disc makes an incompatible setup safe. If a label is missing or unreadable, or the numbers don’t match, stop and get a suitable replacement.”
“Inspect the disc before fitting it. Reject one that is cracked, chipped, warped, wet or contaminated when its instructions prohibit that condition, or otherwise damaged. Don’t force a disc onto the spindle, alter the mounting, or overtighten the flange. Use the specified flanges and tightening method.”
Minute 2–3: Ring-test only when appropriate
“Some bonded abrasive wheels call for a ring test before mounting; not every disc does. Follow the wheel manufacturer’s instructions. If the test applies, hold the wheel as directed and tap it lightly with a non-metallic implement. A clear ringing sound may indicate an intact wheel; a dull or dead sound can indicate damage. The test is not a guarantee that a wheel is safe, and it may not be suitable for small, thin, mounted, diamond, or other wheel types. When in doubt, do not use the wheel—check its instructions or ask a competent person.”
Minutes 3–5: Position the guard and prepare the work
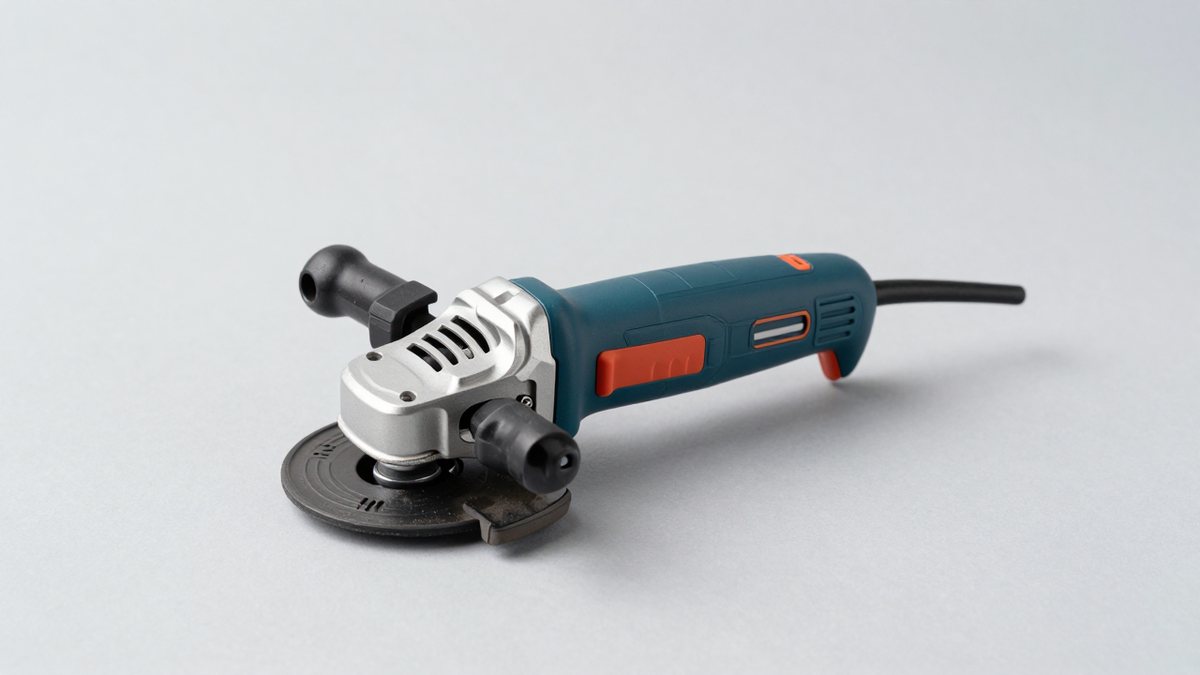
“The guard stays on. Fit the correct guard for the wheel and operation, and adjust it so it sits between the wheel and the operator, directing likely fragments and sparks away from people. Don’t remove it, wedge it out of position, or use a damaged or incorrect guard. Check that it is secure and does not obstruct the intended operation.”
“Secure the workpiece so it cannot shift or close onto the wheel. Check what is behind and beneath the cut, identify flammable material and ignition sources, and arrange suitable spark control. Keep other people clear of the work area. Make sure the cable or battery, handle, switch, and tool body are in good condition. Use the auxiliary handle whenever the tool is designed to accept one.”
Minutes 5–7: Avoid the kickback zone
“Kickback can happen if the wheel binds, pinches, or catches. The tool can then jerk suddenly, often toward the operator. With a cutting wheel, avoid twisting it in the cut or applying side pressure. Let the wheel reach operating speed before it contacts the material, and use the wheel only in the manner and direction described by the manufacturer.”
“Plan where the tool could move if the disc catches. Keep your head and body out of that path, and don’t stand directly in line with the wheel. Maintain a firm, balanced stance. If the disc binds, release the switch and hold the tool still until it stops. Don’t pull a moving wheel out of a pinched cut or restart it while it is touching the work. Find the cause before continuing.”
Minutes 7–8: Hold and operate with control
“Grip the grinder with both hands: one on the main handle and one on the auxiliary handle, where fitted. Keep both hands on the tool, and position them so you can resist a sudden reaction without reaching across the wheel. Start it in a clear position, keep a secure stance, and don’t overreach.”
“Do not use a grinder that is vibrating unusually, has a loose handle, or has a damaged switch, guard, or accessory. Stop it and report the problem. After switching off, keep hold of the tool until the wheel stops completely. Set it down only when it is stationary.”
Minutes 8–9: PPE checklist
“Before we start, confirm the required PPE for the task and site. Wear safety glasses with side protection and a face shield where the risk assessment or site rules require one. A face shield supplements eye protection; it does not replace it. Use hearing protection when noise exposure requires it, suitable gloves that allow secure control and meet the task requirements, and nonflammable work clothing that covers exposed skin from sparks.”
“Use respiratory protection when the material and task create a respiratory hazard, selected and used under the applicable program. Check that clothing, hair, and any other items that could catch are secured. PPE does not make an incorrect disc, missing guard, or unsafe work position acceptable.”
Minutes 9–10: Stop-work check
“Before anyone starts, tell me the disc’s maximum RPM, the grinder’s maximum no-load RPM, and whether this disc requires a ring test. Point to the position the guard should occupy. Show where you will stand if the wheel binds, and name one condition that means you will stop work. If we can’t answer those questions or the setup doesn’t pass inspection, we don’t start.”
Quick reference: check, reason, and response
| Check | Pass condition | Stop and correct if… |
|---|---|---|
| RPM and disc fit | Disc rating meets or exceeds grinder speed; size and mounting match instructions | Ratings conflict, labels are unreadable, or the disc does not fit correctly |
| Disc condition | Correct disc type and no visible damage; applicable inspection completed | Disc is cracked, chipped, distorted, or otherwise suspect |
| Guard | Correct, secure, and between the wheel and operator | Missing, loose, damaged, or unsuitable for the operation |
| Work position | Work is stable; operator has a balanced stance and a two-handed grip | Work can move, the cut can pinch the disc, or the operator is in the likely kickback path |
| PPE and area | Required PPE is worn; bystanders and ignition hazards are controlled | Protection is missing or sparks and debris cannot be safely managed |
Discussion questions for the crew
- Where do you find the grinder’s maximum no-load RPM and the disc’s maximum RPM?
- Which discs used on this site require a ring test, and where are their inspection instructions?
- For today’s cut, where could the wheel bind, and where should the operator stand to stay out of its likely path?
- What would make you stop and quarantine a disc or grinder rather than trying to finish the job?
- What additional controls or PPE are required for this material and work area?
After the talk: make the checks repeatable
Assign one person to verify the tool and accessory before work begins, but have every operator inspect their own setup. Replace damaged discs instead of storing them for “one more cut,” and keep accessories dry and stored as their manufacturer directs. Abrasive discs can deteriorate or become damaged through impact, poor storage, contamination, or incorrect mounting; a quick visual check cannot establish that every wheel is safe. Record defects, tag out faulty tools under site procedure, and review the briefing when the tool, material, or operation changes.
This toolbox talk is a practical briefing, not a substitute for the grinder and accessory instructions, task-specific risk assessment, site rules, or required training. If those sources call for stricter controls, follow them.
Related guides
- Safe Use of Power Tools Toolbox Talk: Talking Points, Checklist, and Sign-Off Sheet
- Hand Tools and Power Tools Safety: Rules That Actually Prevent Workshop Injuries
- Power Tools Hazards and Control Measures: A Practical Guide Using the Hierarchy of Controls
- Best Circular Saws: Corded, Cordless and Mini Models Compared by Job Type