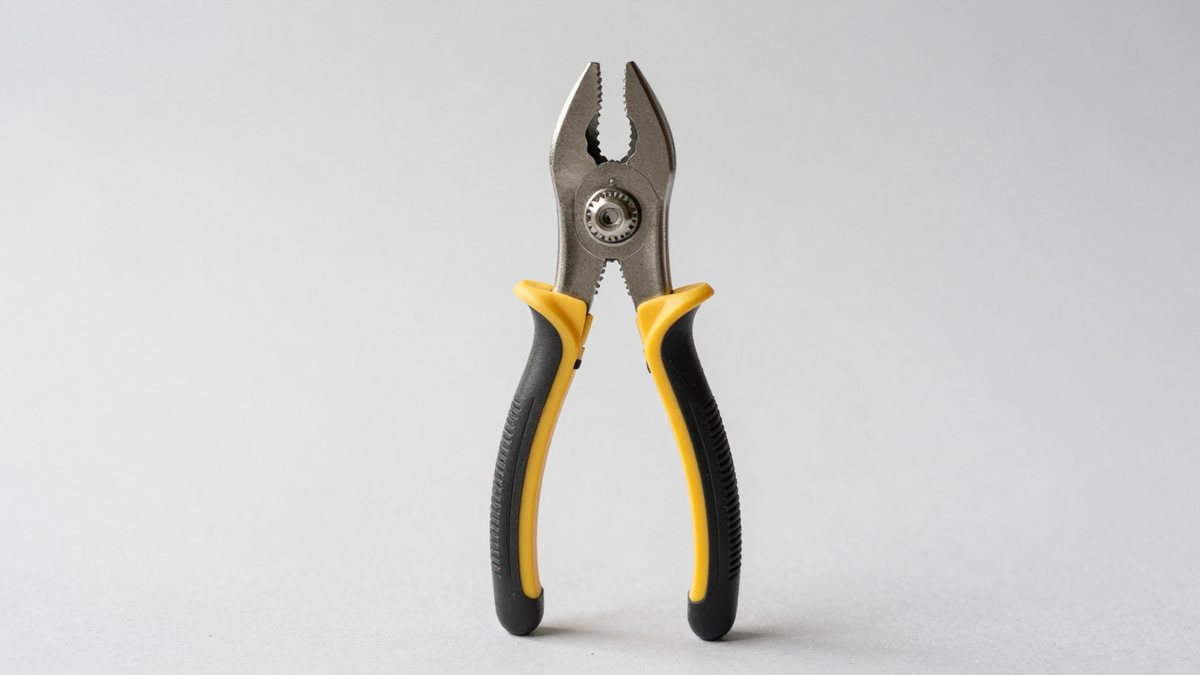
What's inside
As an Amazon Associate I earn from qualifying purchases. This post may contain affiliate links at no extra cost to you.
Effective hand tools and power tools safety comes down to three habits: inspect the tool before use, wear PPE matched to the hazard, and control the workpiece so the tool cannot move unexpectedly.
As an Amazon Associate we earn from qualifying purchases at no extra cost to you.


Our Top Picks
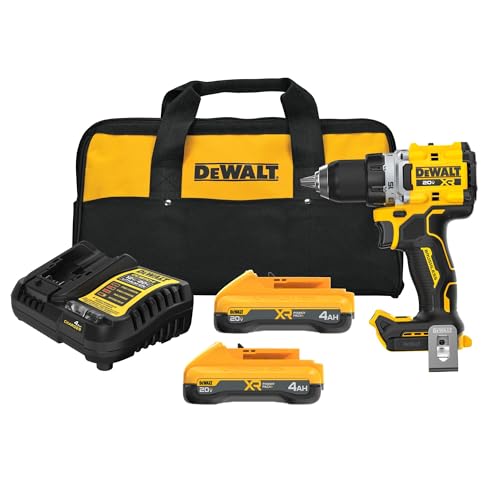 DEWALT 20V MAX XR Brushless Cordless 1/2 in.20 volts (pack of 1)9.92 x 3.98 x 12.8 inches7.52 poundsCheck on Amazon


The pre-use inspection that prevents most avoidable injuries
A two-minute inspection is more useful than a general warning to “be careful.” Check the tool, its energy source, the accessory, and the work area before switching anything on. Remove damaged equipment from service rather than making a temporary repair.
- Tool body: Look for cracked housings, loose handles, missing guards, bent shafts, exposed wiring, and switches that stick or fail to return to off.
- Cutting and abrasive parts: Confirm that blades, bits, chisels, grinding wheels, and sanding discs are the correct size and speed rating. Reject cracked, warped, blunt, or contaminated accessories.
- Fasteners and adjustments: Tighten blade nuts, chucks, fences, guards, depth stops, and handles. Remove the chuck key or adjustment wrench before starting.
- Power supply: Inspect cords, plugs, battery packs, chargers, and extension leads. Do not use a cord with crushed insulation, exposed conductors, bent prongs, or a loose plug.
- Workpiece: Remove nails, screws, staples, and embedded metal before cutting or drilling. Clamp small or awkward pieces instead of holding them by hand.
- Work area: Clear sawdust, offcuts, oil, and trip hazards. Provide enough light and space that the tool can be controlled without twisting.
- Test condition: Stand clear of the cutting plane, start the tool briefly, and listen for vibration, scraping, arcing, or unusual noise. Stop immediately if anything changes.
For a workshop toolbox talk, use this sequence aloud: tool, accessory, power, workpiece, position, PPE. A hand and power tool safety toolbox talk should also identify the emergency stop, first-aid supplies, fire extinguisher, and the person responsible for isolating defective equipment.
PPE should match the tool, not the owner’s comfort
Safety glasses are the baseline for nearly every woodworking operation, but they are not the complete answer. Choose PPE according to the material being removed and the way it can reach you.
| Tool or operation | Minimum useful PPE | Extra protection when conditions require it | Main hazard controlled |
|---|---|---|---|
| Hand saw, chisel, plane | Impact-rated safety glasses; close-fitting clothing | Cut-resistant glove on the non-cutting hand, if it does not reduce grip | Flying chips and slips |
| Circular saw, miter saw, table saw | Safety glasses with side protection; hearing protection | Face shield over glasses for dusty or splintering stock | Fragments, noise, kickback |
| Router and trim router | Safety glasses; hearing protection | Face shield and a suitable dust respirator where dust extraction is insufficient | High-speed chips and fine dust |
| Drill and impact driver | Safety glasses; hearing protection for prolonged use | Gloves only for handling material, never near a rotating bit | Broken bits, swarf, entanglement |
| Angle grinder or abrasive tool | Safety glasses plus face shield; hearing protection | Appropriate gloves, long sleeves, and respiratory protection for dust | Wheel fragments, sparks, abrasive dust |
| Random-orbit or belt sander | Safety glasses; hearing protection | Dust extraction and a properly selected particulate respirator | Dust and noise |
Do not wear loose gloves, jewelry, drawstrings, or sleeves near rotating spindles, drill bits, router collets, or sanding belts. Hearing protection is especially important because many compact power tools produce hazardous sound levels close to the operator’s head. Choose earplugs or earmuffs that fit correctly rather than relying on a generic claim of comfort.
Three injury patterns and the habits that stop them
Lacerations: uncontrolled contact with a cutting edge
Most cuts happen when a hand enters the blade path, a workpiece shifts, or a person reaches for an offcut while the tool is still coasting. Keep both hands outside the marked danger zone and use a push stick, push block, featherboard, or clamp whenever the work moves close to a blade or cutter.
- Let the blade reach full speed before entering the material.
- Never pull a jammed piece backward through a running blade.
- Switch off, unplug, or remove the battery before clearing scraps, changing blades, or adjusting depth.
- Wait for complete stop; a spinning blade or abrasive wheel can remain dangerous after the trigger is released.
- Use the guard, riving knife, splitter, and anti-kickback features supplied with the machine.
Sharp hand tools also reduce injuries because they require less force and are less likely to skid. Store chisels and carving tools with edges covered, and keep the free hand behind the cutting direction rather than in front of it.
Eye injuries: small particles travel farther than expected
Wood chips, broken drill bits, bristles, abrasive grit, and compressed dust can enter from the side or rebound from a nearby surface. Wear impact-rated glasses before starting the tool, not after the first chip reaches your face. A face shield is an additional layer, not a replacement for safety glasses.
Control the source as well as your eyes: connect dust extraction, keep guards and shrouds in place, avoid blowing dust toward yourself with compressed air, and clean the bench with a vacuum or damp method. If a particle enters the eye or vision changes, stop work and seek prompt professional medical advice rather than rubbing the eye.
Kickback: stored energy released toward the operator
Kickback occurs when a blade, bit, or workpiece binds and the tool or material is thrown. It is common with circular saws and table saws, but drills, routers, planers, and grinders can also twist or grab.
- Support stock on both sides of the cut so the kerf cannot close onto the blade.
- Keep the blade aligned with the cut; forcing a saw sideways increases binding.
- Stand slightly to the side of the blade’s travel line, not directly behind the stock.
- Use a fence, miter gauge, or guide correctly; do not use the miter gauge and rip fence together unless the machine instructions specifically permit it.
- For routers, feed against the cutter’s rotation and make several shallow passes instead of one deep pass.
- For drills, secure the work and reduce speed for large bits; stop if the bit catches rather than trying to overpower the twist.
Electrical hand tools safety: the checks that matter
Electrical hand tools safety starts with preventing shock, overheating, and unintended startup. Use a tool with the correct voltage and a properly grounded or double-insulated design. Keep cords away from sharp edges, hot surfaces, water, and the cutting path. An extension cord should be rated for the tool’s current and length; an undersized lead can heat up even when the tool appears to run normally.
Disconnect corded tools before changing accessories. For cordless tools, remove the battery when fitting blades, clearing a jam, or carrying the tool through the workshop. Do not use a damaged battery pack, bypass a charger fault, or leave charging batteries on combustible sawdust. A residual-current device, where required by local electrical rules, adds protection but does not make damaged equipment safe.
A practical routine for safer tool ownership
At the end of each job, vacuum dust from vents and guards, wipe resin from tables and fences, and return accessories to dry storage. Inspect consumables before the next use. Blades lose cutting performance before they look visibly damaged; dull edges encourage excessive force, wandering cuts, and kickback.
Record recurring replacements so safety has a realistic maintenance budget. For example, if a $30 saw blade lasts 60 projects, its blade cost is $0.50 per project. Replacing it after 45 projects raises the cost to about $0.67 per project, but continuing with a blade that burns wood or requires force can create a much greater injury risk. The economical choice is the blade that remains controllable, not the one used until failure.
When to stop instead of improvising
Stop work if a guard will not stay adjusted, a tool vibrates, a cord heats up, a battery swells, a wheel is cracked, or the workpiece cannot be clamped securely. Do not defeat an interlock, remove a guard for convenience, hold stock against your body, or use a damaged accessory “for one quick cut.” Mark the tool as defective and have it repaired or replaced by a qualified person. Consistent inspection, task-specific PPE, and disciplined control of the workpiece are the rules that prevent injuries more reliably than speed, confidence, or experience.
Related guides
- Safe Use of Power Tools Toolbox Talk: Talking Points, Checklist, and Sign-Off Sheet
- Angle Grinder Safety Toolbox Talk: A Ready-to-Deliver Script for Your Crew
- Power Tools Hazards and Control Measures: A Practical Guide Using the Hierarchy of Controls
- Best Circular Saws: Corded, Cordless and Mini Models Compared by Job Type